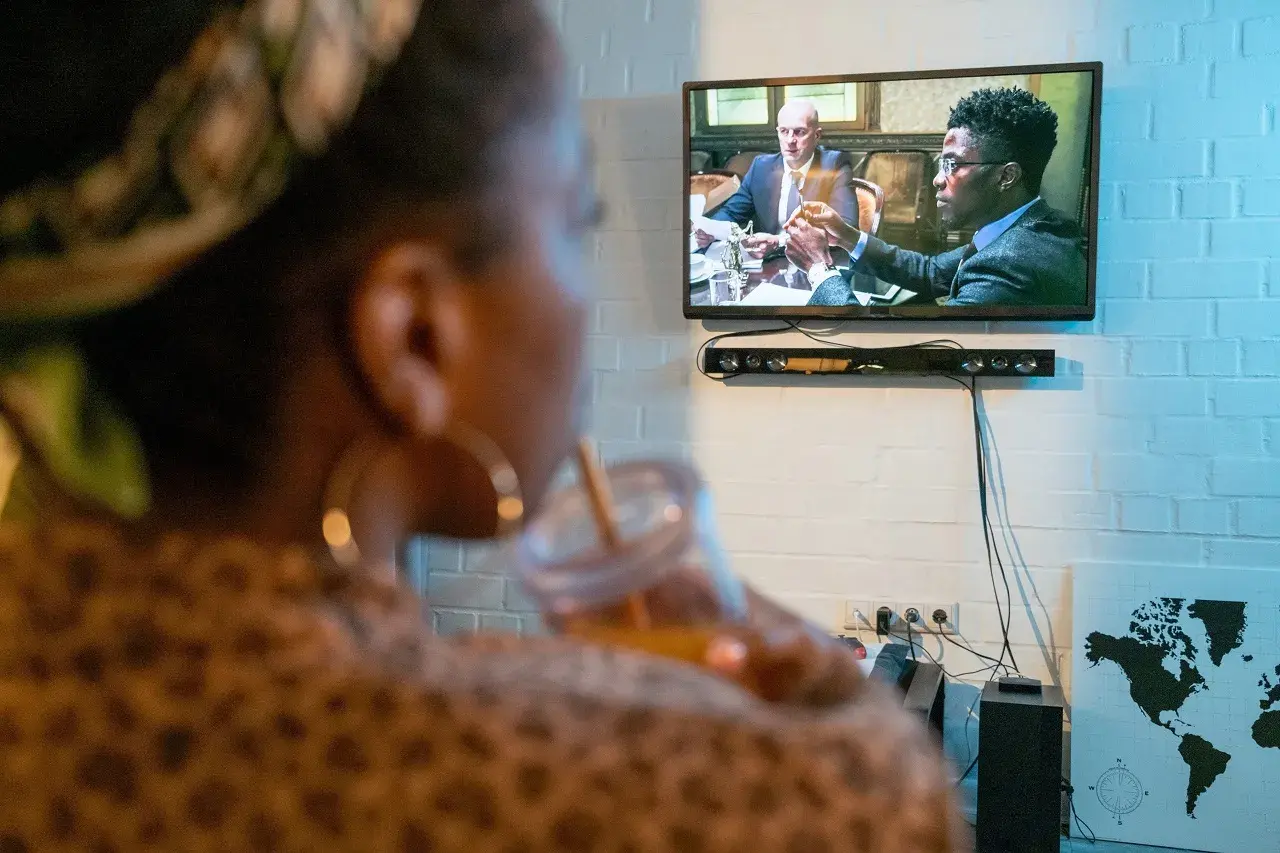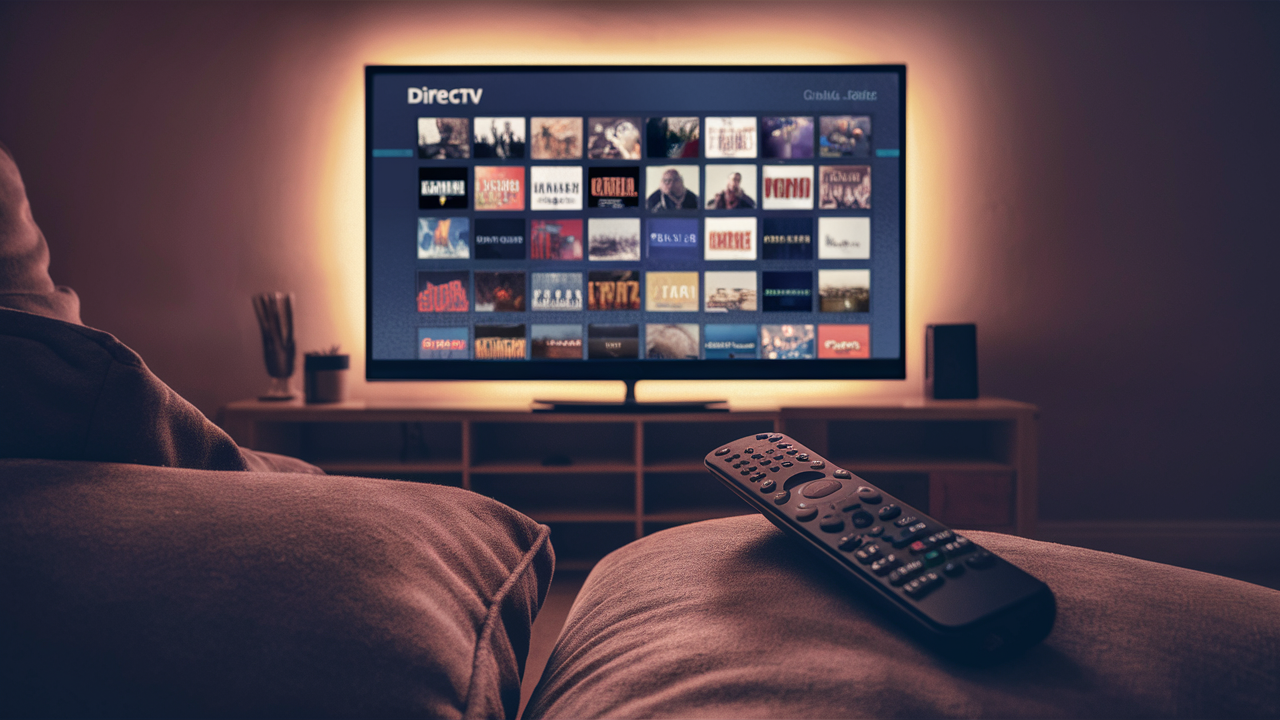
In the ever-changing world of home entertainment, DIRECTV has become a leading distributor of satellite television services. For most households, DIRECTV reaches normal service in terms of the basic channels and premium programming, catering to a variety of viewing preferences. However, to be able to do this with Directv you have to have your television set up properly. In this manual, we show the many choices and settings you must decide on to get a fully beneficial view of your DIRECTV system so that it provides you with as clear a picture & and sound quality as possible.
Understanding DIRECTV and Your TV
Before delving into the minutiae of TV settings, one needs first to have a general awareness of how DIRECTV operates. DirecTV sends TV shows via satellite signals, which a satellite dish placed at your house picks up. A DIRECTV receiver (or DVR) linked to your TV then receives this signal. The receiver decodes the signal and delivers it to your TV so you may enjoy movies and programming.
Both your TV and your Directv receiver must be set correctly if you want the optimum experience. This includes choosing the right input, changing image settings, and making sure audio levels are ideal.
Selecting the Correct Input
Choosing a suitable input source is one of the most basic actions in configuring your TV for DIRECTV. Multiple input choices including HDMI, AV, and Components abound on modern TVs. You may choose the appropriate input as follows:
- Find the Input Port: See where your TV is linked to the DIRECTV receiver. Though some older TV models may have it linked via AV or Component connectors, most often it is connected via an HDMI port.
- Use the TV Remote to access Press the "Input" or "Source" button on your TV remote. There will show on the screen a list of accessible input sources.
- Choose the suitable input. Go over the list and choose the input— HDMI 1, HDMI 2, AV, etc.—where your Directv receiver is attached.
Your TV is getting the signal from the DIRECTV receiver when you see the LIVE TV broadcast or the HOME screen after the right input is chosen.
Picture Settings for Optimal Viewing
To ensure that you get the best possible picture quality from DIRECTV, it’s important to adjust your TV’s picture settings. Here are some key settings to consider:
1. Resolution
DirecTV provides SD (Standard Definition), HD (High Definition), and 4K Ultra HD among other resolutions. The resolution settings of your TV should coincide with those of both your TV and DirecTV receiver so that you are viewing materials in the best possible quality.
- Should you have an HD TV, adjust the resolution to 1080p for optimal visual quality.
- Set the resolution to 2160p if you have a 4K TV and a suitable Directv receiver.
To adjust the resolution settings:
- Open TV Preferences: Get the TV's settings menu with your TV remote.
- Choose display or picture settings: Find the section on image or display options.
- Change resolution: Choose the resolution fit for your TV's capability.
2. Aspect Ratio
The TV screen's width-to-height ratio is its aspect ratio. Among common aspect ratios are 4:3 (standard) and 16:9 (widescreen). Since most current material is created in 16:9, it's advised to have your TV set in this aspect ratio for optimal viewing experience.
To adjust the aspect ratio:
- Review picture settings: See the image settings menu on your TV.
- Aspect Ratio Selected: View in widescreen by selecting 16:9.
3. Picture Mode
Most TVs provide Standard, Vibrant, Movie, and Game among other image options. Every option is meant to maximize the image settings for certain kinds of material. Using the Standard or Movie mode is usually ideal for viewing TV with DIRECTV.
- Standard Mode offers reasonable settings for daily viewing.
- With softer hues and lower brightness, Movie Mode offers a more cinematic experience.
To select the picture mode:
- Review picture settings: See the image settings menu on your TV.
- Use Select Picture Mode: Select the setting appropriate for your viewing taste.
4. Brightness, Contrast, and Sharpness
Your viewing experience may be much improved by adjusting the sharpness, contrast, and brightness levels.
- Change brightness to make sure the image is neither black nor overly brilliant.
- Increase contrast to let the picture's darkest and brightest elements stand out more clearly.
- To clean edges and details without adding noise, change sharpness.
Try these values to get the ideal balance for your viewing situation.
Audio Settings for Enhanced Sound
While picture quality is crucial, audio quality is equally important for an immersive viewing experience. Here are some audio settings to consider:
1. Audio Output
Make sure the audio output of your TV is in proper configuration if you have an external sound system—such as a soundbar or home theater system.
- Set the audio output of your TV to TV Speakers if it has built-in speakers.
- If you are utilizing an external sound system, adjust the audio output to the suitable external choice (HDTV ARC, optical, etc.).
To modify the audio output: - Access Audio Settings: Access the audio settings option using your TV remote.
- Choose Audio Output: Depending on your arrangement, choose the appropriate audio output choice.
2. Sound Mode
Similar to picture modes, TVs often come with different sound modes such as Standard, Movie, Music, and Game. These modes optimize the audio settings for different types of content.
- Standard Mode: Suitable for everyday viewing.
- Movie Mode: Enhances dialogue clarity and provides a cinematic sound experience.
- Music Mode: Optimizes settings for listening to music.
To select the sound mode:
- Access Audio Settings: Go to the audio settings menu on your TV.
- Select Sound Mode: Choose the mode that best suits your content type.
3. Volume Leveling
Some TVs offer volume leveling features that prevent sudden increases in volume, especially during commercials. This can be a useful feature to enable a more consistent audio experience.
To enable volume leveling:
- Access Audio Settings: Using your TV remote, go to the audio settings menu.
- Enable Volume Leveling: Look for options like Auto Volume or Volume Leveling and turn it on.
Advanced Settings for Enthusiasts
For those who want to go a step further in optimizing their DIRECTV experience, here are some advanced settings and tips:
1. Color Calibration
Expert color calibration offers your TV the most exact colors. Although this often needs both knowledge and a calibration instrument, some TVs include built-in calibration wizards that walk you through the procedure.
2. Motion Smoothing
Particularly in fast-moving sequences like sports, motion smoothing may assist reduce motion blur. Some viewers, meantime, feel it gives TV broadcasts and movies a strange appearance. To see which you like, try turning this function on or off.
3. Surround Sound
Make sure your DIRECTV receiver is configured to produce surround sound if you have one. Your DIRECTV receiver's audio settings will let you do this.
Troubleshooting Common Issues
Even with the best settings, you might encounter some issues while using DIRECTV. Here are a few common problems and their solutions:
1. No Signal
Should your TV show a "No Signal," make sure the directional V receiver is turned on and the proper input source is chosen. Make sure all cable connections are tight by looking over them.
2. Poor Picture Quality
If the picture quality is poor, verify that the resolution settings on both your TV and DIRECTV receiver are correctly set. Ensure that your satellite dish is not obstructed and is properly aligned.
3. Audio Sync Issues
If the audio is out of sync with the video, try adjusting the audio delay settings on your TV or DIRECTV receiver. This can usually be found in the audio settings menu.
Conclusion
Configuring your TV with DirecTV calls for more than simply electricity and a cable connection. Your watching experience will improve and you will be able to appreciate the whole spectrum of programming available from DIRECTV by carefully choosing the right input, changing image and audio settings, and resolving any problems.
If you follow the advice provided in this guide to ensure that your TV is set up correctly, every watching session shall be an enjoyable one. Regardless if you're watching the latest blockbuster motion picture, backing up your favorite sports team, or keeping up to speed with a television show -- having the correct settings can make all the difference. Make the most out of DIRECTV.
Transform your viewing experience with DirecTV! Call us today at +1 855-213-2250 to explore our plans and find the perfect package for you. Our experts are ready to assist you and get you set up with top-notch entertainment. Don’t wait—contact us now!