Hughesnet is by far among the most famous satellite internet service providers mainly for regions that have no access to cable and fibre internet. Satellite-based internet operation involves sending information between a small dish installed in your home and satellites that are in space around the Earth. This enables Hughesnet to offer internet connectivity in regions that do not have fixed broadband connections or are not covered by wired broadband networks.
But which equipment do you require to connect the Hughesnet satellite internet facilities and make them functional? Here is an overview of the basic Hughesnet equipment and installation requirements:
Satellite Dish
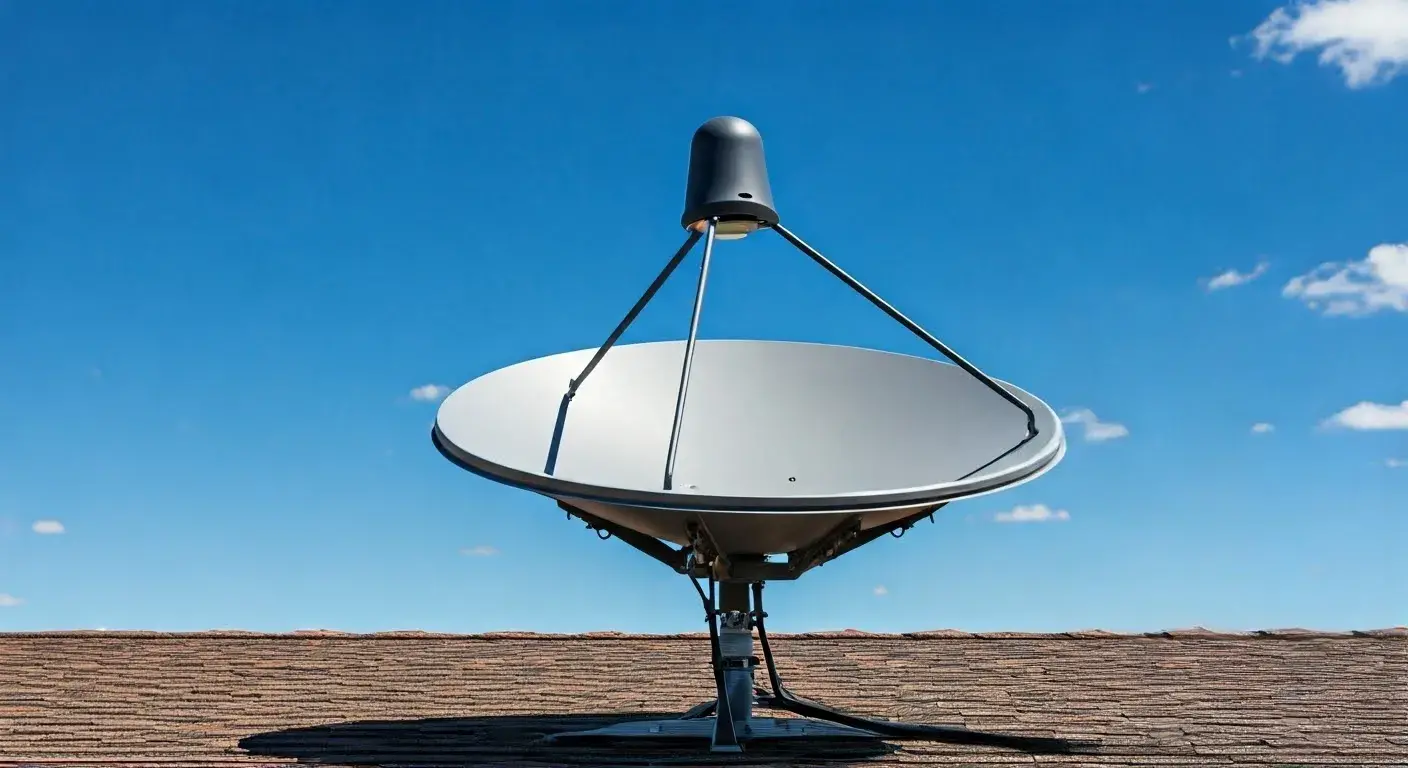
The most crucial tool of Hughesnet is the small wireless dish that is fixed on the roof of any building, consisting of an antenna that transmits and receives wireless data signals with the help of satellites in space. The satellite dish that Hughesnet uses is approximately 24 inches in width and weighs less than 10 pounds. It is specific to link up to Hughesnet’s specific satellites and frequency channels that may not be available with other modems.
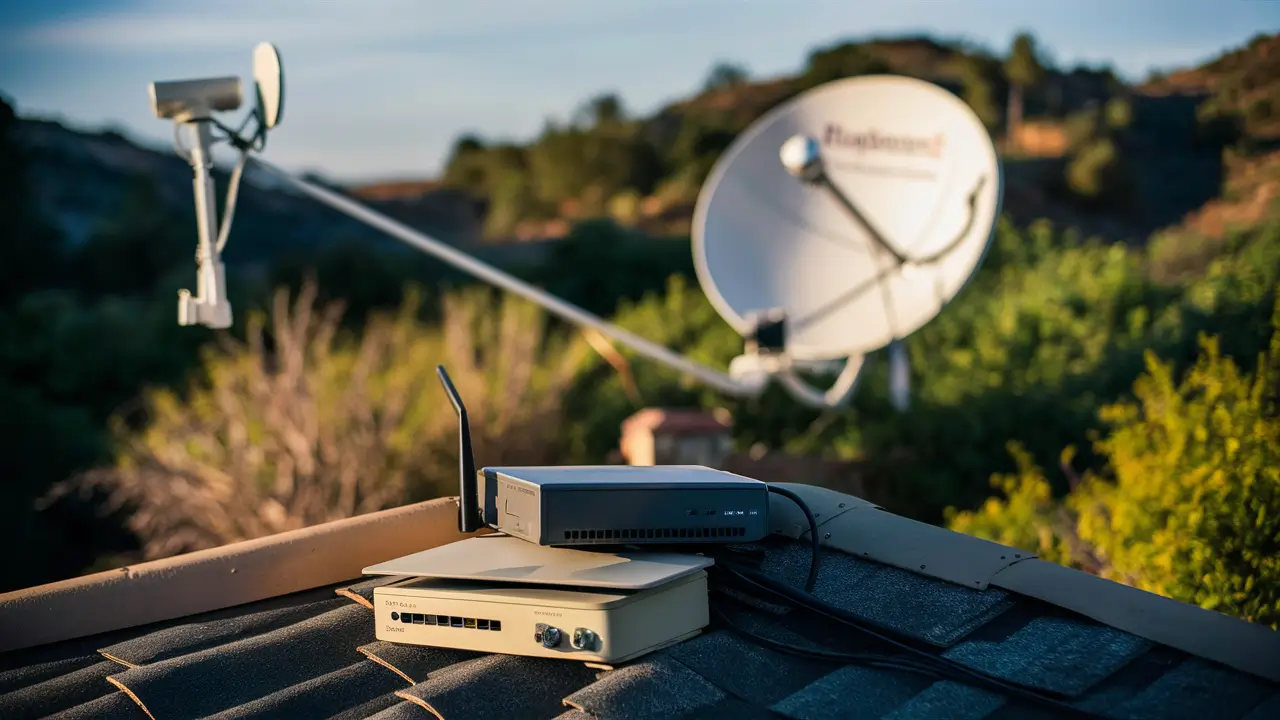
The dish has to be placed on a clear area in which it can view the southern sky where the Hughesnet satellites are located. It is typically installed on the roof or a pole for better signal connection as indicated in the picture below. These aspects are crucial for the optimal positioning and installation of the satellite dish to get the best speed and performance of the Hughesnet.
Modem/Router
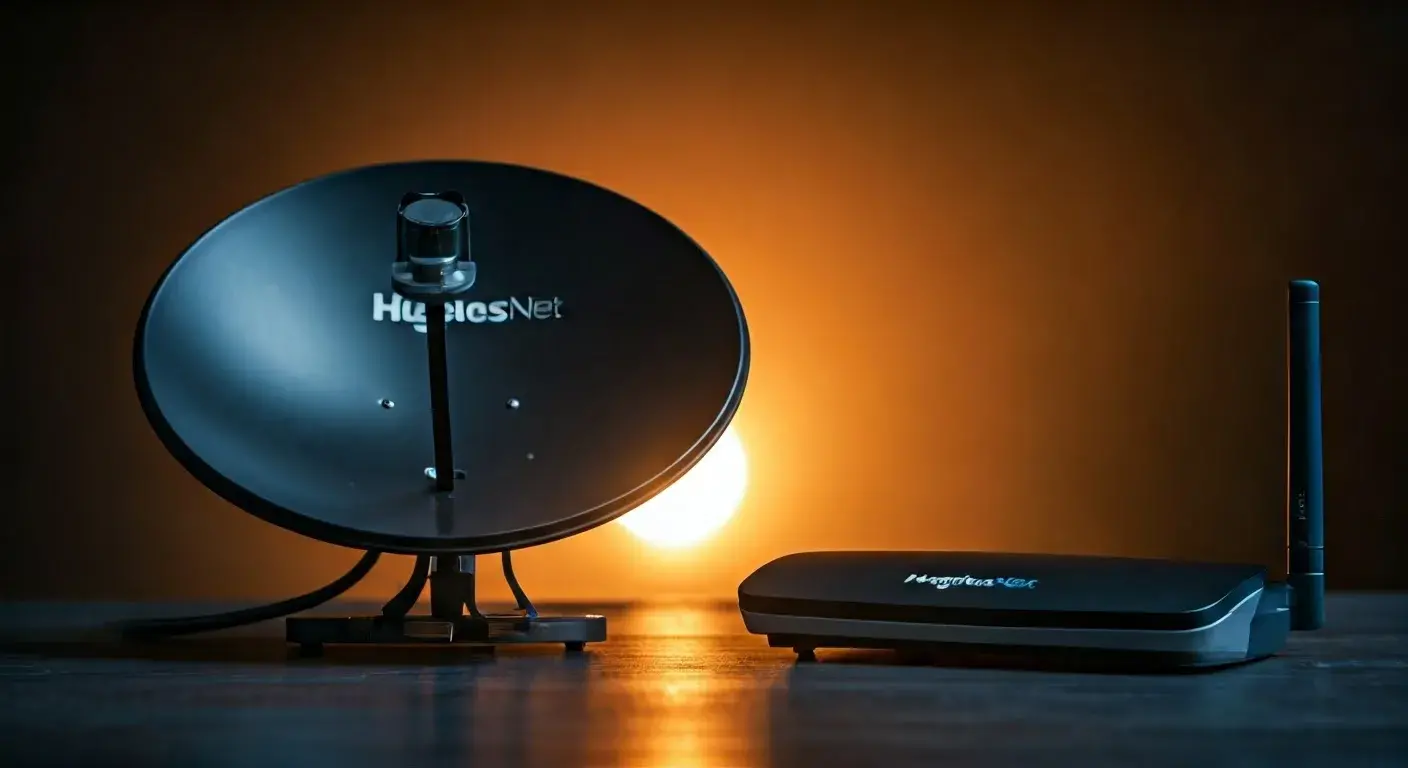
Besides the satellite dish outside your home, you also require having a Hughesnet modem and router inside your home to pick the signal and display a wifi network within your house. Hughesnet will provide you with a single modem/ wireless router or if you desire, you can rent two different devices, a modem and a router.
Finally, the Hughesnet modem is connected to the dish with the ability to decode the satellite signals into two-way internet data. It also modulates the radio frequency satellite signals to Ethernet connections for those wired networks. These wireless router functions essentially mean the internet connectivity from the modem has been transformed into WiFi signals in the establishment of your home wireless network.
Cables and Connectors
Several cable types are used in the course of the installation of Hughesnet; these are cables that connect the satellite dish to the modem and the modem to your devices. The most common cables used include:
- Coaxial cables: Its function is to transfer signals between the dish and modem
- Ethernet cables: Devices should be connected directly to the modem through the Ethernet connection points.
- Power cables: Transfer power to the satellite, modem, and the gadgets that are in touch with the satellite
Coax connections require F-connectors for each end of the cables, and BNC connectors for the VGA connections. When it comes to selecting cables it is therefore important to ensure that you are using cables that are of high quality, especially in a climate that experiences a lot of weather changes, and are meant to be permanently fixed outdoors.
Software/Apps
Another key area for Hughesnet is the fact that its setup involves installing and downloading several software applications and apps. This includes:
- Hughesnet account app: They may wish to alter various aspects of their account such as the username, password, profile picture, or email address.
- Hughesnet security suite: This comprises features like antivirus, and firewall to secure the devices.
- Hughesnet speed app: Carry out tests, check the availability, and performance of the internet
- Hughesnet WiFi app: Establish wireless network identifiers and authentication Firestore
It is also clear that these basic software tools play the role of setting up and enabling you to manage your Hughesnet system effectively.
Who Performs the Installation?
There are two choices that you have with regards to having all of the required Hughesnet equipment installed at your home – you may call professional installation or do it on your own as the company refers to it as DIY.
It is recommendable to entrust the installation process to qualified Hughesnet technicians to enable optimal settings for speeds and general usage. They take time to understand the equipment, Cabling, and dish alignment hence they provide the best services as expected by the end user. There is usually an installation fee involving $99-$299 for the system to be installed by professionals.
DIY installation also doesn’t require an installation fee. Hughesnet offers instructions and documents to help with the installation process in case you wish to do it by yourself. However, getting professional help is often out of the question due to cost, and many people will attempt DIY installations, which may lead to equipment problems or inadequate internet connectivity if placed in the wrong way.
Regardless of the installation type you choose, it is advisable to employ certified Hughesnet equipment and follow the guidelines given above to prevent the occurrence of problems. It seems to me that having the correct modem, cables, connectors, satellite dish, apps, and support gives the full package that is needed for getting the perfect experience of Hughesnet satellite internet speed.


