In today's digitally connected world, a strong and stable WiFi connection is essential for work, entertainment, and staying in touch with loved ones. If you're a HughesNet user, you may find areas in your home where the WiFi signal is weak or non-existent. This is where a WiFi extender can be a game-changer. In this guide, we'll walk you through everything you need to know about setting up your HughesNet WiFi extender, ensuring you have a seamless and reliable internet connection throughout your home.
Understanding WiFi Extenders
WiFi extenders, also known as WiFi boosters or repeaters, amplify your existing WiFi signal, allowing it to reach areas of your home that the router alone can't cover. These devices receive the signal from your router and retransmit it, effectively extending the coverage area.
Why You Need a WiFi Extender
Before diving into the setup process, it's important to understand why you might need a WiFi extender:
-
Eliminate Dead Zones: If you have areas in your home where the WiFi signal is weak or non-existent, a WiFi extender can help eliminate these dead zones.
-
Improved Connectivity: A WiFi extender can provide a stronger and more stable connection in areas where the signal is weak, improving your overall internet experience.
-
Support for Multiple Devices: With a WiFi extender, you can connect multiple devices to the internet without compromising on speed and performance.
Choosing the Right WiFi Extender
Not all WiFi extenders are created equal, and it's important to choose one that is compatible with your HughesNet router. Here are a few factors to consider:
-
Compatibility: Ensure that the WiFi extender you choose is compatible with your HughesNet router. Check the manufacturer's specifications for compatibility information.
-
Range: Consider the range of the WiFi extender. Choose a device that can cover the areas of your home where the signal is weak.
-
Speed: Look for a WiFi extender that supports high-speed connections, especially if you have multiple devices or use the internet for activities like streaming and gaming.
-
Ease of Setup: Choose a WiFi extender that is easy to set up and configure. Some devices come with user-friendly apps or web interfaces that simplify the setup process.
Setting Up Your HughesNet WiFi Extender
Now that you've chosen the right WiFi extender, let's dive into the setup process. Follow these steps to ensure a smooth and successful installation:
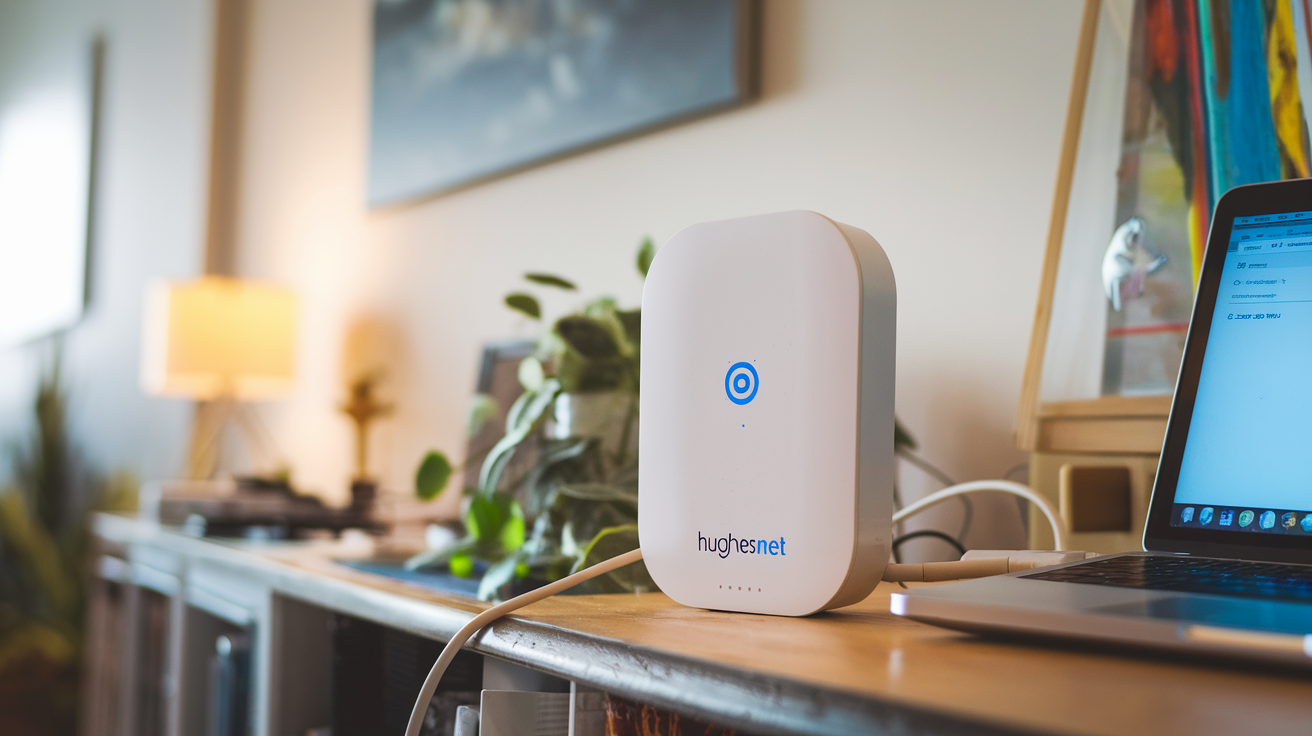
1. Unbox Your WiFi Extender:
Start by unboxing your WiFi extender and ensure that all the necessary components are included. This typically includes the WiFi extender, power adapter, and any necessary cables.
2. Place the Extender:
Position the WiFi extender halfway between your HughesNet router and the area where you need improved WiFi coverage. Avoid placing the extender too far from the router, as this can weaken the signal.
3. Power On the Extender:
Plug the WiFi extender into a power outlet and turn it on. Most extenders have an indicator light that will turn on when the device is powered up.
4. Connect to the Extender:
Use your computer, smartphone, or tablet to connect to the WiFi extender. Look for the extender's default SSID (network name) in your device's WiFi settings and connect to it.
5. Access the Setup Page:
Open a web browser and enter the extender's IP address in the address bar. This information is usually provided in the extender's user manual. This will take you to the extender's setup page.
6. Configure the Extender:
Follow the on-screen instructions to configure the extender. You'll need to enter the SSID and password of your HughesNet router to connect the extender to your existing network. Some extenders also offer a WPS (Wi-Fi Protected Setup) option for a quicker setup.
7. Test the Connection:
Once the setup is complete, test the connection by moving to the area where you need improved coverage. Check the signal strength and ensure that you have a stable and reliable connection.
8. Optimize the Placement:
If necessary, adjust the placement of the WiFi extender to optimize the signal strength. You may need to experiment with different locations to find the best spot for maximum coverage.
Troubleshooting Common Issues
Even with a straightforward setup process, you may encounter some issues. Here are a few common problems and their solutions:
-
Weak Signal: If the signal strength is still weak, try moving the WiFi extender closer to the router or adjusting the antennas (if applicable).
-
Interference: Avoid placing the extender near devices that can cause interference, such as microwaves, cordless phones, or other electronic devices.
-
Firmware Updates: Ensure that your WiFi extender's firmware is up to date. Check the manufacturer's website for any available updates and follow the instructions to install them.
-
Factory Reset: If you're experiencing persistent issues, consider performing a factory reset on the extender and going through the setup process again.
Conclusion
Setting up a HughesNet WiFi extender can significantly improve your home internet experience by eliminating dead zones and providing a stronger, more reliable connection. By following the steps outlined in this guide, you can ensure a seamless setup process and enjoy uninterrupted internet access throughout your home.
Remember, the key to a successful WiFi extender setup is choosing the right device, positioning it correctly, and configuring it properly. With a little patience and experimentation, you'll be able to extend your HughesNet WiFi coverage and enjoy a better online experience.
Call (888) 797-3141 and Start Your Hughesnet Internet Service Now!