-
Posted on: 13 Aug 2024

-
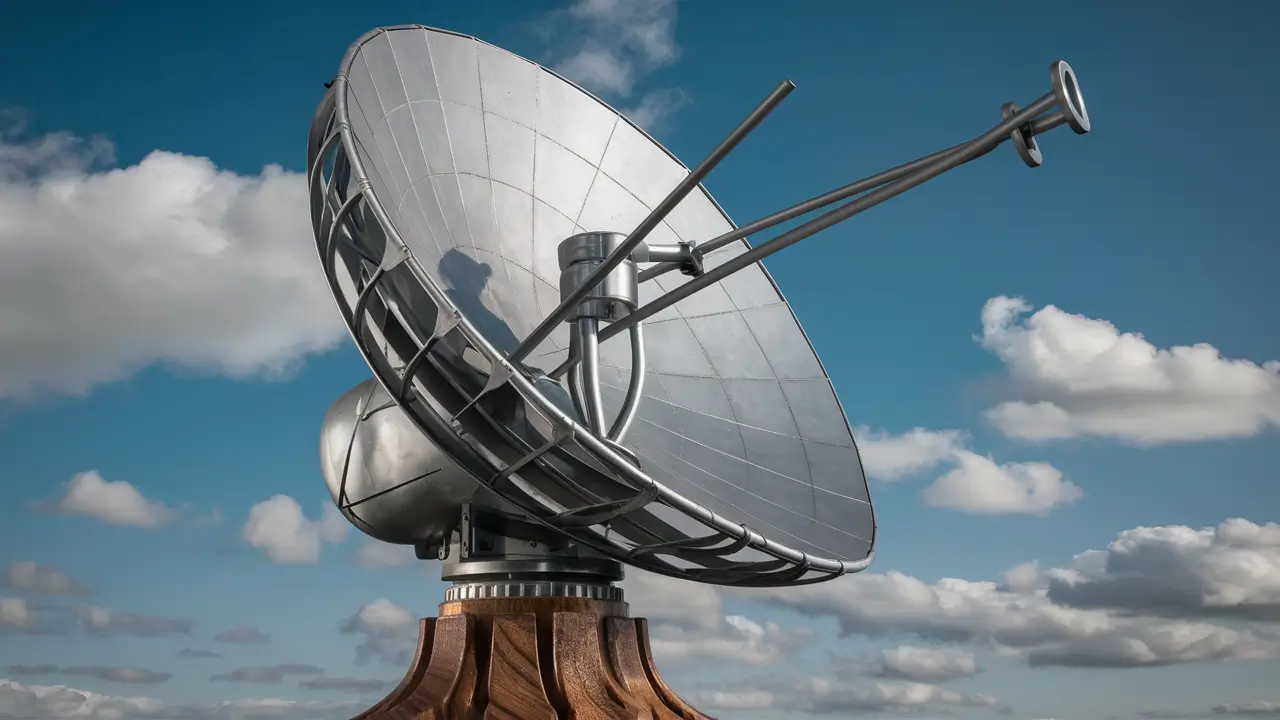
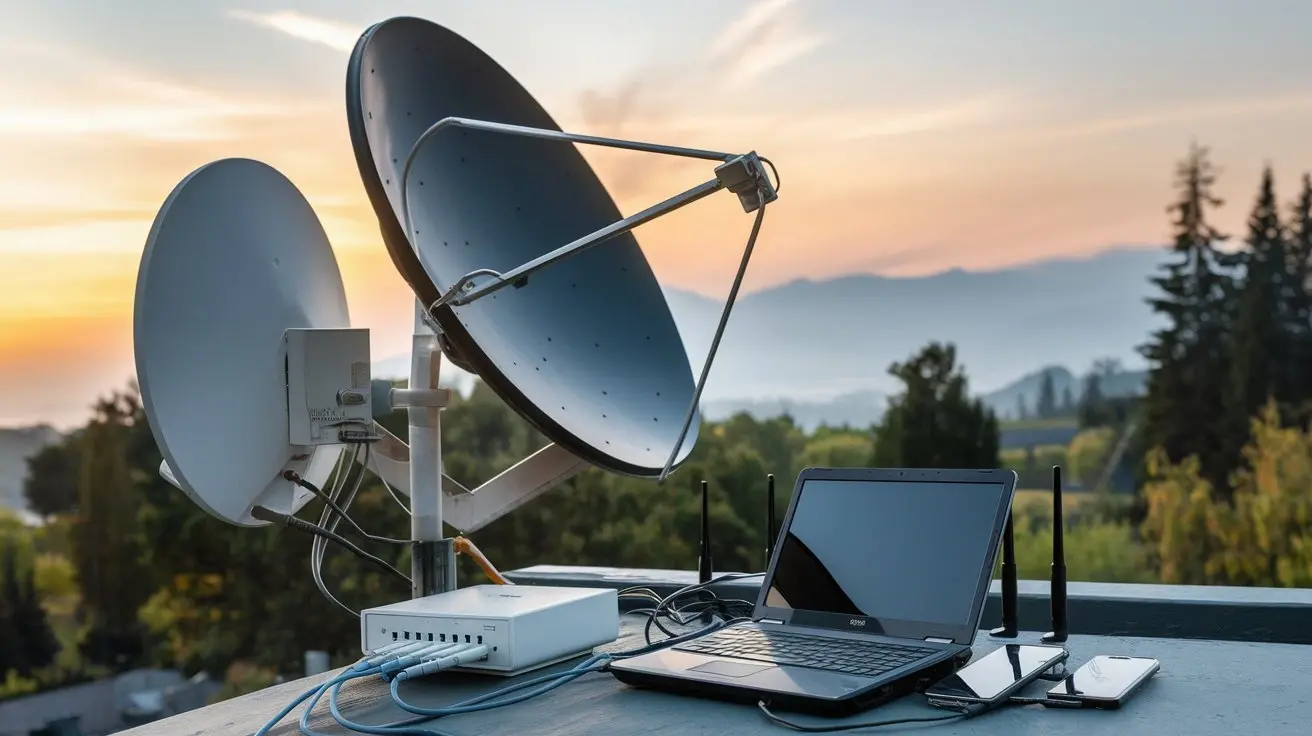
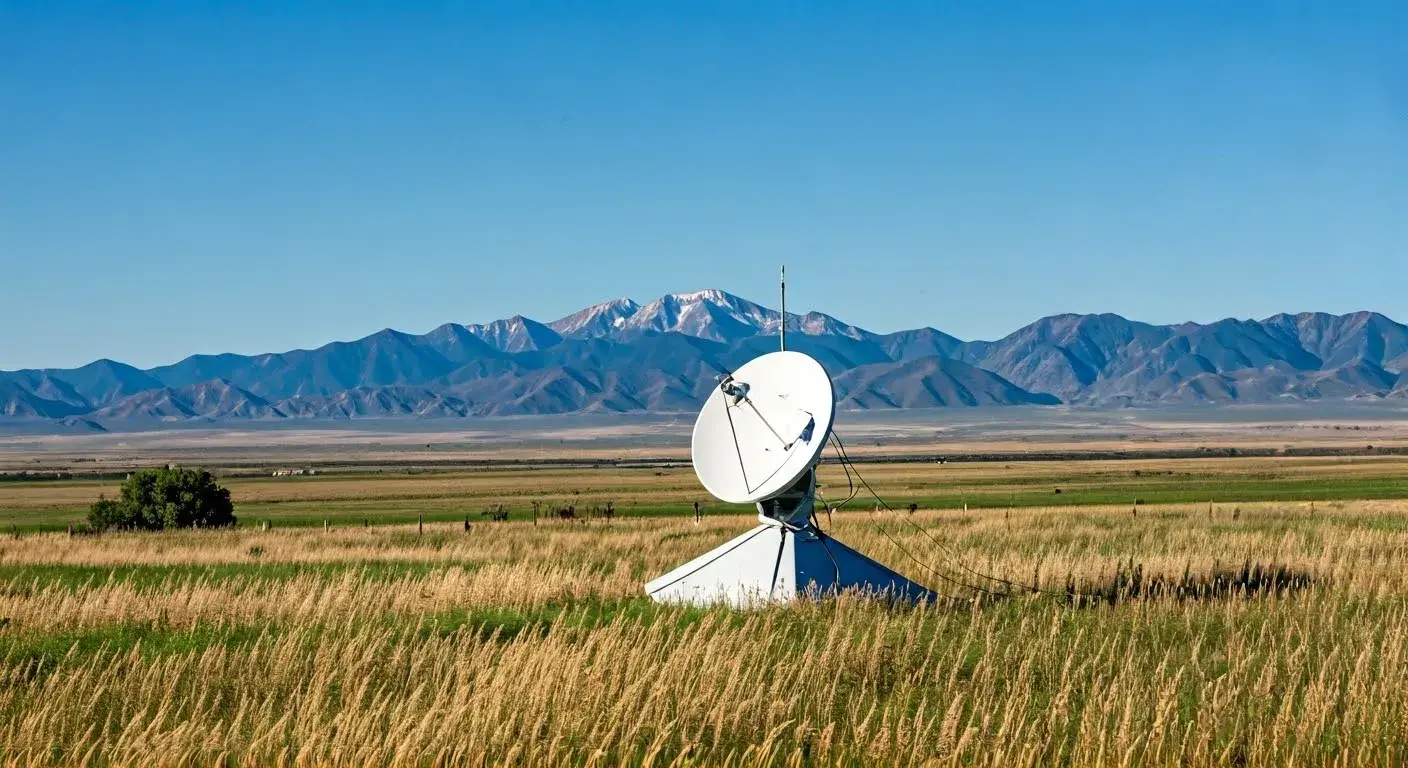
By doing this, your old satellite dish that you no longer use can be reused to become an antenna to receive over the air signals for your television. Since broadcast television is transitioning from analog to digital, you can now receive many more free HD stations just with an antenna. Yes, simply converting that old unused satellite dish into one is one of the enjoyable do it yourself projects you can undertake. Below are the steps to follow in converting a satellite dish to an antenna:
What You Need
- Satellite dish (the bigger the better with sizes of at least 3-4 feet being preferred)
- Coaxial cable, more than 50 feet
- F-type female connector
- Mounting hardware of antennas such as masts, brackets, among others.
- It is advisable to drill with different types of drill bits.
- Paint/primer (optional)
- Other basic hand tools – wrenches, screwdrivers and the like.
The initial step is to uninstall any previous components and dependencies of the current software.
This initial process involves the complete demounting of everything that is located inside the reflector as well as on the dish. Unbolt the LNB (low noise block down converter) and the feed horn from the dish at the focal point. Also remove any brackets, arms, or any other elements of the mounting equipment. It is applicable to those processes where you want the bare surface of the dish exposed.
Step 2 – Prepare the dish by washing it and painting it in the best possible manner.
Wash the dish thoroughly with water to help in washing off any dirt that might be on the dish. This also prepares the surface if you decide to paint it. Painting the dish an accent color using an aerosol spray is not mandatory, but it does add a bit of polished look to the dish. Rub the surface with sandpaper, apply metal primer and paint your chosen color using a spray can.
Step 3 – Mounting the dish:
Place a mast or pole, mounting brackets which will enable you to fix the dish where you intend to mount your new antenna. This is because the dish has to be placed in the direction of the TV broadcast towers in your region, preferably the direction of the nearest big city. Ensure that it is tightly screwed and in a position where it cannot be easily knocked over.
Step 4 – Drill Holes for Wiring
Coaxial cable must be installed from the place where your TV or receiver will be placed to the new antenna. On the bottom side of the dish, it is required to make a hole big enough to accommodate the coaxial cable connector. Pass the cable through the hole with additional cable length on both the side of the dish and the receiver.
Finally the coaxial cable needs to be connected.
Screw one end of the cable to an f-type female connector then place the other end of the cable on the hole you drilled on the dish. When it comes to sound reception, you want it to be connected as close to the center of the dish as possible. Take off any insulation on the wire for the last half-inch and bring the female connector directly over the bare wire.
Step 6: Position the Antenna
With the help of your friend, slowly turn and twist the antenna while you are observing the indicator of the signal. The main idea is to determine that direction which leads to the attraction of the greatest number of channels with the least interference. Screw or otherwise fasten everything in position when you have the perfect position that you want to have.
Step 7 - Connect the Cable to the TV
At the other end of the coaxial cable, connect another f-type female connector. Plug it into the HDTV antenna input of your television or your receiver if you have one. Ensure that all connections are made in a way that will ensure they are protected from the harshest weather conditions. Congratulations, you have successfully created an HDTV antenna from a recycled satellite dish!
Tips
- The bigger the dish the more signal that can be collected by the dish. Ideally, the dish should be about 3-4 feet in diameter.
- Increase the length of the antenna or install it on the roof or pole in order to enhance its ability to receive transmissions.
- A rotor is useful if you wish to rotate the dish antenna from another room using some sort of switch.
- Moreover, it will be advisable to use a signal amplifier when using the new antenna for the first time.
- Place the antenna as far as possible from electric power lines and trees that may hinder the reception of the signal.
- ALWAYS ensure that the antenna is grounded by using copper wire and ground rods.
This article is an easy-to-follow do-it-yourself guide on how you can convert your old satellite dish to an HDTV antenna. Instead of gathering dust or leaves, let that unused dish collect channels. With a bit of work, some simple equipment, and second-hand materials, you will receive free broadcasts without having to spend much on an antenna.
Ready to upgrade your TV experience? Call us now at (877) 471-4808 to find the perfect Dish Network plan for you! Don’t miss out on great entertainment—our team is here to help you choose the best package and get you started today.


