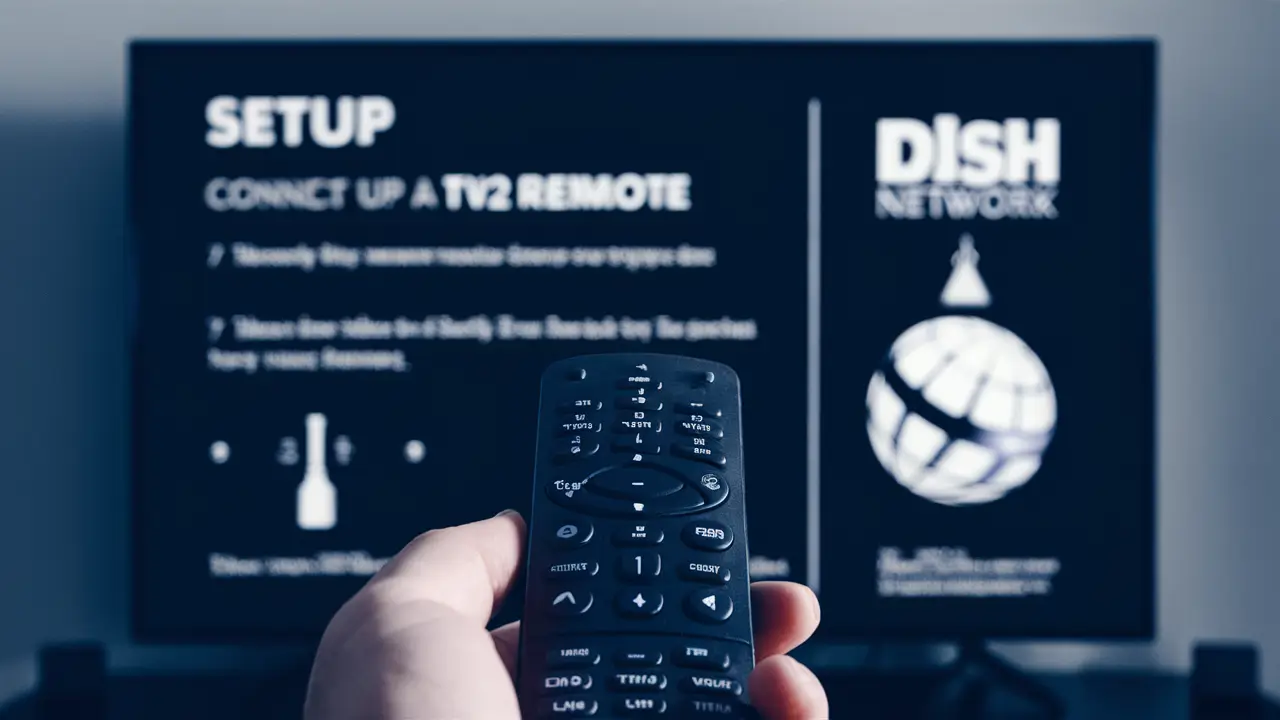
There are certain advantages to having several televisions linked to your Dish Network satellite service. TV2 is as functional as TV1; with a TV2 remote, all the same programs and additional features on the second TV can be enjoyed. This is how you can sync two TVs and use the remote to control the second one that is connected to the first one.
What You Need
- Dish Network, a compatible receiver box for TV 2
- TV2 remote
- New batteries for the remote
- Second TV
Types of TV2 Remotes
Now let’s look at the differences between the TV2 remotes that Dish Network provides for use with their different receivers. Common Dish TV2 remotes include:
- TV2 UHF Pro Remote – This is a remote that transmits signals through Ultra High Frequency rather than Infrared. Can program your Dish receiver from greater distances and even through walls.
- IR Mini Remote: – This is a simple Small size Infrared TV2-type remote. Must be in direct line of sight of the Dish receiver box. Low-cost option.
- Dual IR/UHF Pro Remote – A remote control that has both IR and RF UHF capabilities for switching between the two. Gives you flexibility.
Ensure you have the correct TV2 remote that works with the particular Dish Network receiver you have. The model number of the remote should correspond to the input ports available in your receiver box.
Inserting Batteries
To operate your TV2 set, you will have to install good batteries in the remote control for it to have power for its first use.
- Hand over the remote and search for a small door which is supposed to be in the back of the remote. This opens in some way either by pulling or sliding.
- To replace the batteries, open the compartment and insert two new AA alkaline or AAA batteries of the appropriate size. Make sure that the top of the + and – symbols on the batteries with marked polarity match the configuration in the battery bay.
- After that, ensure that the batteries are properly fixed in place, and then shut the battery cover. This means that the remote is now ready to be programmed.
Synchronizing with Your Dish Receiver
Next, you will have to couple your TV2 remote with your Dish receiver system through the UHF or IR options.
If you have a UHF Pro remote:
- Switch on the Dish receiver box and the second television set as well.
- Find the T2 button on the internal face of the receiver. Press for switching into the TV2 mode. It should be possible to set the button to quickly flash.
- On the UHF remote, press the SAT button to program the control for the Dish system directly.
- Finally, press the POWER button once to accept that code.
If you have an IR mini remote or IR/UHF Pro combo remote for TV2:
- Turn on your secondary television and Dish receiver box.
- Hold down the MODE button until the light turns solid and the display reads ‘IR.
- Please input the 3-digit remote address from the SYSTEM INFO menu on your television screen.
- Now press POUND. A double blink of the SAT mode key will indicate that the IR communication link has been made.
In this case, the TV2 remote should establish a connection with the Dish Network receiver and be fully functional.
Functions and Features of Second Television that Needs to be Controlled
In addition to tuning your TV2 to satellite programming, if your second television is Dish IR or UHF Pro compatible, then your TV2 remote will also perform basic operations on the secondary TV.
To program TV control:
- Look at the instruction manual of the remote and locate the TV brand code. Search for the code number belonging to your precise TV model brand.
- Power off the television and then press and hold the TV POWER button until all the mode keys flash twice.
- Press the NUMBER buttons and enter the three-digit code from your manual.
- Check whether the volume and power control for the TV operates effectively by pressing the TV POWER and VOLUME buttons. If code acceptance is successful, the mode key will start flashing on the terminal.
If the remote is not working with your secondary TV, try each code option from the list of brands and use steps 2-4 to set it up. Coding the remote as “TV1” is effective on some occasions.
Other TV2 Remote Functions
Now that you have full control of both your Dish receiver and secondary TV with the TV2 remote, you can enjoy operating features like:
- Moving to other channels or flipping through the Program and List Guide
- Remotely managing DVR recordings with the help of the DVR button
- Placing the system into standby sleep mode
- Input selection to select cable boxes or media players that are connected to the HDMI of your television set.
- Accessing On-Demand programming
- Difficulty of using Page Up/Down buttons for PIP multi-view
- I will also enable and disable the closed captions feature.
In just a few simple steps, you are ready to go with an additional Dish TV2 remote to easily control entertainment on other TVs in bedrooms, kitchens, garages, basements, and many other areas! Love being able to seamlessly switch between live sports and news, recorded programs, and everything in between across multiple rooms with just one Dish subscription.
Ready to upgrade your TV experience? Call us now at (877) 471-4808 to find the perfect Dish Network plan for you! Don’t miss out on great entertainment—our team is here to help you choose the best package and get you started today.