Having a second remote for your Dish Network satellite TV system can be very informative. This enables you to operate your receiver box as well as the television from one or more locations in a single room or in two or more rooms. Similarly, programming another Dish remote is also quite easy to do. This is a simple guide that can be used to program a second Dish remote and have it working with the Dish receiver and television in a matter of minutes.
Things You Will Need:
- Dish Network receiver box is another model in dish network equipment.
- The Second Remote control for the Dish Network
- TV to connect receiver box to
The first step in installing the dish receiver box is to simply switch it on.
Ensure that your Dish Network receiver box is on and properly connected to the television set in the usual manner. The receiver should have video playing on the screen of the TV in the normal manner. This will make it possible for the receiver to be paired with the new Dish remote as it is programmed.
Step 2 - Identify The Remote Address
To find the Dish remote address, check the bottom or at the back part of your Dish receiver box for the label Remote Address, and it may appear such as 121XX and write down the address number for the next step. The remote address refers to the physical remote control unit to the receiver in the television system.
Step 3 – Program the New Dish Remote
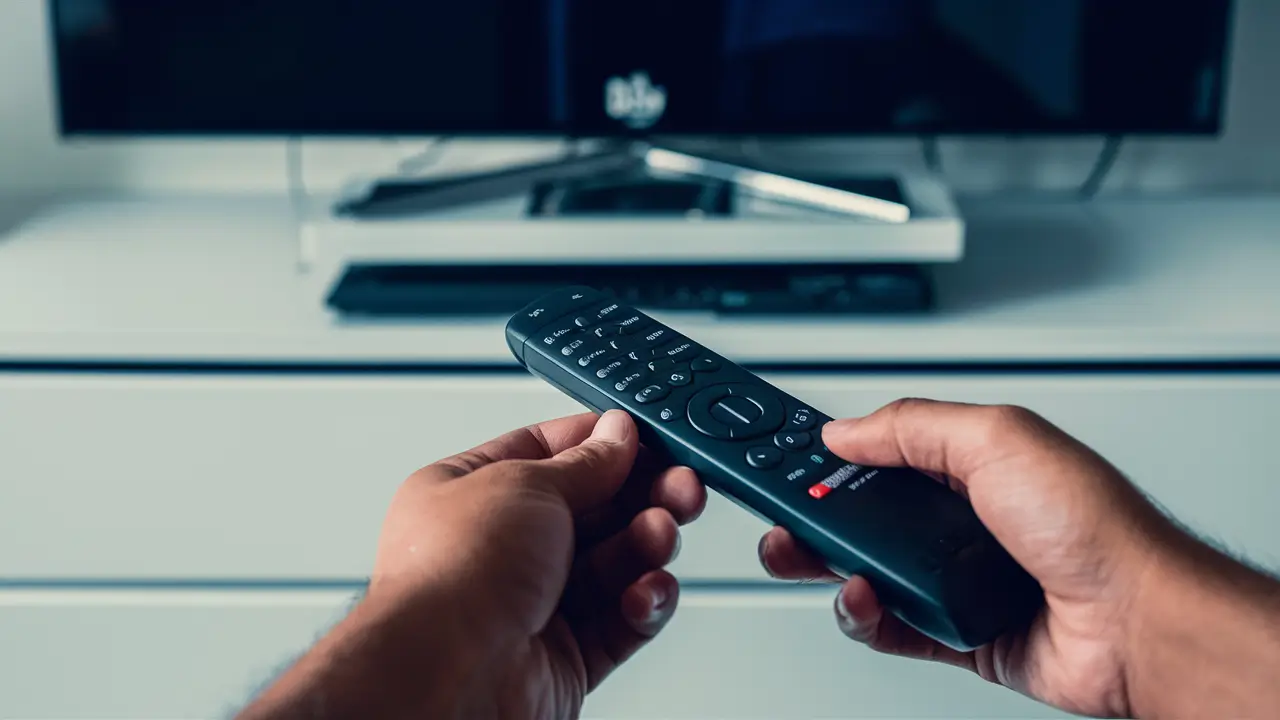
Press a button labeled “Sat” on the second Dish remote control and hold it down. When in the “Sat” mode, press the number buttons on the receiver to key in the desired remote address number. Press the “#” button once. The LED light of the remote must blink a few times to indicate that it had been programmed with the address.
Step 4 - Confirm Programming
Take the second remote and point it at the Dish receiver box and try some fundamental operations such as power, channel up and down and volume controls. If the receiver box responds in the desired manner, then the new remote has been successfully programmed.
Step 5 – Sync the remote to the TV
Although Dish remote has the basic function of regulating a television, it has to be programmed to the television set in the house. Look into your TV manufacturer’s guide and search for the 3-, 4- or 5-digit code for Dish remote controls.
Once you have this code, press and hold the TV power button of your Dish remote control. While holding it, type in your TV’s programming code on the number pad and press the # button once more. The LED on the remote will light up to let you know that it has connected.
The last step in the design of the TV functions is the testing step:
To control your TV with the Dish remote, you should try using the power, volume and mute buttons. If you have been able to complete the code entry successfully, you should be able to operate your TV as fully as possible with the second remote.
And that's it! Once those steps are done, your new Dish Network remote is now programmed and can be used as the second means to operate your satellite receiver and television. This way you can have one remote in many rooms, for example for changing channels, regulating the volume and power on/off.
Additional Tips:
- In the case of the above remote, redo the address and TV code procedures.
- Different colors of cases should be used in order to distinguish the remotes.
- Program third or fourth remotes if needed for more access
- Change the batteries if any of the remotes have low response time.
It is always useful to have more than one Dish Network remotes because this way you can easily take control over your entertainment systems. Using this simple guide, it is easy to add more remotes and it only takes a few minutes to do so.
Ready to upgrade your TV experience? Call us now at (877) 471-4808 to find the perfect Dish Network plan for you! Don’t miss out on great entertainment—our team is here to help you choose the best package and get you started today.


