-
Posted on: 13 Aug 2024
-
Take Your DirecTV Service with You When You Go Camping, Tailgating, or RVing by installing a portable DirecTV satellite dish. For as little as a few pieces of equipment and some simple instructions for installation, you can have hundreds of entertainment channels anytime, anyplace. This guide will take you from the beginning of the process of installing a portable DirecTV satellite dish to the end of the process.
What You Need
- A portable DirecTV satellite dish kit
- Coaxial cable
- DirecTV satellite receiver
- TV
- Compass
The main equipment is the portable satellite dish kit that is meant for DirecTV. It should have the size of a small satellite dish, the stand, and all the necessary cables. Some of the items that you will need to have include DirecTV receiver, Television, coaxial cable for interconnection and a compass to align the dish.
Choose an outdoor area where there is an unobstructed view of the sky if possible
The first step to install your portable DirecTV equipment is to select an ideal outdoor location. This means that you have to place the satellite dish in an area where it will have an unobstructed view of the southern sky, and this may not be easily achievable if the area has many trees or buildings.
The dish has to be rotated as far south as it can in order to receive signals from DirecTV satellites that hover over the equator. Any of these could interfere with the reception of signals and prevent channels from coming in as they should.
If you are in a camp or preparing for a tailgate event, then put the dish in an open area where trees are not very thick and tall vehicles like RVs or trucks are not nearby. Make sure that structures that are high cannot create a shadow over the dish as the sun shifts from one position to another. A good choice might be an unused picnic table or an area free of any objects at all.
Secure Mounting Bracket
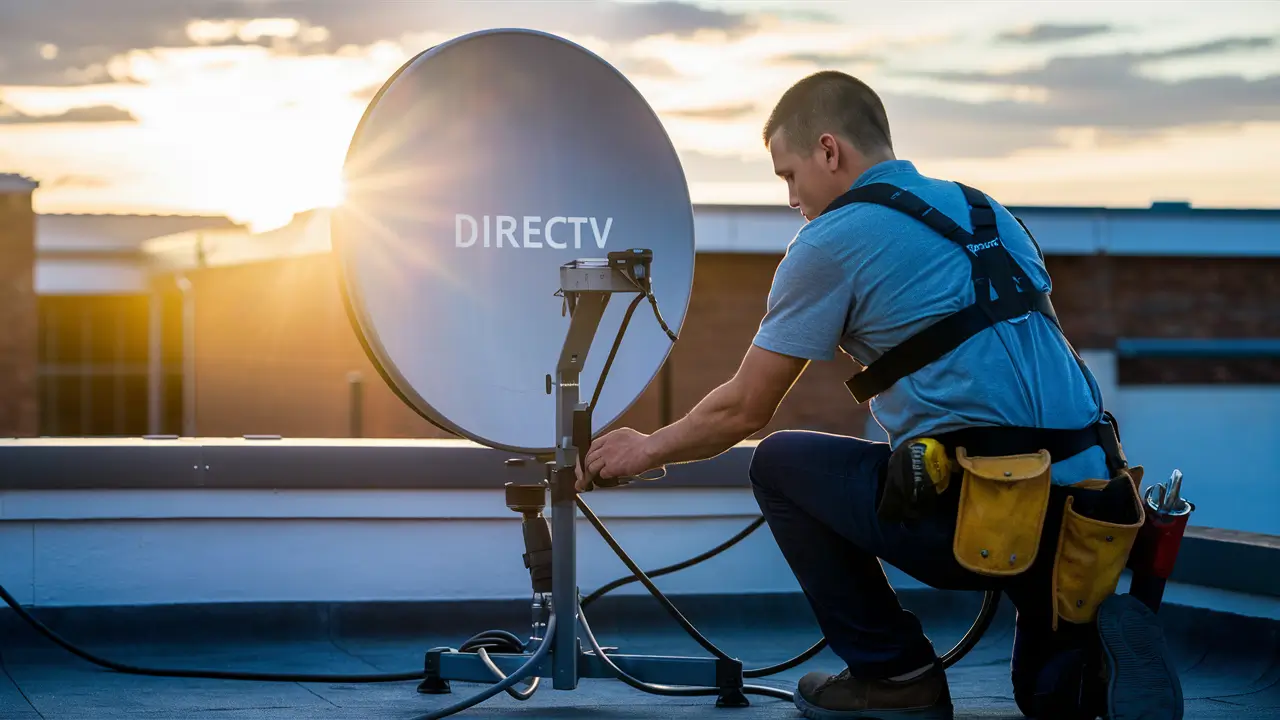
Once the location has been identified, use the satellite dish mounting bracket to support the dish. Portable kits include aluminum brackets that are lightweight but strong enough and can easily be clamped or screwed to a platform. To attach the bracket on a picnic table or roof, it is recommended to fasten the screws directly through the pre-drilled holes at the base of the bracket.
You may also prefer to use a sturdy tripod. Place all the legs flat on the ground and make sure the dish mount is perfectly horizontal on the top. Besides, the dish must remain as motionless as possible, so, better spend some time to stiffen the bracket installation before proceeding.
Attach Satellite Dish
Now that the mounting bracket is in position, you can place the satellite dish. Just plug it into the mount that is intended for that particular portable kit. Tighten any screws or nuts by hand until the dish firmly sits on the base.
This is probably because there is still some freedom in the pointing alignment in terms of the direction the dish is pointed in which will allow for some ability to pivot and tilt the dish. But you don’t want it loose enough that it can be easily moved away from the desired position of where it is needed most. Ensure that the dish stays centrally positioned on top of the mount so that it cannot topple over.
Coaxial cable should be taken to the receiver end
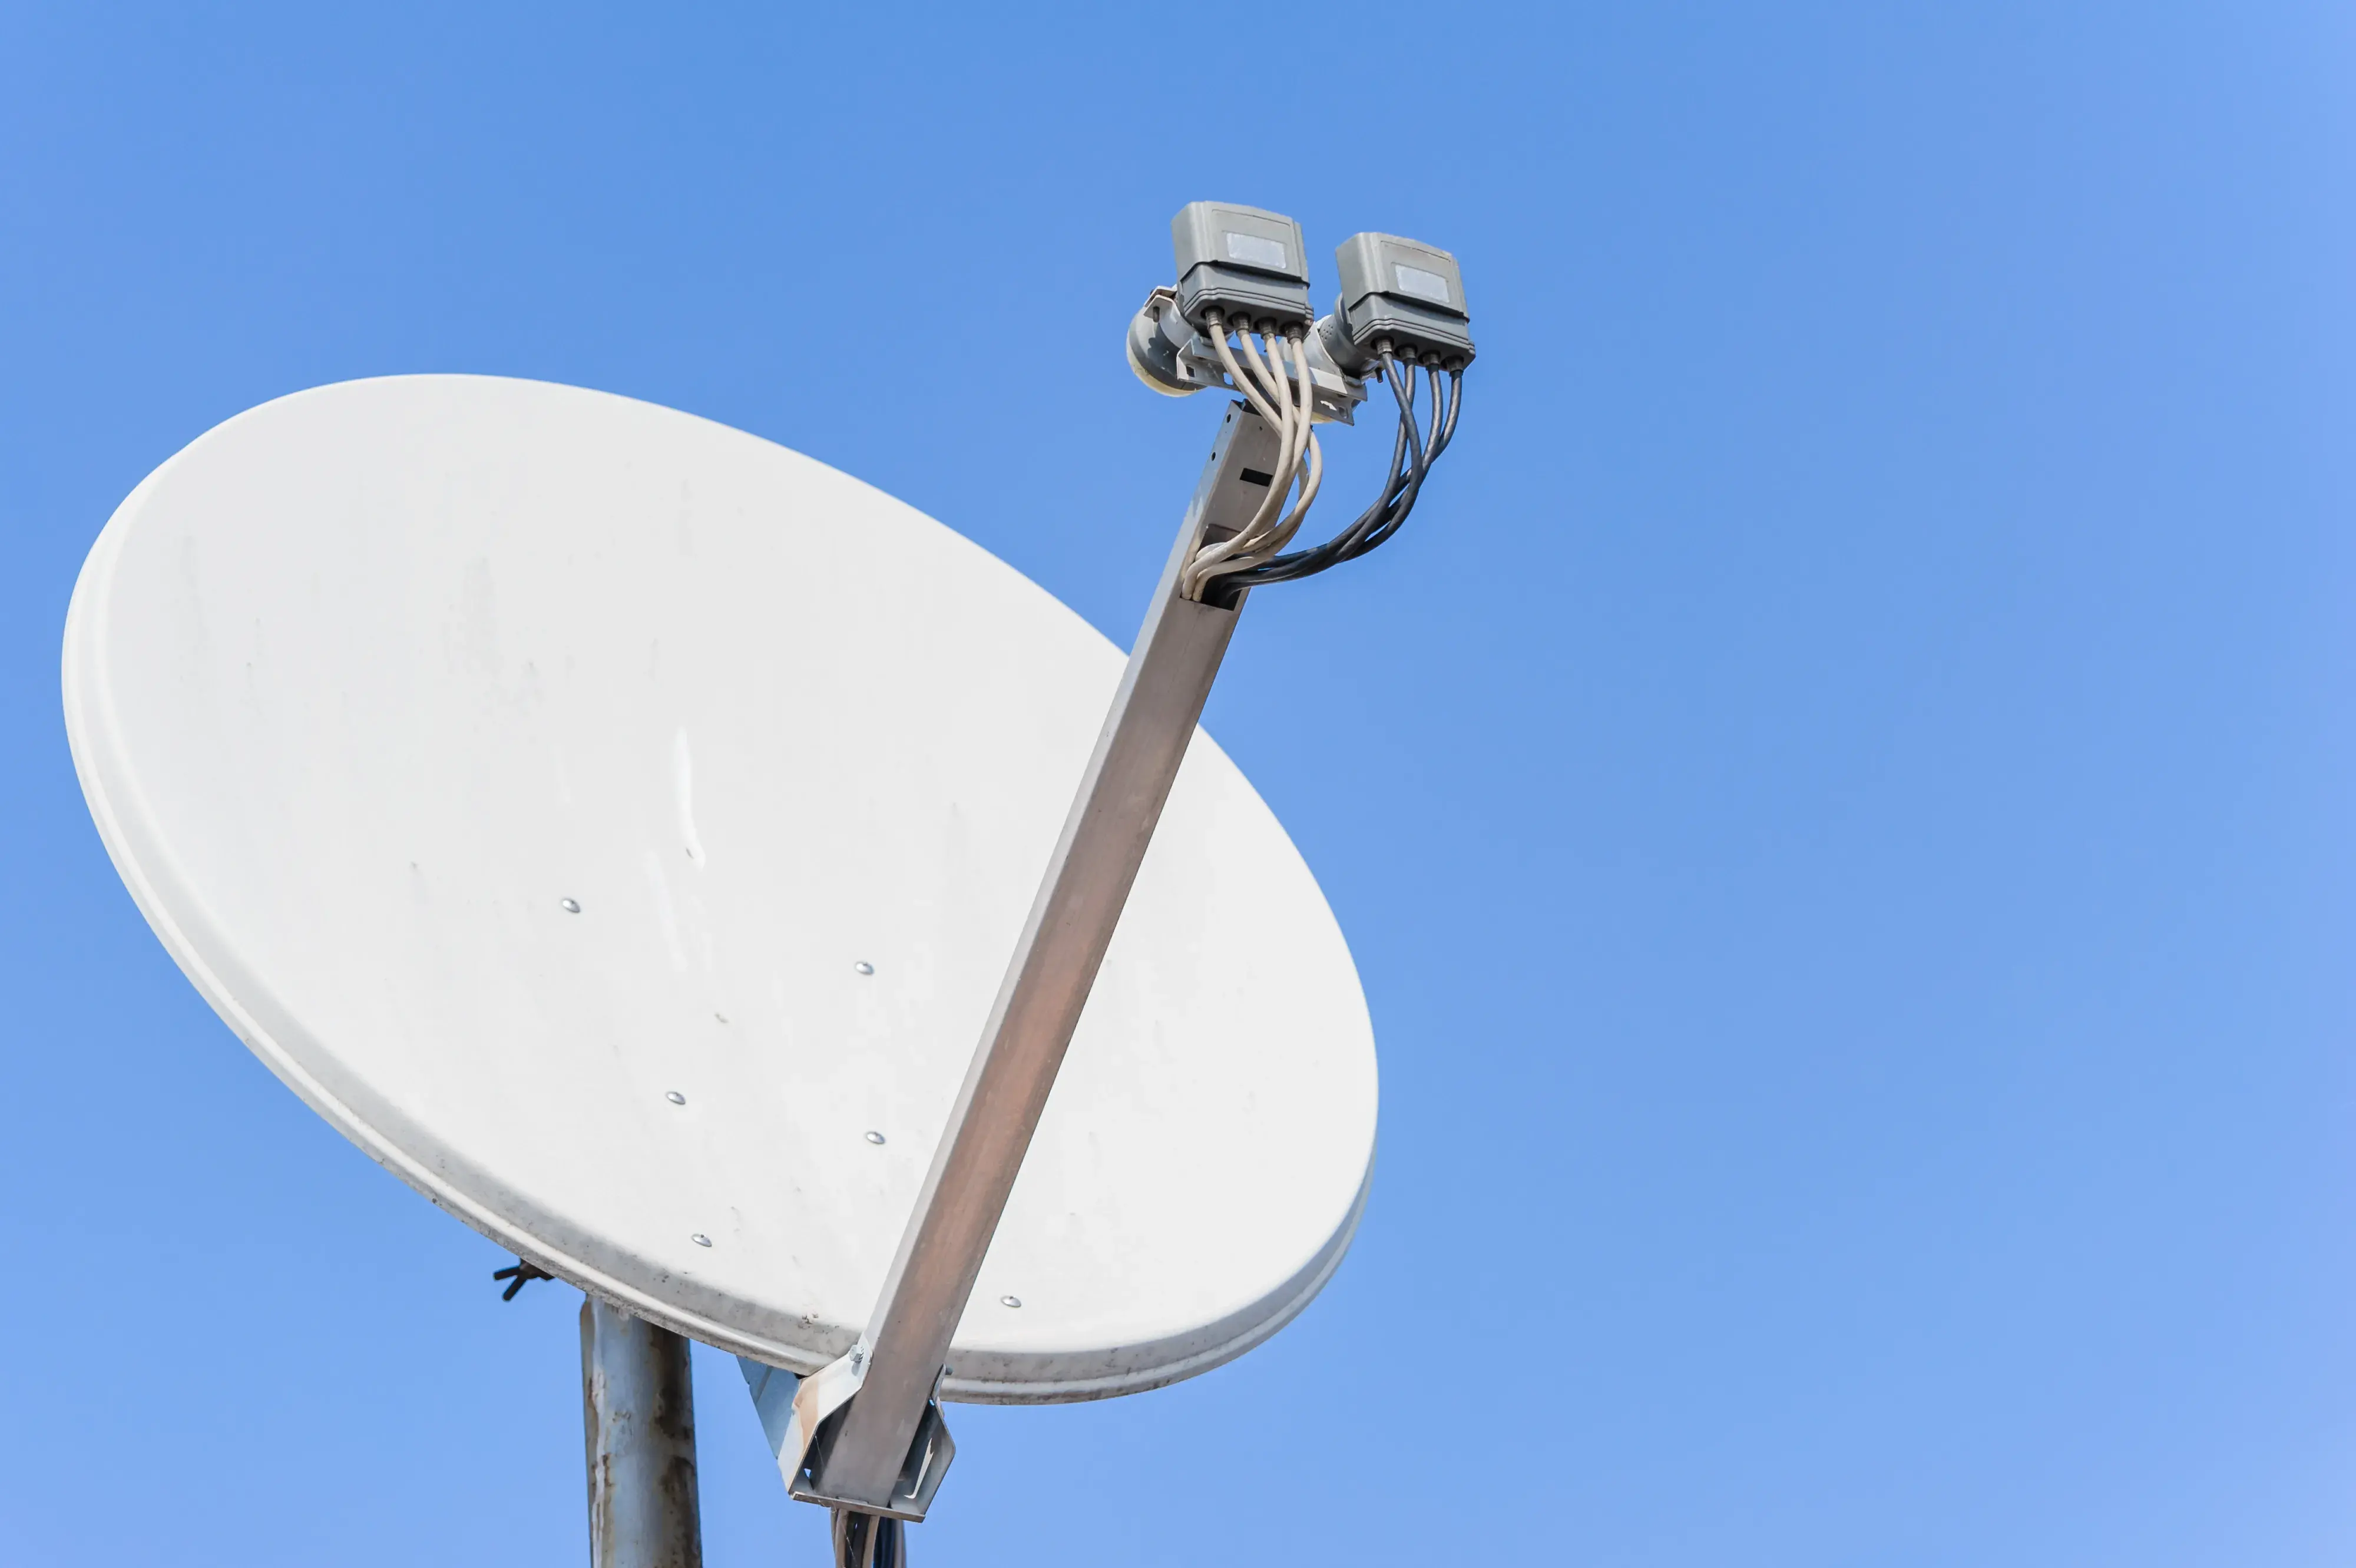
The next important step is to join all of the DirecTV parts together to transmit signals. Coaxial cable from the LNB arm at the back of the satellite dish down to the input on your DirecTV receiver.
Ensure you have enough wire length to get inside your home or your RV safely to your receiver setup. Avoid pulling cables too tight or leaving loose wires that may produce interference or become a tripping hazard. Cable clips or ties may be used to ensure the neat arrangement of the line against the wall or along the mounting pole.
Connect Receiver and TV
This is especially important if you have extended cable length, in which case you should take your satellite receiver and TV outside near where the dish is installed or if this is not possible, you should set the receiver and TV indoors. Plug both devices into a wall outlet and connect them using a third HDMI or coaxial cable for viewing DirecTV.
Switch on the television set and the receiver to check if the two devices are compatible before setting up the dish. You should see a ‘no signal’ message from DirecTV on the screen until you get to the dish pointing in the following steps.
Point Dish Using Satellite Finder or Compass
After ensuring all the equipment you need are connected and switched on, you can now proceed to point your portable satellite dish to search for the DirecTV signal. Currently, there are two techniques that enable the positioning of the oval-shaped dish accurately in the South direction.
The least effective but most convenient approach involves a sat-finder tool. This is an optional attachment that informs you when you have hit the satellite by either analyzing acoustic signals or different bar indications. Start rotating the dish left or right while raising and lowering it until tones spin quickly and bars reach their highest point.
Another way is pointing with a compass in an orientation of 180 degrees. If you want to ensure the dish faces a southern direction, then position it towards the cardinal point of 180 degrees. Rotate it to the horizontal plain with your latitude number by checking maps application or GPS. Holding that direction and angle is important for good signal reception is the argument of this invention.
Peak Signal Strength
Suppose you are using a satellite finder or the compass heading, check your signal strength meter in the setup menu to determine if you are getting the best signal. Very small adjustments are made by tilting the dish to gain more signals and by tilting the pan in the same manner.
The score that you want to achieve is in the range of 90+ on the scale between 0 and 100. This suggests your positioning is finely tuned to deliver as many of the DirecTV channels as possible in good clarity. However, if they are still below 50 even at the right alignment, there might be problems with the equipment or line of sight interference.
Set up DVR and Favorites Programs
Since you are now getting perfect signal the next move is to customize the DirecTV receiver like how you would do it back in your house. Choose the favorite channels, schedule recordings, apply the blocks for the children, etc. Run through the entire channel list to ensure all your preferred stations broadcast without interuptions.
With that, installation is complete and you can start receiving satellite TV entertainment outdoors or on the go! Remember to pack the dish away before moving and repitch the setup at a new location if necessary. By following these directions, you’ll master the art of using your portable equipment to gain DirecTV access on the go.
Ready to upgrade your TV experience? Call us now at (877) 471-4808 to find the perfect Dish Network plan for you! Don’t miss out on great entertainment—our team is here to help you choose the best package and get you started today.