Dish Network satellite TV installation is not a complicated task, and it is often possible to install the system on your own thus avoiding additional costs. Here is a step-by-step guide to getting Dish Network up and running:
Choose Your Package
The first thing that one has to do is to determine which Dish Network programming package they want. Dish has several subscription tiers with channels categorized based on genre including sports, movies, families, and more. Go to the Dish website and check the channel listings to see what package will suit your viewing habits and pocket. You will also need to compare the packages for any additional features such as HBO or Starz that you might need.
Order Satellite Service
After deciding on your preferred programming, you can order for it through the Dish Network’s official website or by calling their sales line. You will have to enter your details, select the preferred method of payment of the bill, and enter the details of your credit card. Check for any new subscriber offers or any other discount that the representative may suggest which might be cheaper than the usual market price.
Obtain the Equipment
In most cases, Dish Network will ship you a self-install kit with all the equipment you’ll need:
- Satellite dish and mounting equipment
- Receivers (the number depends on how many TVs you want to be connected to)
- Cables and connections
- Remote controls
- Any other attachment accessories such as a roof mount or signal meter
It has all the instructions included and it is possible to assemble it on your own even if you have no experience in it, no professional help is required.
Select an Installation Site
The biggest determinant of getting your Dish service up and running is the choice of the area in your home where the satellite dish will be installed. For the dish to properly pick up the Dish Network satellites’ signals, make sure the installation site you choose meets these criteria:
- No big trees, buildings, or rooftops obstruct the direct view towards the southern sky.
- A place on the roof or an exterior wall that can support the weight of the dish and sustain wind and weather conditions.
- Near enough to your TVs that the cables can run inside your walls without losing signal quality.
- If applicable, adhere to all rules or regulations of the homeowner’s association.
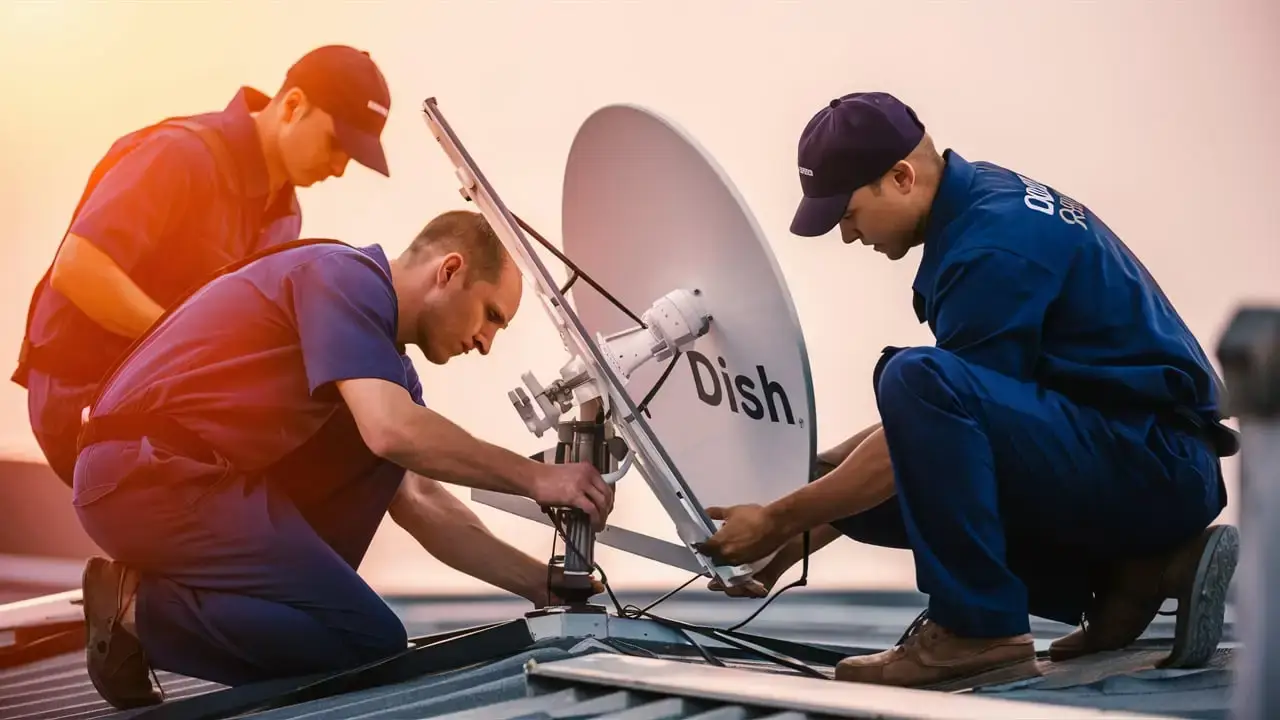
Mount the Dish
Having determined where your installation is to be made, you are ready to erect the dish. Steps include:
- Fasten the dish mount to the roof, wall, or any other surface using lag bolts that are screwed into the wood studs or masonry anchors in the case of brick/concrete walls.
- Be very careful when you join the pole, brackets, and dish parts.
- Control the position of the dish by unscrewing the bracket bolts and rotating it either to the left or right or up or down depending on the signal meter indication pointing to the highest reception aim.
- Secure all the hardware and make sure all pieces are level and correctly tightened when the best position has been located. Apply weather seals.
Run the Satellite Wire
The next step is receiving the satellite signal from your roof dish to your living room television set indoors. This involves:
- The second of such unconventional approaches entails creating a small opening in the attic/eave space through the interior of the home.
- Bringing in the thick satellite wire from the dish through the hole to the interior.
- Bury wire beneath the floor and/or above the ceiling to hide it. In multiple-room scenarios, you will have to have home runs back to a central entertainment console area where the receivers reside.
- When working with this thick and stiff wire, ensure that you have enough slack and avoid making tight bends.
Connect the Receivers
With satellite wire running throughout your home, it is time to get receivers connected.
- Position the receiver boxes close to the TVs with sufficient space and good air circulation around them.
- Cable satellite wire to the satellite input of each receiver.
- The receivers should be connected to the TVs using HDMI or coaxial cables.
- Connect the receivers’ power cords.
Activate and Enjoy
The last step is to call Dish to get the new receivers activated under your account. Switch on your television set and the receiver and follow the on-screen instructions to tune into the channels, get your package, and program your remote controls. If want to set recordings then set what you like then sit back and watch Dish Network crystal clear satellite TV.
For most people, getting Dish Network installed in their home does not mean having to contact a professional installer. If you can devote time to read the instructions on installation and find out how to solve any problems with reception, then it is rather easy to install your new Dish satellite service and save a lot of money that you would spend on the service of the installer. So, go order that Dish equipment, get to work, and before you know it, you’ll be watching the programming package of your choice.
Ready to upgrade your TV experience? Call us now at (877) 471-4808 to find the perfect Dish Network plan for you! Don’t miss out on great entertainment—our team is here to help you choose the best package and get you started today.