Having satellite television at home can also pass a good signal that has many channels, specialty stations, and high-definition programs. There are some tips that should be followed carefully for installing the satellite dish antenna to get the best signal and for the best program watching. Here are some simple instructions to help you know how to install a dish satellite system when you are by yourself.
Choose Your Satellite Service
The first key decision is what SATTV INTERNET service you want. The two major players that are available in most regions of the country are DIRECTV and Dish Network. To know which of the two providers offers more of the stations you wish to catch, compare their channel packages. There will also be the cost of equipment, installation, and monthly subscription fees to factor in.
Identify which satellites you will have to aim your dish to in order to receive the programming from the provider of your choice. For instance, DIRECTV transmits signals from satellites positioned at the 101-, 110-, and 119-degrees west longitude over the equator.
Where to Get Your Satellite Dish and Equipment
Subsequently, acquire a satellite dish antenna and receiving equipment. The satellite box and dish you require depend on your programming provider. Most of the approved DISH and DIRECTV satellite dishes are generally between 18” and 36” in diameter.
Some providers even provide introductory offers of free installation of dishes and equipment for a very minimal cost if you subscribe to a particular program. You can also get third party dishes and components supplied if you understand what exactly is going to be suitable.
Choose an Install Locatio
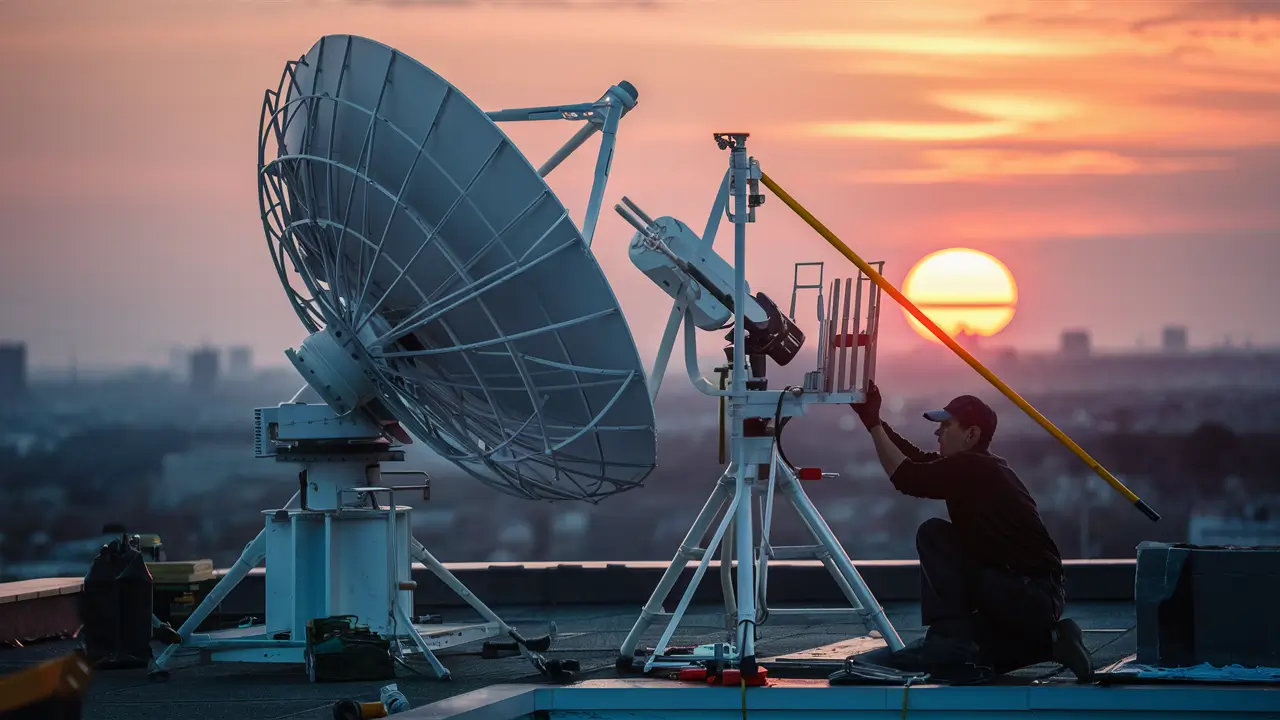
Selecting the appropriate place for installing satellite TV is another crucial factor that determines the quality of the signal to be received. To install satellite dish, you will need to place the dish in a position that will have an unobstructed view in the southern sky to point at satellites. Interference in the form of barriers such as trees or buildings can affect the strength of way or even hinder the signal.
The best placement is on the roof, pole or on the south-facing exterior wall at an angle between 10 and 75 degrees. If you are lucky to have the compass and the satellite finder app, you will be able to know the accurate angle that you need in your area. Try to keep accessibility to equipment in mind in case of any eventualities regarding equipment maintenance.
Install the Mount
Once you have selected your location, install the mount that will support your satellite dish. If you want to mount the plate to the roof, it is recommended to use a tripod or pole mount provided that it will be screwed on the shingles and into the rafter. If mounting on a wall, use exterior screws and make sure that it can hold the weight of the dish and withstand wind forces.
Always adhere to the recommended safety measures while handling heights, ladders or any structure like roof. If access to the dish location is difficult or hazardous, it may be best to hire a professional installer.
Assemble the Satellite Dish
To construct the satellite dish antenna, ensure that you follow the manufacturer’s instructions on how best to fix the various parts of the satellite dish. There is an arm bracket, a pole mount adapter, and a convex dish for adjustable dishes. Secure the mount arm to the dish with the help of screws and bolts which are supplied along with the kit.
The portable dishes commonly have a stand base that can be placed in a convenient location for use or relocated. Slide the assembled dish and arm bracket to your permanent roof or wall mount.
Aim the Satellite Dish
Once the dish is mounted, it is correct to properly position it towards the satellites. Tilt the pole mount to align the dish in the southerly direction. In the case of site acquisition, the elevation or tilt setting is used to position the dish between 10 and 75 degrees.
If you want to get the exact angle and direction then you have to slightly adjust the alignment while referring to the signal strength indicator on your satellite receiver. It might require some time and patience to achieve that and it might require small changes in the process. Ensure the receiver signal strength indicator lights are at their ‘highs’ to indicate proper alignment.
Connect Cables and Power
On the satellite side of the project, connect a coaxial cable from the satellite dish antenna to your home to the satellite receiver box. RG-6 grade coaxial cable is the best suited to ensure the signals pass through without changes in quality due to interference. Screw any power inserter boxes required for your wiring configuration.
Plug the other end of the coaxial cable into an input of the satellite receiver box. Another cable needs to be connected from the output of the receiver box to the input of your television set. Ensure that all the various components have the power input connected before switching everything on. You may also want to hook your receiver to a surge protector in case of a power surge or an electrical storm.
Service and Program Receiver is activated
Now you are able to turn on your satellite programming service. Switch on the television and the receiver box and then step through the activation process shown on the screen. You may need to call the provider to complete the authorization or to provide your account or promo number.
The satellite receiver will then start auto updating of its software and auto downloading of program channel guides. This setup process may take about 15 to 60 minutes. When finished you may begin viewing spectacular satellite TV channels on your freshly installed dish antenna!
Troubleshooting Tips
However, if you have a problem with your satellite TV reception, there are a number of simple things that you can do before calling technical support. Ensure that there is no new blind area and your dish has clear line of sight. Make use of the satellite finder app once more to ensure dish alignment is correct. Power down the computer and ensure that all cables are properly connected to the system. Check cables for loose wires or signs of wear. Try to reboot or reset your receiver box if problems continue to reoccur.
While it is possible to install your own satellite TV equipment, it is worth knowing that many providers offer free or heavily reduced equipment costs as incentives. It is very important to invest time in ensuring that your satellite dish is rightly positioned and well directed to receive all programs clearly. This guide is for you, tune in to hundreds of channels being broadcasted in the skies above.
Ready to upgrade your TV experience? Call us now at (877) 471-4808 to find the perfect Dish Network plan for you! Don’t miss out on great entertainment—our team is here to help you choose the best package and get you started today.