General installation of the Dish Network remote control involves linking it with the Dish receiver box and your television set. Following these quick and easy steps will have your Dish remote completely programmed and able to control all aspects of your Dish service.
What Is Required Before Starting
Before you begin programming your Dish remote, make sure you have the following:
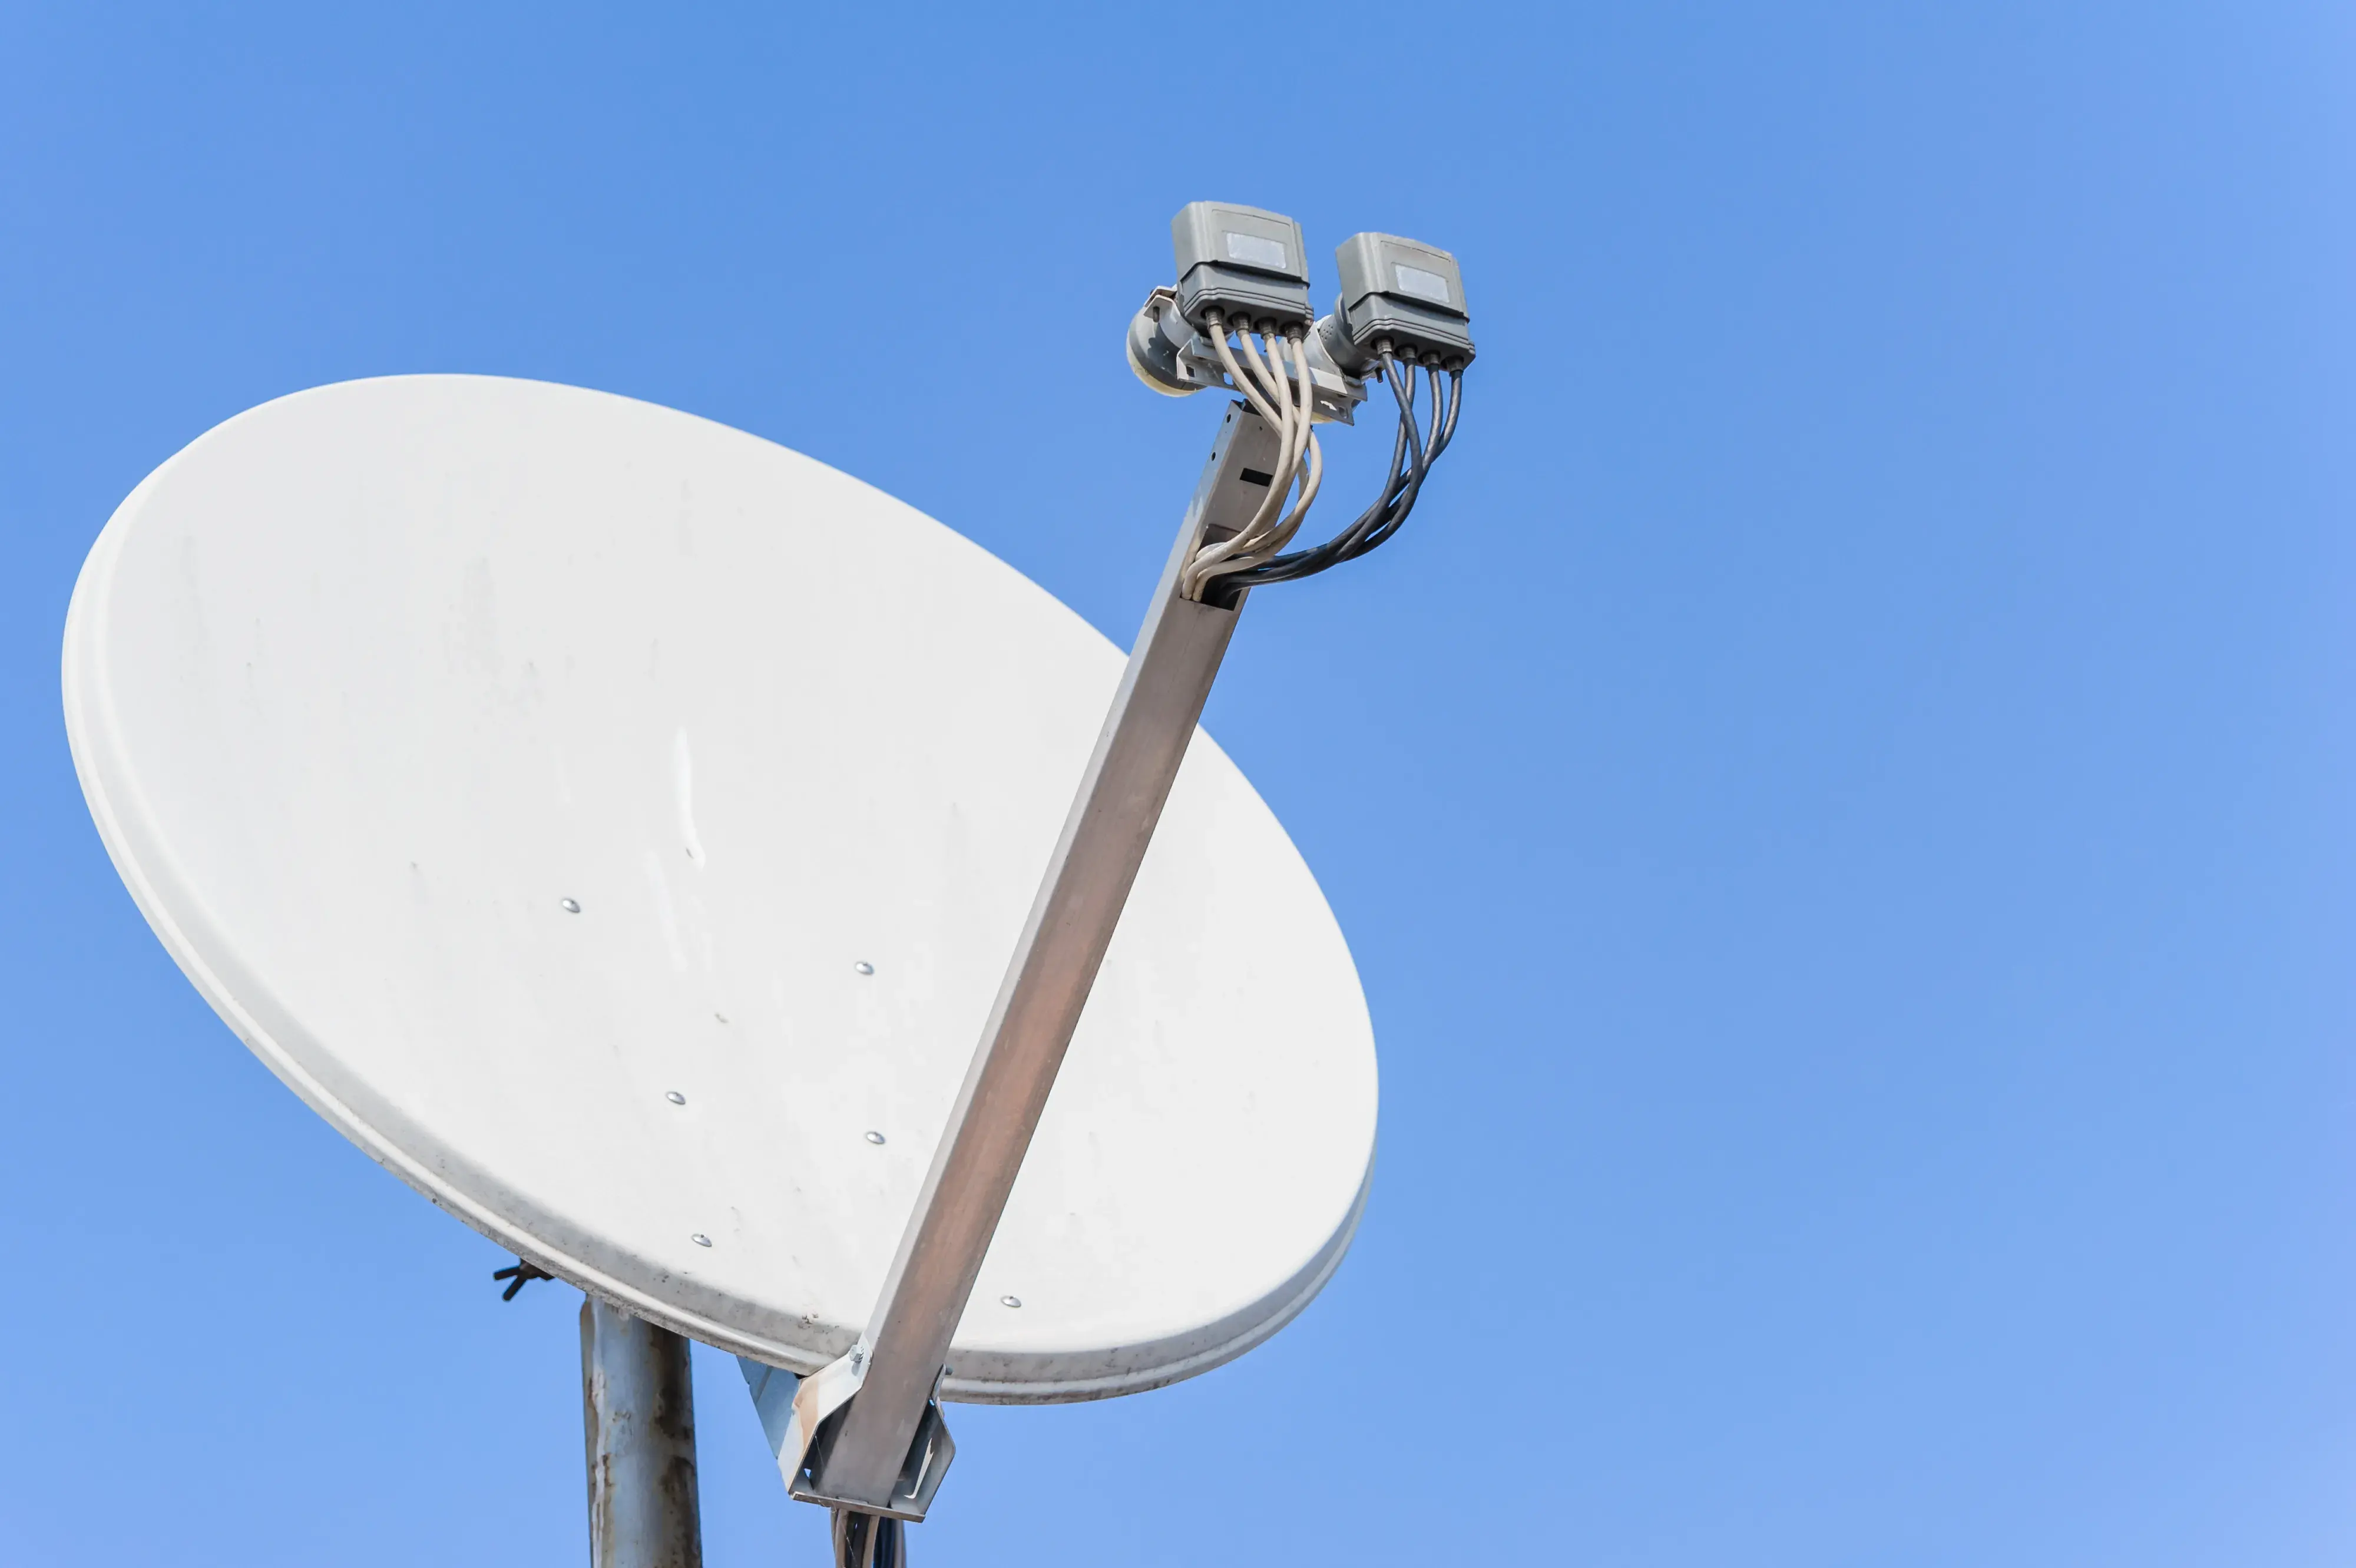
- Dish Network receiver box – this is the main cable box that brings the Dish service to your home and connects it to the television set. Some of the popular models are Hopper, Joey, Wally, and VIP series receivers.
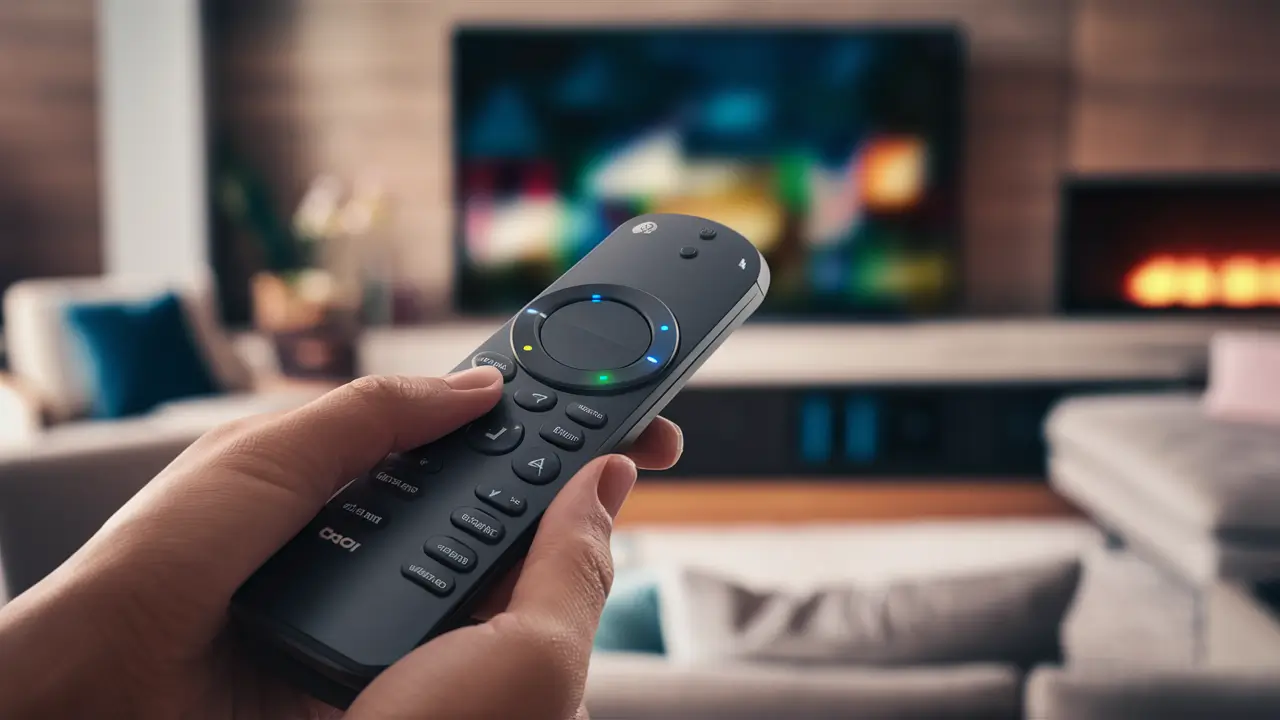
- Dish Network remote control – look at the back or bottom of the device to find the model number on it. Some of the typical Common Dish remotes are 40. 0, 20. 0, 21. 0, 6. 3 series.
- TV remote control (optional) - it is advisable to have your original TV remote with you while programming.
- New batteries for both remotes. Charge new batteries if the existing ones are old or have low charge left in them.
Preparing The Dish Receiver Box
The first thing you need to do is make sure your Dish receiver box is installed and set up properly:
- This is connected to your TV through HDMI or A/V cable and to a wall cable outlet through a coaxial cable.
- Turn the receiver and TV on by pressing the power button on the front side of the box and the side of the TV. The receiver front display should illuminate and display channel details.
- Tune your TV to the correct input that your receiver is connected to, for instance, HDMI 1, Video 1, and so on, you should get the Dish user interface on your screen.
Programming the Dish Remote Control
Once your Dish receiver is on and properly connected, you can begin programming the remote:
- Power on the remote control and make sure that the pointing end is aimed at the Dish receiver box. It is also recommended to avoid pointing it at bright lights and the sun to minimize interference.
- Find a mode button on the remote; it can be marked as the receiver, TV, DVD, or AUX. Hold down the Dish or satellite mode button for about 3 seconds until the mode button starts to flash twice.
- On the remote keypad, press the following sequence: 9. 8. 7. This code has to be inputted immediately when the mode button is blinking.
- The mode button will blink rapidly to indicate that it has connected with your receiver successfully. The remote is now usable and set up!
Testing Remote Control Functions
Try these basic functions on your remote to ensure full control of your Dish receiver and TV:
- Volume – Increase or decrease the volume of your television and Dish box using the volume buttons labeled for that purpose.
- Channel buttons – use the channel up/down buttons to change the channels and confirm the changed channels on the receiver front display.
- Volume and mute – Control and reduce the volume of the television through the volume control buttons.
- Guide – This is a button that when pressed, you are taken to the Dish programming guide displayed on the TV screen.
- DVR controls – utilize play, fast forward, rewind, record, pause, and other buttons on a DVR recording.
- Arrow keys and select buttons – Use to move through Dish menus and select options.
If any of these functions do not respond as expected, it is advisable to follow the above procedures of remote programming. Many problems are solved just by reconnecting the remote to the satellite receiver.
Programming For TV Control
In addition to operating your Dish Network receiver, you can set up your Dish remote to control essential power, volume, and mute functions on your TV:
- Switch on the television as well as the Dish receiver box at the same time. Find the mode button once more and press TV mode. Press the mode button firmly to make the button blink twice.
- Place your fingers on the number pad to input the three-digit TV manufacturer code shown on the Dish on-screen guide or a printed list.
- Check basic television control keys for power on/off, volume control up and down, and mute buttons. If functions do not work, repeat step 2 and enter alternate codes from the list if available.
Now you control Dish Network programming and your TV with this one convenient remote! In the future, if you want to add other devices for example a Blu-ray player or sound system, you can set up other device modes on the Dish remote also. Consult your Dish user guide to learn how to program other AV devices as an alternative and for further assistance on other issues with the remote control. If correctly configured, your Dish remote control will allow you to switch between desired live satellite TV and manage your DVR options, which you are a subscriber to.
Ready to upgrade your TV experience? Call us now at (877) 471-4808 to find the perfect Dish Network plan for you! Don’t miss out on great entertainment—our team is here to help you choose the best package and get you started today.