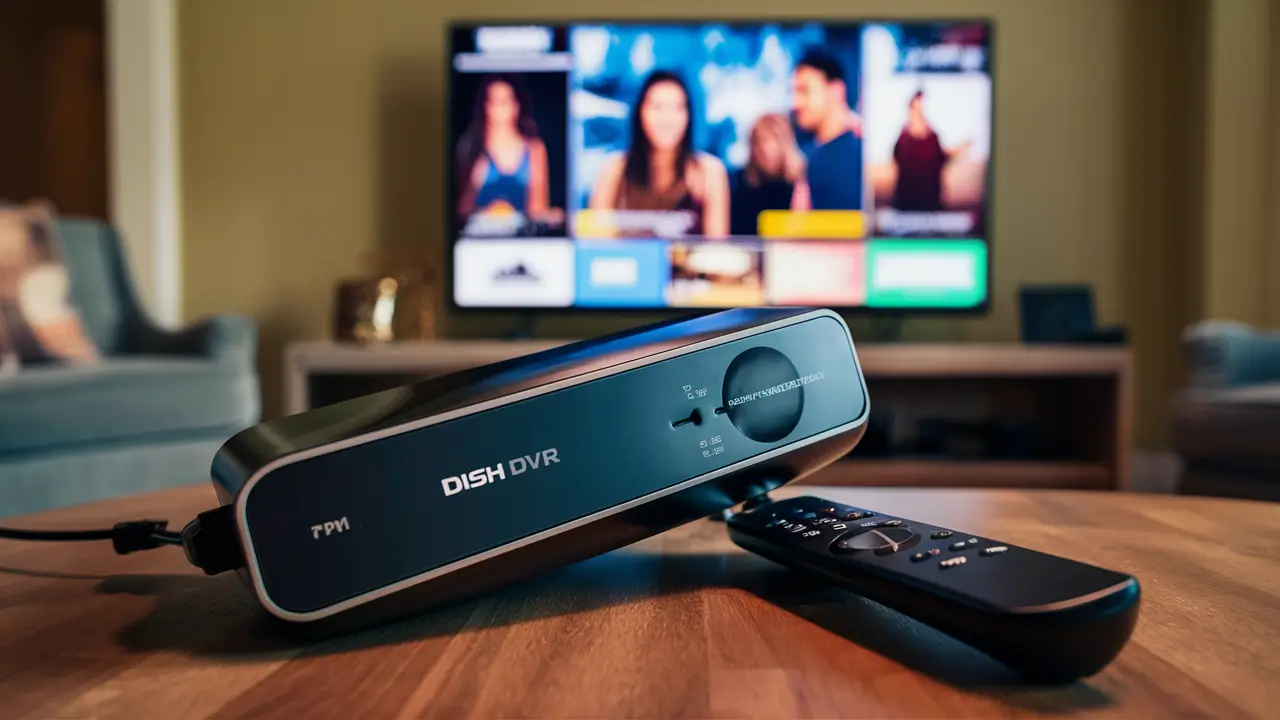
Dish Network satellite TV receivers, similar to all other types of DVRs and set-top boxes, consist of internal hard disk drives that can store recorded programs, as well as software and settings. Sometimes, when you change your Dish receiver or when the hard drive of the Dish receiver is faulty, you may ask if it is possible to reuse the HDD rather than disposing it. The good news is it is not that hard to reformat old Dish Network DVR hard drives to be used in other gadgets. Here is a step-by-step guide.
Things You’ll Need:
- Old Dish Network receiver HDD
- Computer or external hard drive dock/enclosure
- SATA data and power cables are used in this setup.
- Trox screwdrivers
- Format software
The first step involves safely removing the hard drive from the computer to have better access to it.
First and foremost, ensure the Dish receiver is turned off and all connections disconnected to open it up. Satellite receivers have very delicate parts and should not be taken apart by people with little or no knowledge of electronics repair.
After turning the Dish off, you should then check at the bottom of the back part of the Dish box for a service sticker. Pull it up to reveal the Torx screws holding the case. Take a Torx screwdriver to remove the screws and slowly pry the two halves of the plastic casing apart. Find the HDD which is normally connected to the main circuit board. Carefully disconnect the SATA and power connectors and then disengage the screws that hold the drive onto its carrier. Avoid coming across any other parts as you take out the HDD.
Step 2 – Connect the HDD to a Computer
After you have removed a hard drive, you can place it in another desktop computer, in an external hard drive casing, or in an HDD docking station. This means that you can use the drive on another device to format and partition it. If your computer has open SATA ports on your mobo and you have a desktop PC, turn off your computer, open the case, and connect the Dish HDD to the mobo. Otherwise, purchase an affordable HDD dock or enclosure so that you can connect it using USB.
Make sure the dish drive sets in the SATA slot correctly and tighten it if required. Screw the SATA data and power cables so that they can be connected without having to fully integrate into the PC case. Switch on the computer or dock with the Dish hard drive connected.
Step 3 – Format and Partition the Drive
The next procedure that must be followed with the Dish Network DVR drive is to delete its current content and reformat it on a computer. This erases all the recordings, settings, software, and file systems that were there when it was shipped to be installed in the Dish box. The process formats the drive for reuse as a storage device that is external.
In Windows, open Disk Management, identify the disk that is connected, right-click on the volume you want to format, and select “Format”. Users of Mac can also use Disk Utility for the same purpose. The drive should be formatted to a compatible file system; thus, NTFS for the Windows operating system and HSF+ for the Mac operating system.
If it is to be used as a shared media storage in a smart TV or as an additional space in a DVR, then one backup partition is efficient enough. To use it as a bootable storage in a PC or to convert it into several logical drives, go back to the Disk Management under Windows to create new partitions. If repurposing for a media center device, assign disk space on EXT4 or another Linux file system.
Step 4 – This involves deploying the software on a new hardware device.
The Dish Network hard drive is almost as good as new with a clean slate and a newly formatted file system. The final one is copying into another device for using the extra space of the drive that has been installed. Consider the following options:
- External Hard Drive – Format to NTFS and use as a portable hard drive for Windows and Mac backup. The SATA interface has a lot more space than a USB flash drive.
- DVR Expansion – Adding more recording room to a TiVo or other DVR reuses Dish HDDs effectively. Before installing the system, be sure to format and partition appropriately.
- Linux Media Center – Media centers such as Kodi which are open-source are resource-friendly and can be used on old or recycled computers. Format to EXT4 and load directly to this media box.
- General Storage – Since there is plenty of space now, use the Dish hard drive for games, movies, photos, and music with smart TVs, streaming sticks, NAS units, etc.
The only restriction is the HDD itself – the 80 or 160-gigabyte drives may become full very quickly. Larger Dish hard drives with 500GB and above have enough storage space for numerous purposes. With the above-stated steps, you can recycle HDDs rather than let them occupy a space in the landfill.
FAQ
Here are answers to some common questions about reusing Dish Network hard drives:
1. Is it possible to install a Dish HDD on my PC and use it as a boot drive?
It is not advisable to install a hard drive that was once used in a Dish Network DVR as a Windows boot drive or for storing programs. Then format it to use only as a data storage device.
2. Is there any other equipment or tool that might be necessary?
Besides the Torx screwdrivers to pull apart the Dish receiver, an external enclosure or HDD dock with USB is useful to plug the SATA drive and format it. However, if proper cables are available, the HDD can also be connected directly to a desktop computer.
3. What should I do to reformat a Dish HDD for a Mac?
Transfer the Dish hard drive to a Mac using a SATA dock or enclosure. The disk can be erased using Disk Utility where you select the disk and click on Erase, formatting it into HFS+ which is compatible with Macs. Then you can use it as external storage which will be more efficient and easier to manage.
4. Can the reclaimed hard drive be returned to another Dish box?
However, it is impossible to install a reused HDD from one Dish receiver into another unit of a Dish receiver. It is made up of married software and settings that are unique to the distinct box. Just use it for general use instead of attempting to link it with another Dish device.
Using old DVRs and set-top box hard drives like new devices lets you reuse usable hardware instead of tossing it into the landfill and expanding your storage space simultaneously. By following this simple guide, it will be possible to salvage Dish Network receiver HDDs and store any type of personal media and data. Simply, be very cautious when dismantling electronics and work safely by following the above procedures.
Ready to upgrade your TV experience? Call us now at (877) 471-4808 to find the perfect Dish Network plan for you! Don’t miss out on great entertainment—our team is here to help you choose the best package and get you started today.
