Although replacing your DIRECTV receiver might appear difficult, it's a simple operation given the correct direction. This detailed tutorial will help you easily navigate whether your upgrade to a newer model requires troubleshooting, you only want to repair a damaged receiver, or both.
Understanding Your DIRECTV Receiver
One must first grasp the function and varieties of DIRECTV receivers before delving into the replacement procedure. The core of your satellite TV system is these gadgets, which decode the satellite signals therefore granting you access to a wide range of channels and services. DirecTV carries many kinds of receivers, including:
- Standard Receivers: Simple designs allowing access to standard-definition channels.
- DVR Receivers let you control recordings, stop live TV, and capture programs.
- Designed for high-definition video, HD Receivers improve your watching experience using better image quality.
- Features like whole-home DVR, wireless networking, and 4K capability make Genie HD DVR the most sophisticated receiver available.
Step-by-Step Guide to Replacing Your DIRECTV Receiver
1. Identify the Need for Replacement
Make sure changing the receiver is required before starting. Typical causes of replacement consist in:
- Changing to a more recent model will improve performance and feature set.
- Should your present receiver not be operating as expected,
- Enhanced viewing experience: Should you now have a regular receiver, HD or 4K video will be shown as such.
2. Contact DIRECTV Customer Support
Making touch with DIRECTV customer support comes next. They can take you through the process of obtaining a new receiver and help you ascertain if yours requires replacement. They are reachable via phone or on the DIRECTV website. Have your existing receiver's model number and account details handy when you call assistance.
3. Order Your New Receiver
Once verified, you may place your new receiver's order with DIRECTV. Your subscription and the kind of receiver you are upgrading to may affect any fees required. DirecTV runs deals, so ask about any offers or discounts they may have.
4. Prepare for Installation
Get ready for the installation even as you wait for your new receiver to show up:
- Unplug your present receiver: Disconnect it from both other connected devices and the power supply.
- Pull cables gently. For simpler new receiver installation, note how each cable is connected.
- Maintain the space orderly. Make sure the installation space is easily accessible and free.
5. Install the New Receiver
Install your new receiver using these guidelines once she shows up:
a. Unbox the New Receiver
Unbox the new receiver carefully then review the contents. It should call for the power adapter, remote control, receiver unit, and any required wires.
b. Connect the Receiver
- Connect to the TV. For optimal quality, connect the receiver to your TV via an HDMI cable. Use the included component or composite cables if your TV does not accept HDMI.
- Relate to the Satellite Dish. From your satellite dish, grab the coaxial line and run it to the SAT IN connector on the receiver.
- Power Connections: Connect the power adapter to a power outlet by plugging it into the receiver.
c. Power Up the Receiver
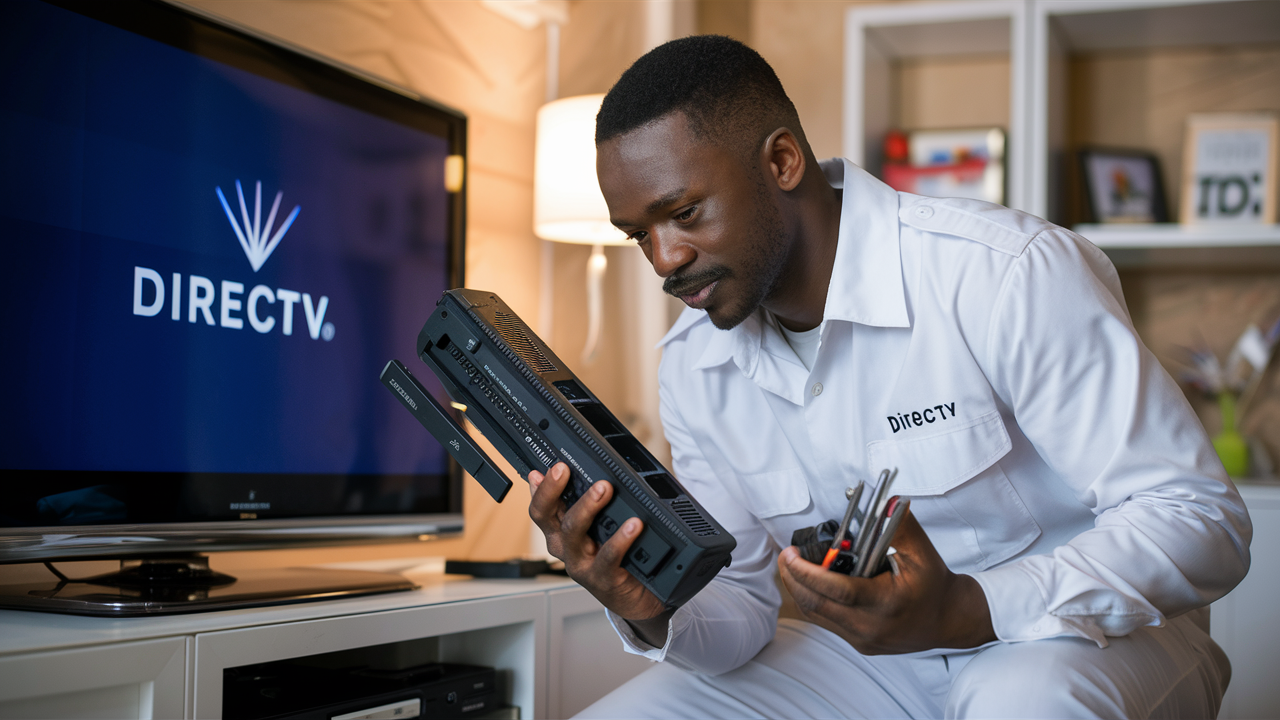
Flip on your TV and the receiver. The DIRECTV logo should be visible on the screen to show the receiver powering up.
6. Activate the New Receiver
Sure your new receiver runs as it should depending on activation. Use these directions:
- Use their website or call Directv. Show the activation code shown on your TV screen.
- Use the prompts. The activation procedure could last several minutes. Make sure your receiver stays connected to the satellite dish and, if necessary, the internet.
7. Test the New Receiver
Test your new receiver to guarantee it's operating as expected upon activation:
- Investigate all channels: Check many channels to be sure they are loading properly.
- Try more features: Test the recording and playback capability of your DVR or Genie device.
- Check the photo quality: Make sure the visual quality satisfies your expectations, particularly considering that you upgraded to an HD or 4K receiver.
8. Return the Old Receiver
You will have to return your old receiver if it is rented from Directv. Use these directions:
- Stow the old receiver. Use any safe box or the packing from the new receiver.
- Add remote control, power adapter, and any other accessories among the components.
- Return instructions: Usually, DirecTV supplies a return label. Ship the old receiver back according to the instructions.
9. Troubleshooting Common Issues
Here are some typical concerns and fixes should you run into any throughout the replacement process:
- No signal or inadequate one: Make sure every wire is firmly and appropriately attached.
- Activation problems: Verify the activation code double-wise and make sure your receiver is attached to the satellite dish.
- Issues with picture quality: Check that your TV settings are maximum and that you are using the right cables—HDMI for HD content).
Conclusion
Although replacing a DIRECTV receiver requires multiple steps, with the correct direction it becomes a reasonable chore. You can guarantee a seamless transition by realizing you require replacement, getting customer help, purchasing and installing the new receiver, and properly activating it. Returning the former receiver and fixing any possible problems will also help to finish the procedure quickly. With your new DIRECTV receiver, enjoy a better watching experience!
Transform your viewing experience with DirecTV! Call us today at +1 855-213-2250 to explore our plans and find the perfect package for you. Our experts are ready to assist you and get you set up with top-notch entertainment. Don’t wait—contact us now!