-
Posted on: 13 Aug 2024
-
If you are planning to change from satellite to cable, fiber or streaming TV services, the old satellite dish on your roof or backyard may be out of place. Dissembling a satellite dish is often not a very complicated procedure and can be done by the owner independently. Below is a process on how to safely and effectively dismantle SATTV INTERNET dish.
Before You Start
Before you get up on a ladder or roof to dismantle your satellite setup, take a few preparatory steps:
- Call your satellite TV provider and come to an agreement about the termination of your satellite television service if you have not done this already. This will make sure that service charges for equipment that are not needed any longer are brought to an end.
- Assemble all the necessary tools for the operation and safety equipment, such as a cordless drill, an adjustable wrench set, a hacksaw, wire cutters, a ladder, roof anchors, a harness, gloves, safety glasses, etc. Ideally, all these tools should be prepared in advance.
- Do not touch anything until one understands where each cable or connection goes in a satellite dish arrangement. Any cables that run from the dish into the ground should also be searched for and these cables will also require to be pulled out.
- If the dish is large (>2-3 feet across), installed far off the ground or if you do not have experience in handling power tools or heights, it is advisable to hire professional installer. The primary consideration should be safety.
Disconnecting Cables and Components
With prep work complete, you are ready to dismantle the physical components that make up the satellite dish system:
- Disconnect the cables while there is no power supply on satellite receiver and television to avoid electric shocks.
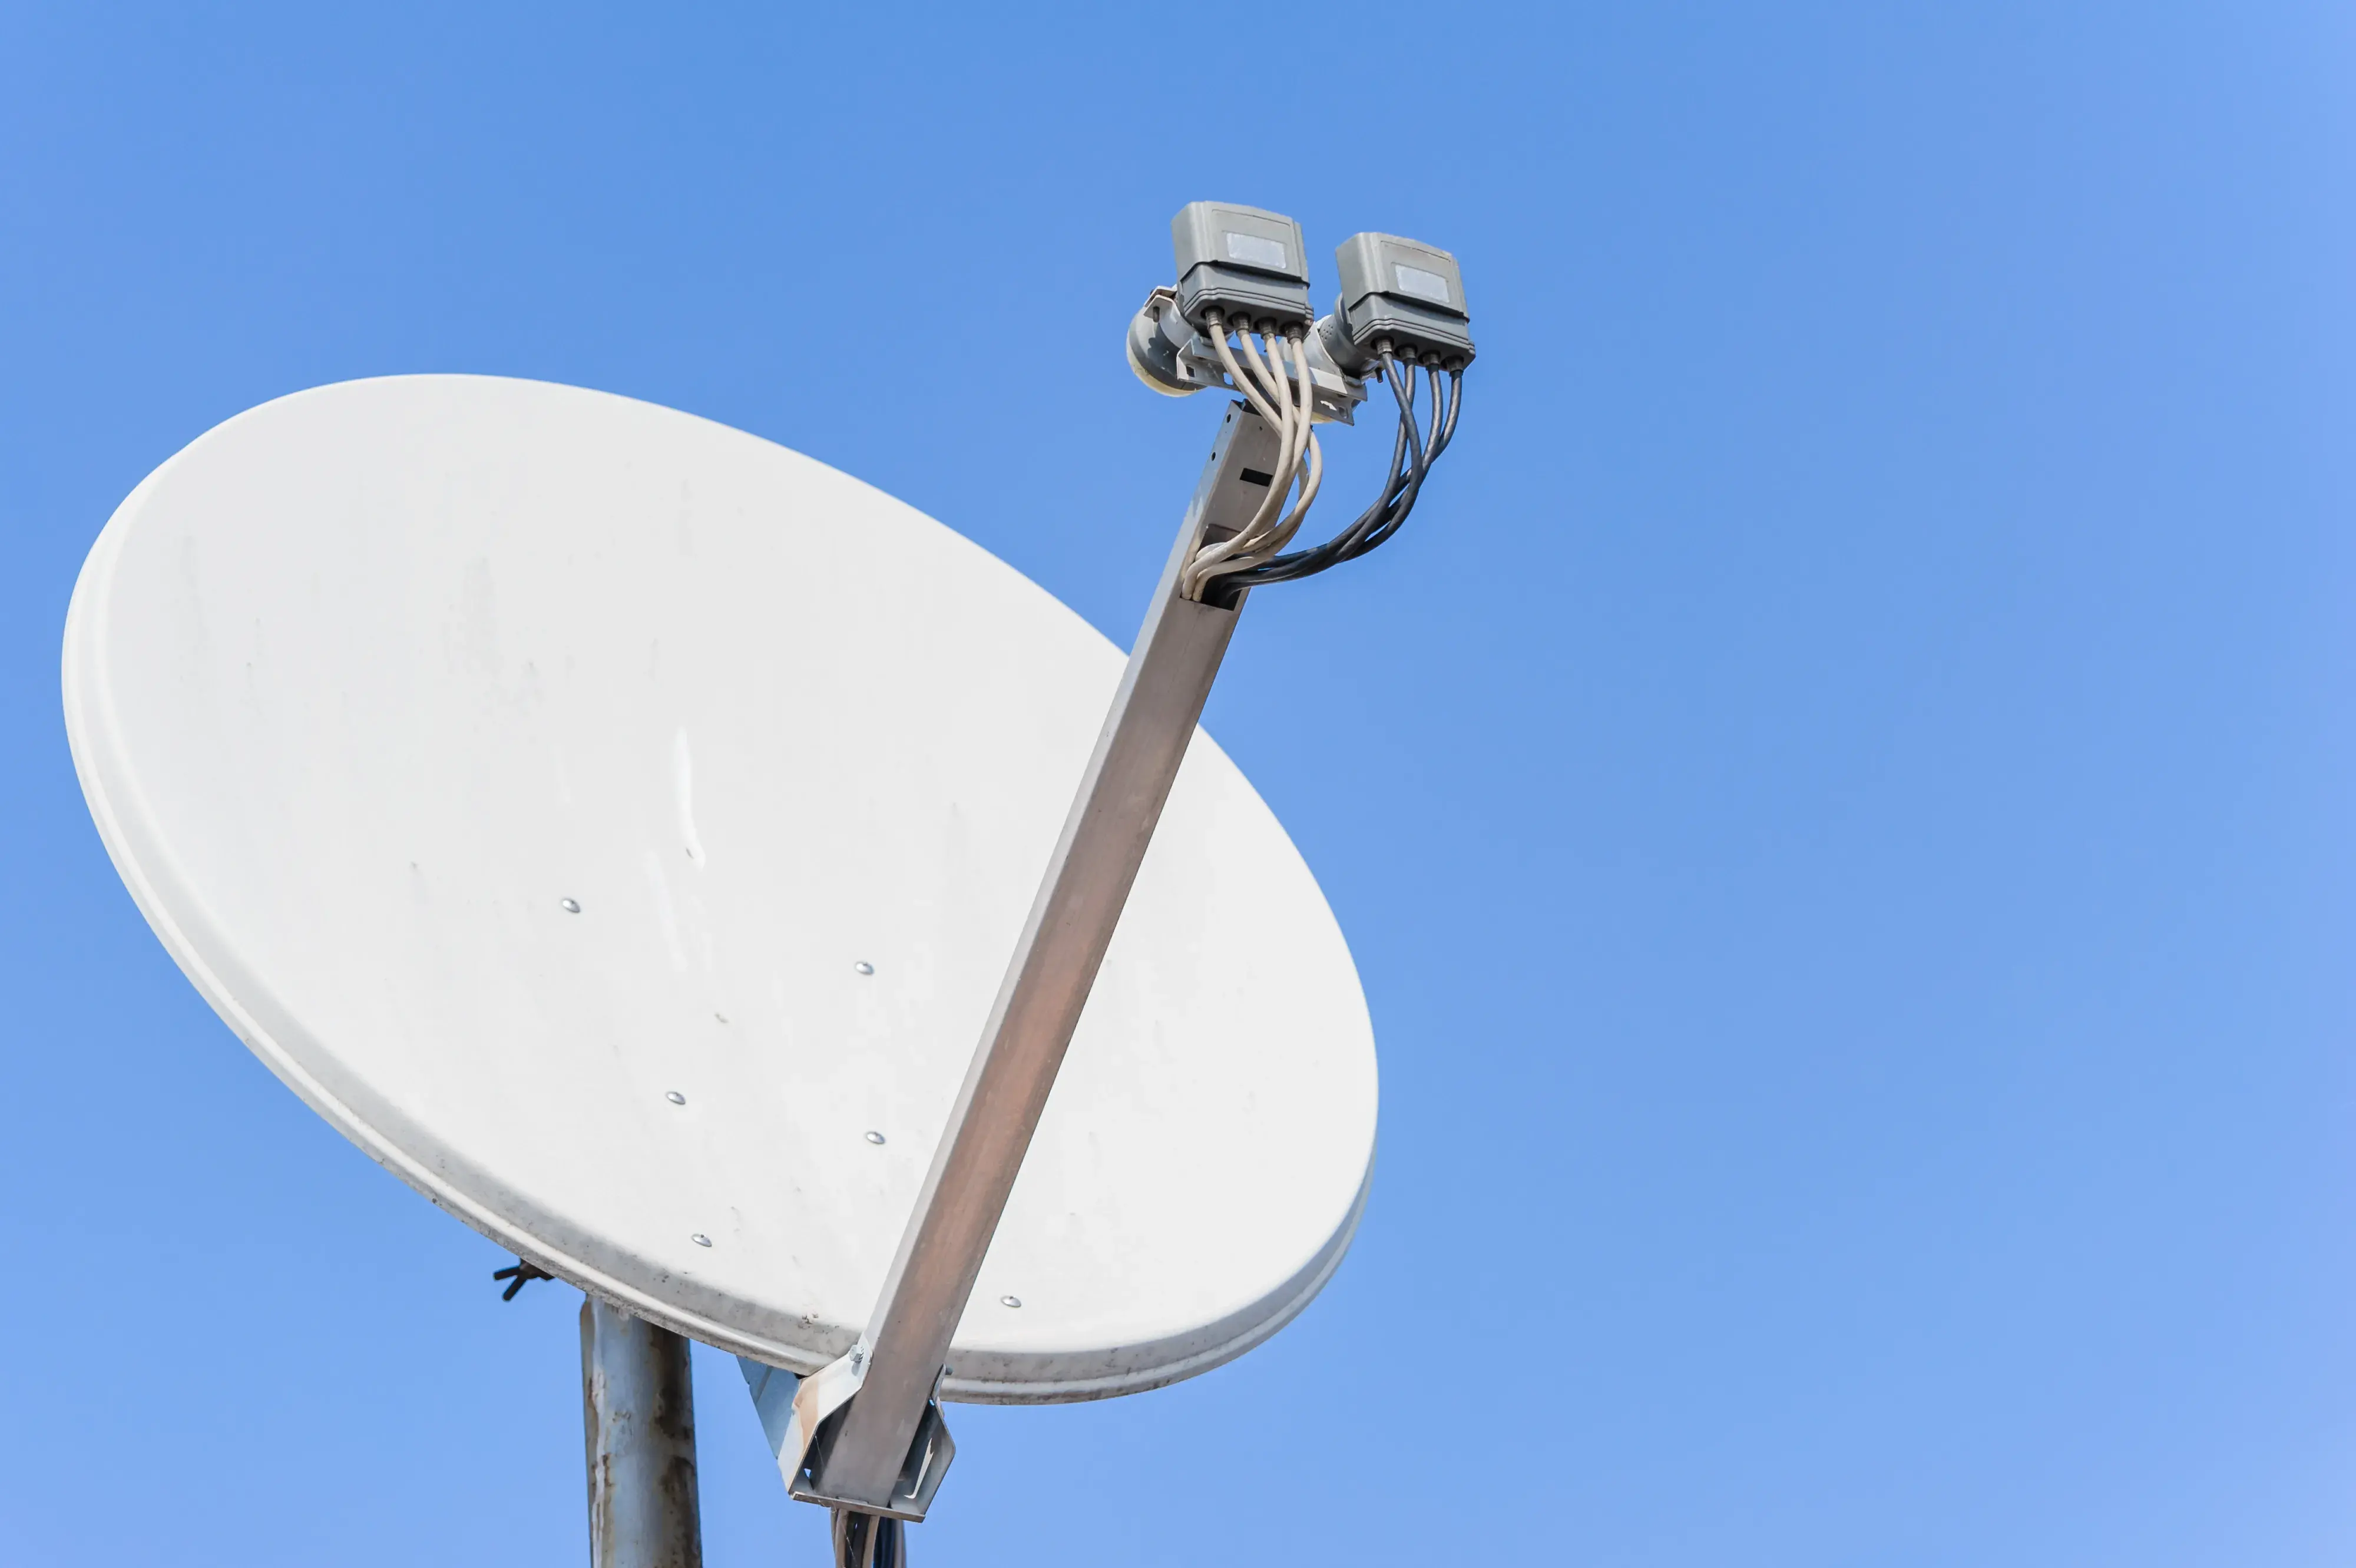
- Find the LO2 grounding wire that is attached to the rear arm of the LNB and cut it with wire cutters. The grounding wire runs from the dish to a grounding rod close to the house.
- Remove any bolt or LNB covering to expose cable connections which are behind the bolts. If you are unclear of where particular cords go, label them when unplugging them.
- Remove the coaxial screws which are connected from the LNB to your house. Roll up all the remaining cables neatly, so as to use them in the next session if required.
- If present, remove any plastic dish arm covers by unscrewing or gently pulling off. Take out and retain or dispose all small hardware components such as nuts bolts and washers used on the covers and dish arm.
Removing the Dish Mount
With cables cleared, you can focus on safely bringing down the physical dish structure:
- Unscrewing all the bolts that support the dish pole or stand mount using a cordless drill and an adjustable wrench. Caution: the mount will come off when the final mounting bolt is unscrewed and you will need to be ready to carefully guide the remaining part of the mount off.
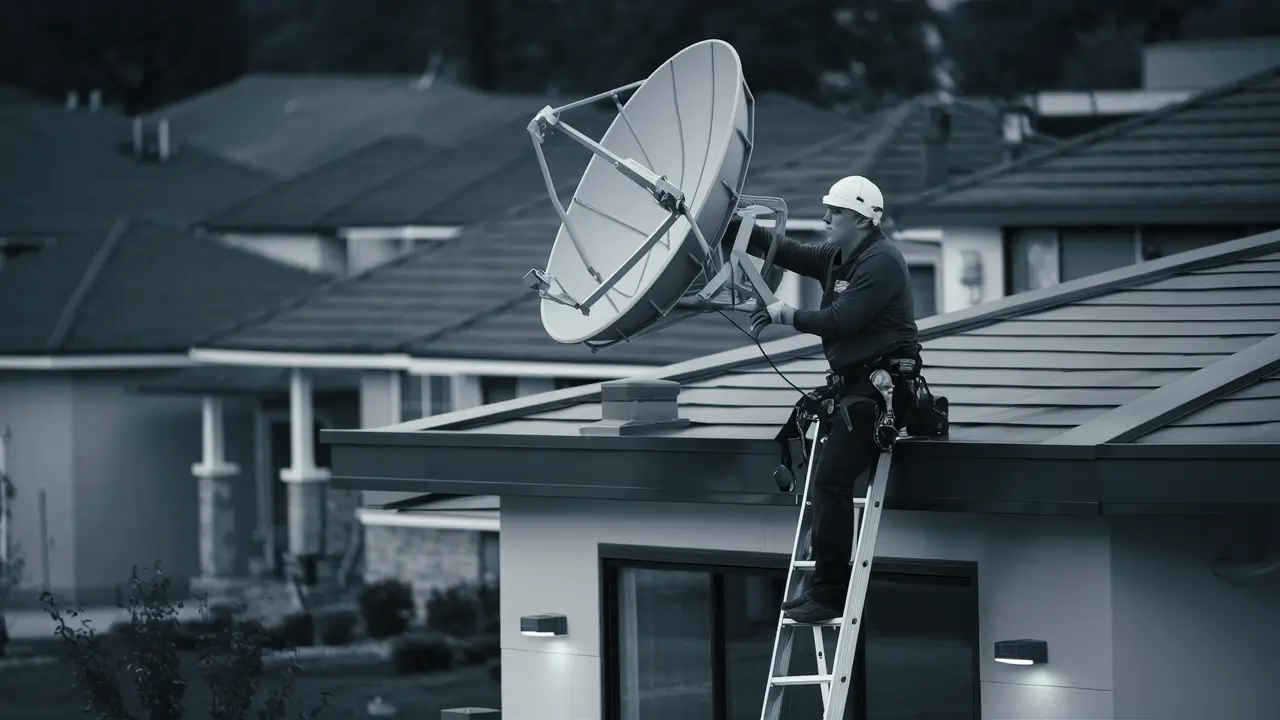
- While preparing the dish from a ladder or from the rooftop, ensure you wear a harness connecting you to the roof to prevent falling while handling the dish. Always only touch three rungs of the ladder at a time.
- Finally, if shake is loose, slowly turn the dish towards the ground or away from the house or roof. The mount base is heavy, manage its lowering and seek assistance to lower very large dishes.
- The final step is to unbolt the dish itself from the pole or stand mount upon having returned to the ground safely. Disassemble all petty fittings for reuse or disposal.
Finishing the Job
With the gear dismantled, a few final steps complete the satellite removal:
- If there is any pole or mast that was bolted into concrete or your home’s exterior, you should use a hacksaw blade to cut across and remove them. Trim it at the level of the concrete floor slab or slightly above.
- Stitch any gaps in exterior wall surfaces with sealant and then overlay with siding or patches to resemble the rest of the surface.
- Safely dispose all wires and hardware that have been peeled off from the main devices. Sever cables so they cannot reconnect. Scrap metal parts such as the mounts should be recycled. Dispose of unutilized plastics parts properly.
- It is crucial to check on the roof and exterior walls to confirm that no mounting bolts have been left behind or pole stands still remain in the concrete pads. Caulk any small gaps with waterproofing material.
If satellite equipment is completely uninstalled then complete the clean up process by ending any monthly dish service and disposing of discarded parts. In order to achieve the complete freedom from TV, it is advised to paint over the former satellite dish location on the house exterior. Removing the old structure allows for the installation of new antennas or solar panels or additional aesthetic improvements to the curb appeal.
Ready to upgrade your TV experience? Call us now at (877) 471-4808 to find the perfect Dish Network plan for you! Don’t miss out on great entertainment—our team is here to help you choose the best package and get you started today.