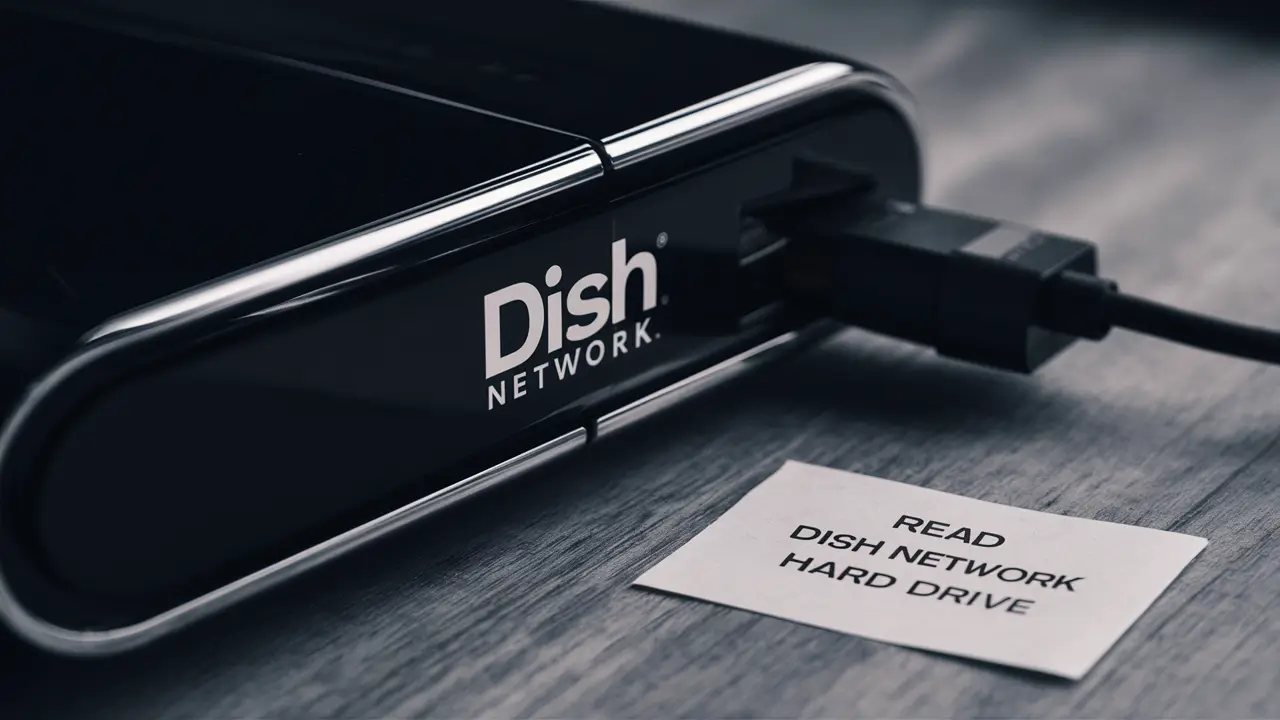
Digital video recorder or DVR service of Dish Network satellite TV systems employ the use of hard drives for recording and storing of contents. If your Dish DVR is not working or if you wish to replace the hard disk with a larger one then it will be required to retrieve the data stored in the existing hard disk. The process of reading a Dish Network DVR hard drive is described below.
Things You'll Need
- DVD hard drive of dish network dvr
- A casing that is used to accommodate a USB hard drive is also referred to as a USB hard drive enclosure.
- USB cable
- USB port on a computer
Step 1 – Pulling out the hard drive from the DVR In order to complete this step it is suggested that one should first switch off the DVR and unplug it from the power source to prevent accidental mishaps.
First, disconnect the Dish Network DVR from its power source and all the inputs to it. Should you be repairing a device that had a faulty DVR, the hard drive ought to be detached anyway. It is necessary to open the case and eject the inner SATA hard drive if you are upgrading or changing the purpose of a working DVR. In most Dish models, you merely need to unscrew several screws located at the back or bottom of the Dish and pull out the drive cage or mounting bracket. Treat the hard drive with a lot of care especially when moving it.
Step 2 – Install in USB Enclosure
To connect the Dish Network drive to your computer, you will require a USB external hard drive enclosure. Ensure you acquire one that is compatible with standard 3. 5” desktop SATA hard drives. Disconnect the power and data cables from the DVR hard drive and then gently insert the hard drive into the SATA connector inside the enclosure case and reconnect the cover. The USB enclosure should power up the drive through the connector so it is recognized by your computer.
Step 3 - Connect USB to Computer
Once you have placed the Dish hard drive into the USB enclosure, connect it to your desktop or laptop via USB cable which you plug into one of your computers’ available USB ports. All enclosures are hot swappable which means that when connected to the computer and powered, they are recognized as a drive on the computer.
Step 4 – Retrieve Information from Dish Hard Drive
The USB cable can be connected to the computer and the computer should download any USB drivers needed for the enclosure. Following this, the Dish Network hard drive will be seen in the same manner as other storage disks on that computer. On the Windows PCs it will appear as a local disk in My Computer with its drive letter showing. The drive format is generally likely to appear as NTFS or the Dish File System.
With that Dish Network DVR hard drive, you can now retrieve all your recordings, settings and any other data that you have saved. Open the drive in Windows explorer to navigate through the folder structure and view stored videos, settings, scheduled recordings, and many more.
It is found that most of the video files recorded in the Dish DVR drive are in . mts (MPEG2) format. In order to access Dish recordings on your computer, you will need a media player such as VLC Media Player. Any software that can read the . mts file format should be able to support the playback of the video media off the Dish hard drive.
Step 5 – Transfer Recordings to Computer (Optional)
If you would like to backup videos or move certain recordings from the Dish Network DVR drive for storage on your computer all you can do is drag and drop in Windows explorer. Just do not unplug the drive or the USB port while it is transferring data, or else data corruption may occur.
With very large video files, it is advisable to transfer them one by one. If you have a standard computer and the USB is not the fastest, then copying everything directly from the DVR drive could take several hours. Do not interrupt file transfers by disconnecting the enclosure immediately they are in progress, wait until the process completes.
Step 6 – Writing Data Back to The Drive
As for the Dish hard drive, I understand that it is easy to retrieve data when they are stored in the USB enclosure method but writing new data back to the Dish hard drive is a little complicated. Because of Dish receiver formatting and protection schemes, one cannot simply copy file and paste to put more content back to the DVR drive.
Overwriting and writing any new important data could create problems when trying to reinsert the hard drive into a Dish satellite receiver. However, small updates for drive recordings and settings menus should be performed during normal operation using the DVR’s tools.
Step 7 – Reinstallation of hard drive in dish receiver involves the process of putting back the hard drive in a dish receiver after it has been removed.
After you have completed reading information from the Dish Network hard drive, unplug the USB enclosure from the computer properly. You can now reinstall the drive in your Dish receiver to reverse the dvr functionality to normal. At other times, this may entail reprogramming some of the receiver settings after re-syncing the unit with its original drive. Look at the menu of your Dish receiver for settings that pertain to external drive validation and reset.
To read a Dish Network DVR hard drive in order to restore recordings, settings and other information that may have been saved on the hard drive, all that is required is to put the drive in a USB enclosure and connect it to a computer. It is crucial to employ the right techniques to mount, copy or manipulate the drive for writing or rewriting as well as for reinstalling it in future without facing any technical glitches or loss of data. The proper handling of the hard drives during this process enables you to safely back up and transfer the content from the built-in storage of the Dish receiver.
Ready to upgrade your TV experience? Call us now at (877) 471-4808 to find the perfect Dish Network plan for you! Don’t miss out on great entertainment—our team is here to help you choose the best package and get you started today.


