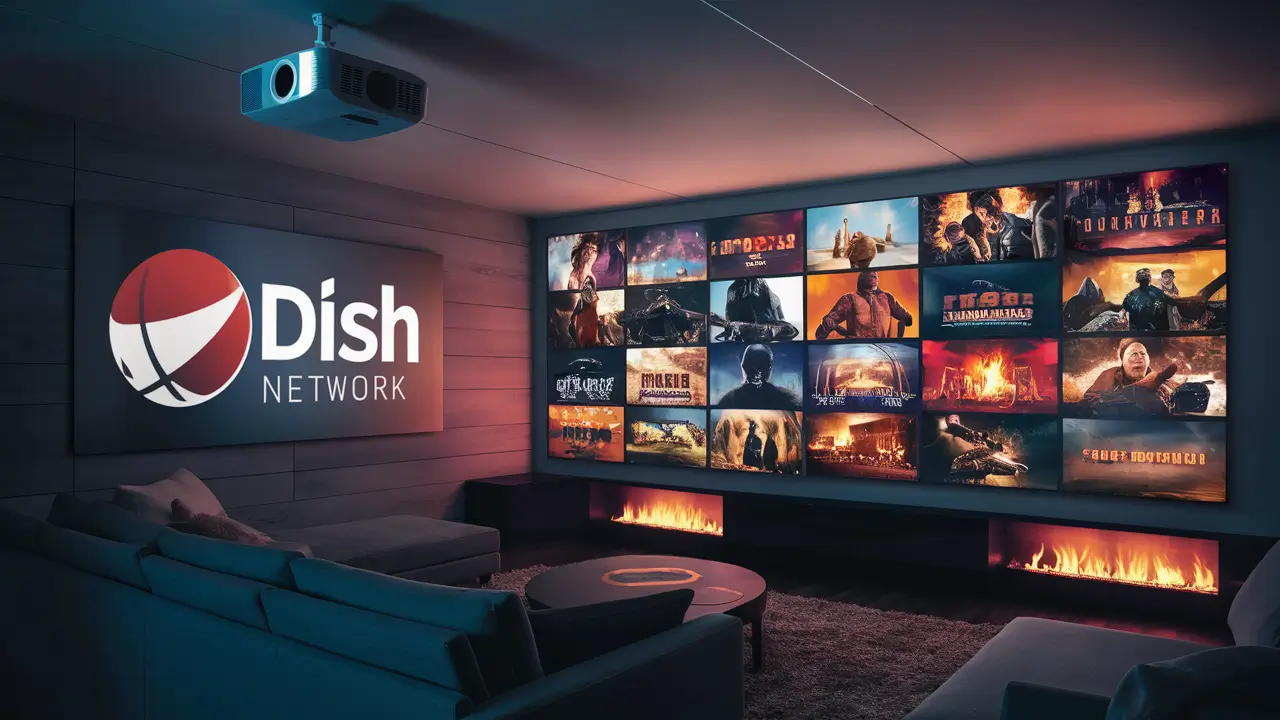
It is okay to watch TV on a large screen. If you have a projector at home, you may be wondering whether it is possible to stream Dish Network programming on a large blank screen or even a wall. It is possible to do so with the right contacts and arrangements. Below is a comprehensive guide on how to project Dish Network using a projector:
What You Need
To project Dish Network with a projector, you will need the following equipment:
- Dish Network receiver box The Dish Network is a subscriber-based television service that transmits digital television through satellites to its customers.
- HDMI or red blue green cables
- Projector equipped with the HDMI or the component video input capabilities.
- Blank white wall or paper, preferably a large sheet of paper that can be attached to a projector screen if available.
- Audio cables or equipment to get sound from an external speaker if needed.
Step 1 – Connect the dish box to the projector Here, the first thing you need to do is connect your dish box to the projector so that you can have a clear picture of what you are trying to do.
The first step is to connect the Dish receiver box to the projector for effective image transmission. There are two main ways you can do this:
HDMI Connection:
- The other connection you must make is using an HDMI cable where you will connect the HDMI port in your Dish box to the HDMI input port in the projector. HDMI can also transmit both video and audio signals.
Component (RGB) Connection:
- If your devices do not feature HDMI inputs and outputs, use the component video cables to connect the Dish box component video outputs (red, blue, green) to the projector component video inputs.
- You will also need to run an audio cable (RCA stereo or 3. 5mm audio cable) from the Dish box audio outputs to a projector to get sound.
After connecting all the cables, ensure that both the Dish box and the projector are on.
Step 2 – Power on Your Dish Box and Set It to the Preferred Channel
You need to use your Dish remote control to switch your receiver box to the particular TV channel, which you wish to view on the projection screen. When you switch from one channel to another using the Dish box, the video and the audio should switch from the Dish to the projector on its own.
Step 3 – This step involves tweaking the settings of the projector.
Tweak the projection settings for the best picture quality:
- Centre the image using the focus ring on the projector until the image becomes clear.
- Zoom and position it in a manner that the projected image will occupy the entire screen or wall where the projection will take place.
- Set the projector to display in widescreen format which is 16:9.
- Finally, control the brightness, contrast, and color as needed.
Step 4 - Calibration: Adjust all audio to match the levels of the loudest track.
In case you connected external audio cables/equipment, it is likewise advisable to adjust the Dish receiver box audio output volume to your speaker volume control so that the audio and picture during your TV watching are in harmony.
Advanced Tips
Here are some additional tips when setting up Dish Network with a projector:
- Turn off all additional light sources to have the best imagery projected onto the screen. Turn off all the lights and draw the blinds over the windows.
- Therefore, make sure that the projector is positioned on a flat plane and that angle between the projector and the screen is 90°.
- In the receiver box for HDMI video, change the TV resolution and the frames/second compatible with your projector for enhanced video resolution.
- For audio, I recommend an A/V receiver or a surround sound system if you want the ultimate listening experience.
- Use the Dish remote as a master remote to control the receiver and other connected devices with the HDMI-CEC feature.
Troubleshooting Issues
If your Dish video or audio fails to transmit properly to the projector, try the following fixes:
- Inspect cables and ensure they are connected properly and connect them if they were disconnected.
- It is also important to test cables to ensure that they are well compatible with the other devices.
- Switch the input settings on the projector and Dish box off.
- Shut down all the devices and then switch them on again.
- Make sure that the output resolution of the Dish box matches that of the projector's native resolution.
Starting with the right cables connecting your Dish Network receiver, projector, speakers, and screen, you can have a great home theater with comfortable chairs to watch your favorite sports, movies, shows, and other programs on a large projected screen in the comfort of your own home. The Dish programming can therefore prove to be enjoyable if the projection requires proper setting up of a projector.
Ready to upgrade your TV experience? Call us now at (877) 471-4808 to find the perfect Dish Network plan for you! Don’t miss out on great entertainment—our team is here to help you choose the best package and get you started today.