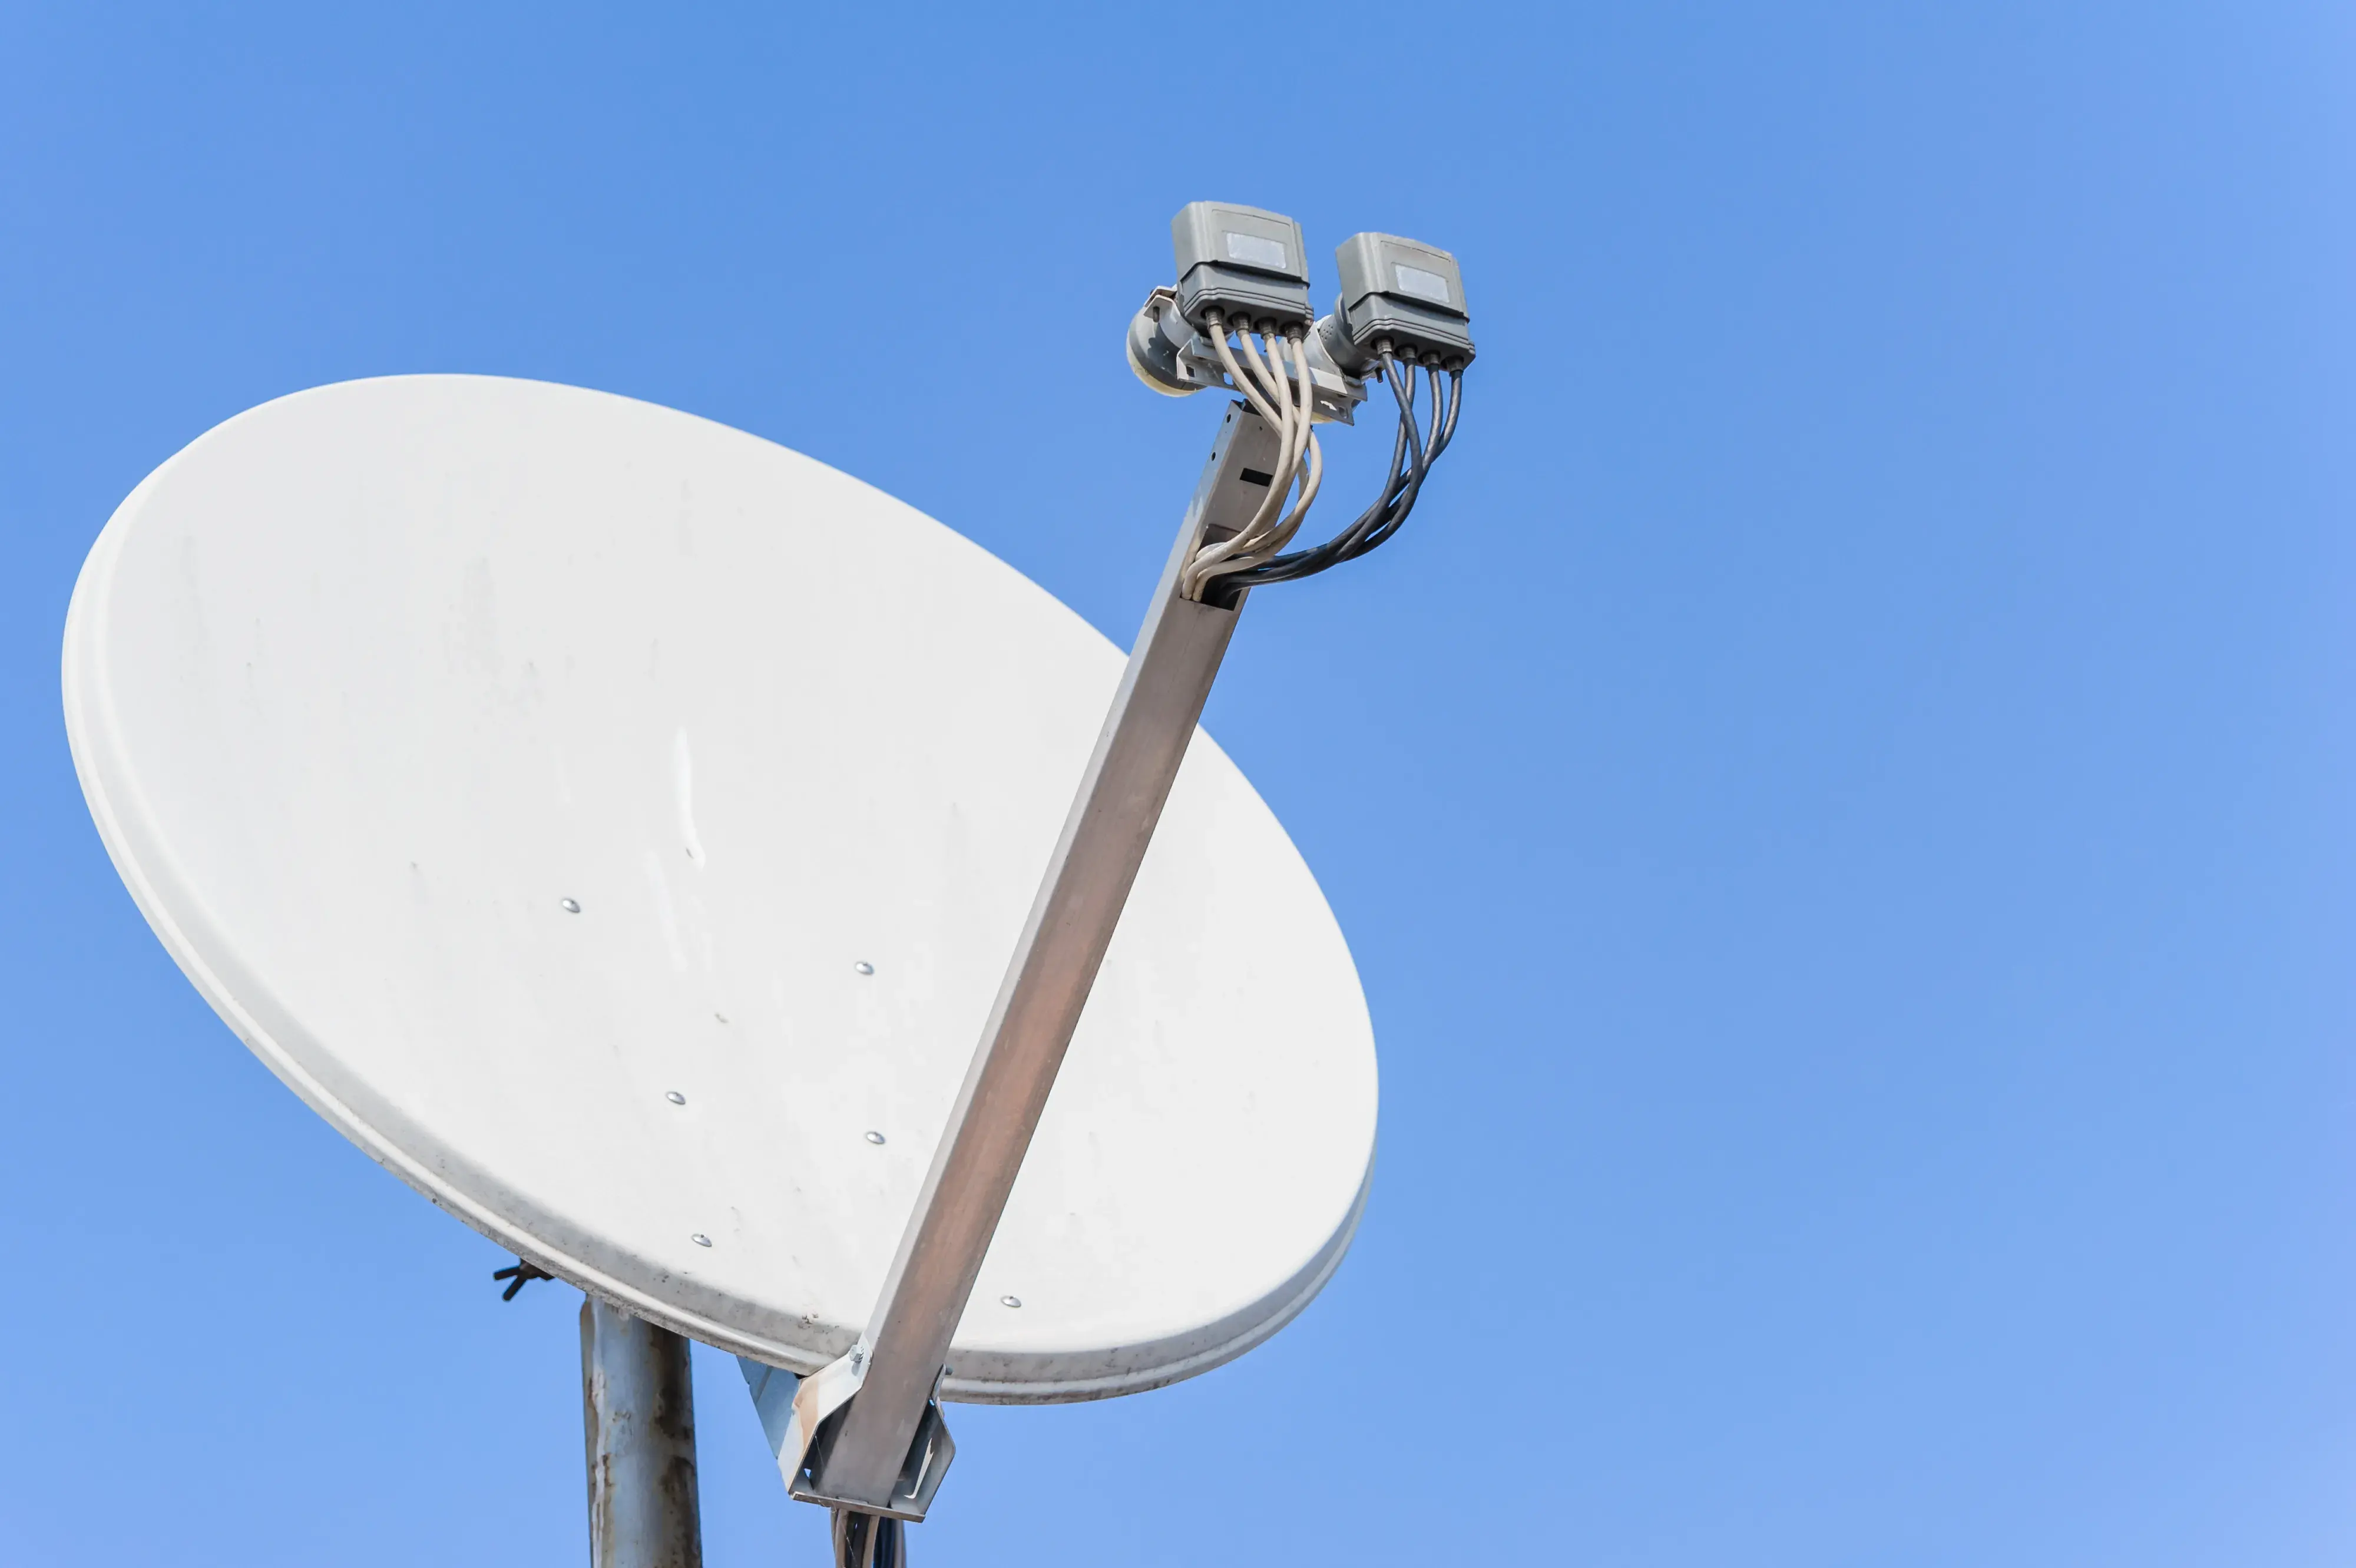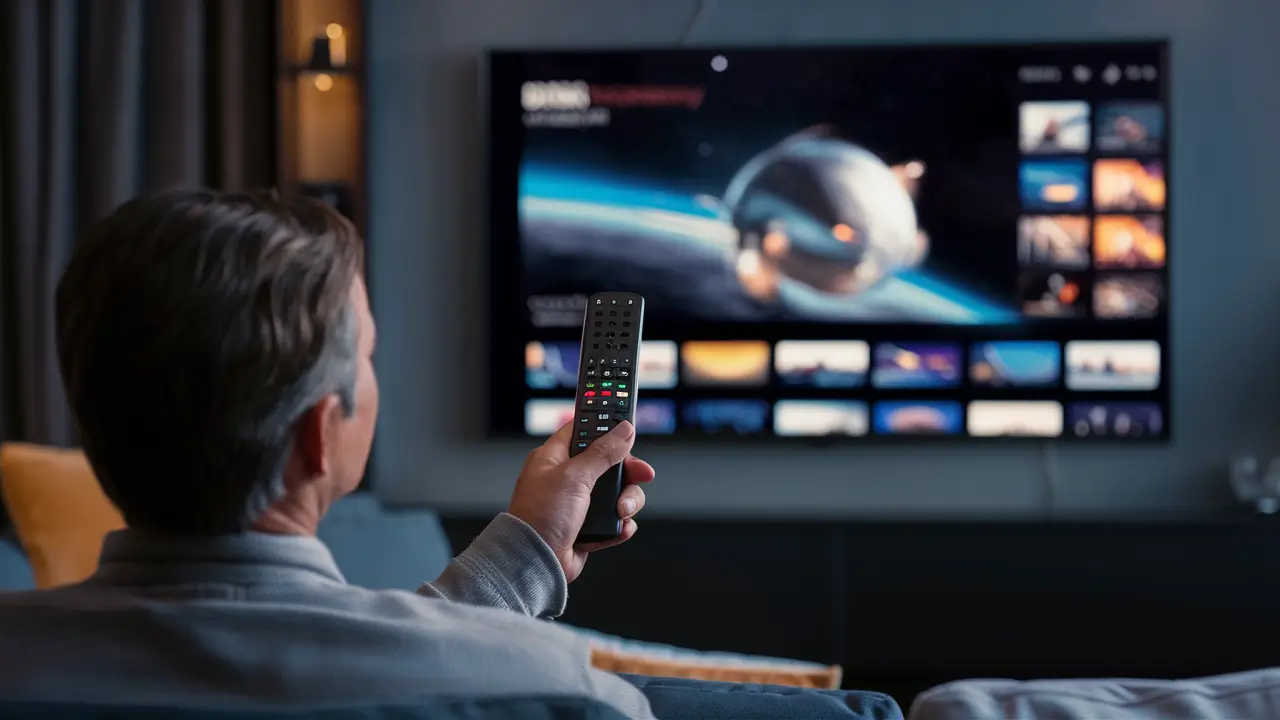
Having Dish Network satellite service installed at your house allows you to see hundreds of news, sports, movies, and other shows. The satellite dish outside sends the signal to your TV while the receiver is housed inside your house. Dish Network lets the customer manage the receiver and operate the TV as well as offers a remote to be utilized with their equipment. Alternatively, if you just acquired a new television set or are new to Dish Network and have just had it set up, you will have to configure the Dish remote to operate the television. Programming the Dish remote to your TV takes little time as all you have to do is couple them together. Here's a detailed walk-through tutorial on programming a Dish Network remote to your TV:
Step 1 – After waking up from sleep, the first activity to be performed for the TV to be ready to display programs is to switch it on.
Never proceed to program the Dish Network remote without first turning on the television. It is a remote for Dish and transmits IR signals which must be received by a powered TV to set the correct link. If the TV is already on, go straight to the next step.
Step 2 - Use the remote control to find the TV input button
Check the Dish Network remote and locate a button with the inscription “TV Input” or “TV”. On some Dish remotes, this is a small round button whereas on others there is the icon of the TV. This is the key that you will have to use to program the remote so that it works hand in hand with the television.
Step 3 – Identify The TV Code
You will have to type a 3 or 4 digit that is on the Dish remote into your television brand. On some Dish remotes, you will find that the most popular TV code numbers are even printed on the back side of the remote. If not, you will need to search the codes on the Internet. Visit Dish Network support and type in the search term ‘remote control code lookup’ to locate your television manufacturer and model number. This will give you the numeric code which you will have to input. This is the code that you should write to input it in the next step.
Step 4 – Programming Mode
Make sure you have your television turned on, and while using the Dish Network remote press and hold the button that is labeled as “TV Input”. As you press the “TV Input” button simultaneously, input the 3 or 4-digit numeric code from the webpage that corresponds to your TV brand. After switching on the TV, press the “TV Input” button and then let go of it.
Step 5 - Test of TV Functions
After entering the correct TV code, you should now be in the programming mode and the Dish remote should be programmed for your television. To test, press the “Power” button on the remote and make sure that it turns the TV off. Press the Power button once more to turn the TV on again. After that, attempt to press the volume up/down buttons to ensure that they work correctly to adjust the volume on the TV. Finally, put the channel up/down buttons to the extreme to check whether changing the channel on a television works or not.
Step 6 - Try More Codes
If, in step 5, the Dish remote control was not effectively controlling the power, volume, and channel on your television, it could mean that the code entered was not compatible with your television model. That is perfectly fine, this simply implies that you have to attempt to enter more codes on the list available on the Dish website. Return to step 4 and enter the next code available for the brand of your television. Continue doing this with the various codes until the Dish remote begins to control the elementary operations of the television. This may mean having to input several codes before cycling all through them will program the Dish remote.
Step 7 – Program Remote Buttons
After you can program the Dish remote to the power/volume/channels of the television, there is an ability to set up several additional buttons on the remote control. For instance, if you have a TV that has arrows for menu navigation, plus/minus for sizing controls, volume controls, and audio, as well as inputs, then all these can be incorporated on a Dish remote. To program any other button on the Dish remote, press and OLD the Dish remote button for the Dish remote function you wish to program along with the corresponding button on the TV original remote for the same function. Press both buttons simultaneously for about 5 seconds which will set the keys. Do the same for any other additional remote control functions that you would like to have on the Dish remote instead of flipping back and forth.
Get Ready To Enjoy!
The final steps of programming Dish Network remote require some trial and error while the rest is quite simple once you have gotten the right television model. With the above steps you now have a single remote that you use to power and adjust the volume of your television and in addition, you have access to satellite stations and programs. Take a deep breath and sit down comfortably to enjoy the use of your newly programmed Dish Network remote. This means that the whole house channel surfing can now commence.
Ready to upgrade your TV experience? Call us now at (877) 471-4808 to find the perfect Dish Network plan for you! Don’t miss out on great entertainment—our team is here to help you choose the best package and get you started today.
