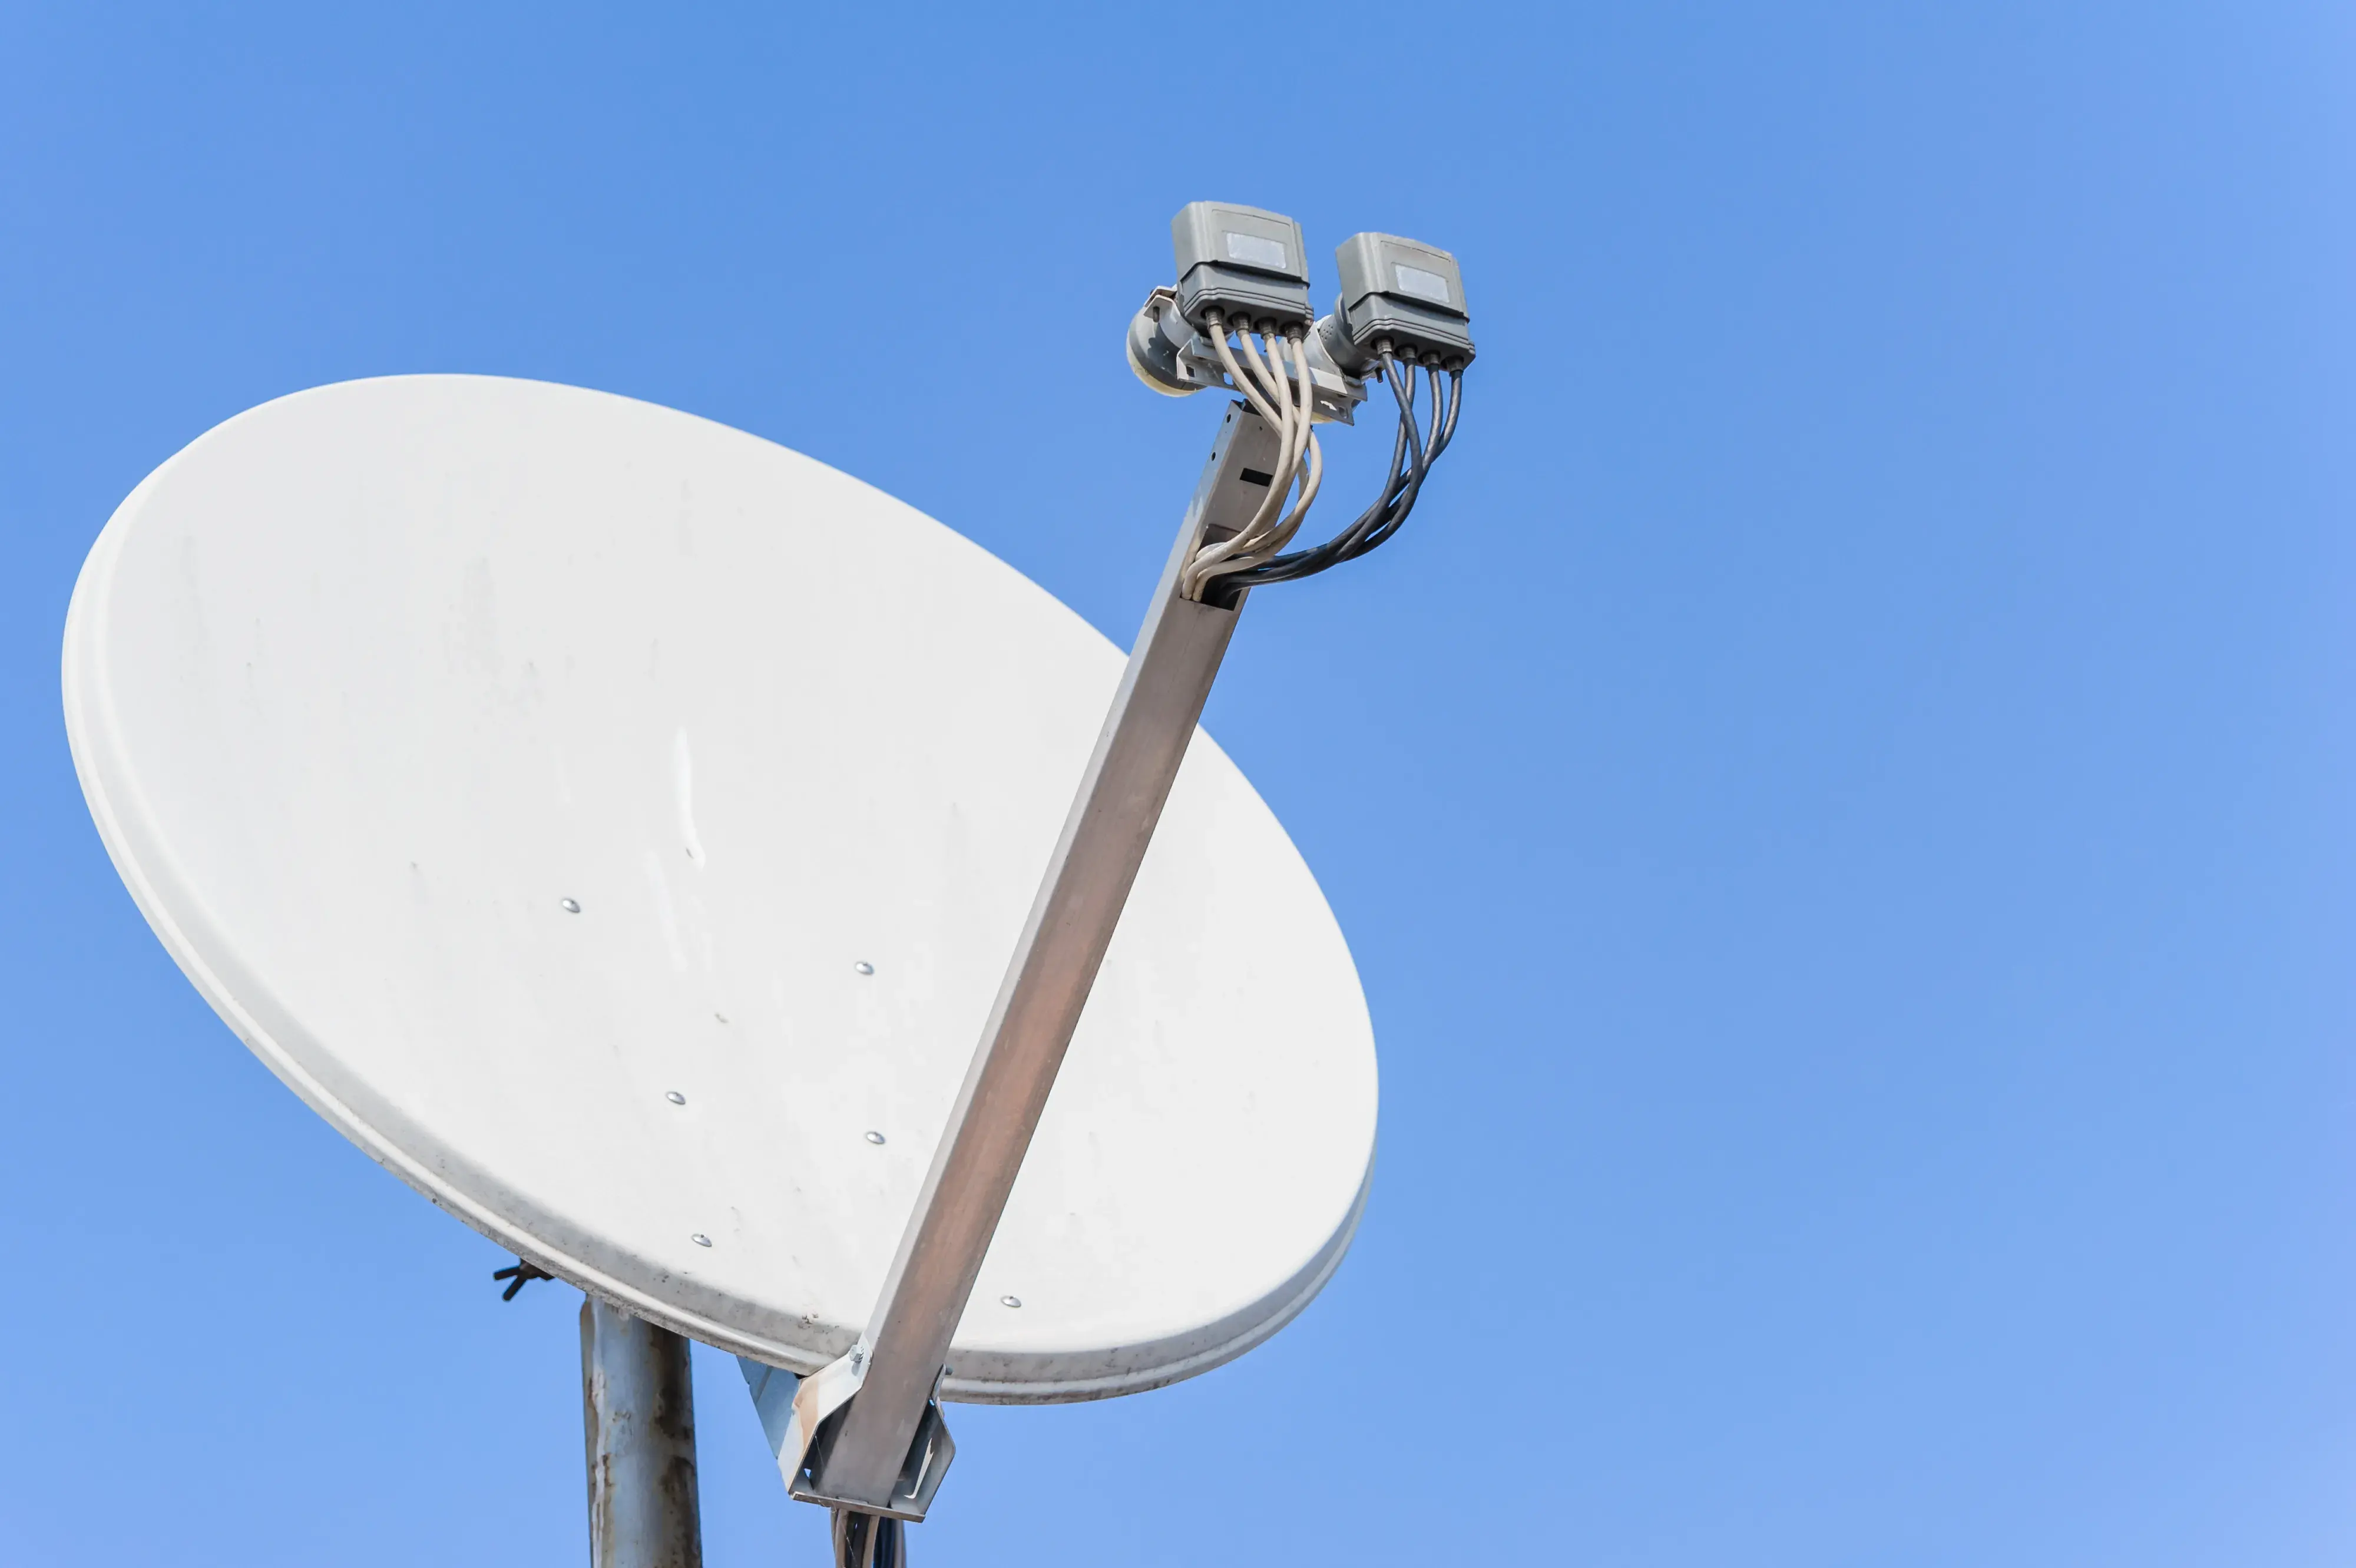
While it may appear intimidating to set up a Dish Network satellite dish, it is not hard at all, provided you consider the following steps. However, if you have the right equipment, take time, and plan yourself well, it is possible to do the entire installation in roughly two hours with only five to ten minutes spent in pointing the dish. Here we give step-by-step procedures to guide you install your Dish dish and also how to properly align it to begin enjoying your favorite series.
Choose the Satellite Location
To receive signals from Dish Network, you will need to position your dish towards a communications satellite in a geostationary orbit over North America. Dish has several satellites, but for the basic setup, you should initially point towards the main satellite at 119 degrees West longitude. This is because you will be able to get all Dish programming and channel packages with this. LATER, if you require more bandwidth or access to international or specialty programming, you may wish to install a second dish also aimed at Dish’s Western Arc satellites at 61. 5°W and 129°W.
Gather Your Equipment
In addition to a Dish dish you purchase or lease, you will need the following tools and supplies to complete the installation:
- Satellite signal meter or receiver – The device allows the user to measure the signal strength, which is helpful in correctly installing the dish reception. Attached to the coaxial cable during pointing.
- Home anchoring equipment – About the fixing of the dish on the side of the home. This includes lag bolts, wall brackets, mast, and straps.
- Coaxial cable and F-connectors – Used to connect the physical cable line indoors to the receiver box. Should be rated for outdoor use.
- Power drill, wrench set, and safety equipment - To install the dish mount and fix the cabling.
- Compound, silicone - For sealing the cable connections to avoid corrosion by water.
- No object in the way of the 119° satellite position – Make sure that there are no trees or buildings that will obstruct the line of sight.
Choose your Installation Spot
Choose an open location outside where the view is in the southern direction to experience the positioning of the satellite. Ideally, it should be firmly mounted on a vertical structure such as an external wall or a pole mount below the roof overhang. Ensure that you will be in a position to safely reach it in the future in case you need to alter something. The area also requires an accessible path to which you can bring your coaxial cable indoors to the room with the satellite receiver.
Install the Dish Hardware
Attach the satellite dish according to the manufacturer’s guidelines by tightening the lag bolts into the wall studs or a pillar. Make sure the level and square the dish properly on all axes so that it can move as much as possible. Most kits should allow the mast to be swung up for elevation and the dish itself can be swung side to side as well as front to back at an angle. Such alterations are crucial for aiming in the installation process.
Run the Cabling
Make a hole in the outer wall where the mount is situated such that it would lead to the room where your receiver is located. Pull through and connect your coaxial cable from the dish ensuring that the connectors are appropriately sealed from the weather. Neatly manage the cabling so that the cables hang properly so that they do not accumulate water or get damaged in any way.
Attach a Satellite Finder
To help in your pointing process, take a portable satellite signal meter and attach it to the end of the coaxial cable within the house. This will allow you to take readings of the signal strength from the dish as you fine-tune the direction the dish is pointing in. Some satellite receivers also have screen signal meters that you can make use of if you prefer.
Target the Dish & Maximum Signal Power
Switch on the satellite meter to make it show signal strength in figures and/or by producing a rising tone. Stay outside by the dish to cool it down if necessary. You should first set up the antenna roughly in the southern direction and tilt back at approximately a 30-degree angle of elevation. Twirl the dish in a counterclockwise and clockwise motion gradually until you hear an increase in the tone or the number. Now tweak the up/down tilt and rotation to get the best signal. Continue to repeat the process patiently in all axes until the strongest reading is obtained. The signal may spike and therefore the last movements should be in small oscillations. You are going to see that there would be an obvious ‘sweet spot’ especially when you are pointed directly at the satellite.
Confirm Lock with the Receiver
Once you are sure that your satellite dish is properly aligned, return to your home and switch on your Dish Network receiver box. You should get a signal lock confirmation on the screen instantaneously. Switch through the channels to check the operation and watch your channels! During storms, keep a watchful eye on your location just in case the wind becomes stronger or there is debris that could upset the alignment of your solar panels and batteries. However, otherwise, it will proceed to receive cleanly without requiring any further adjustments except for the initial fine-tuning. And in this way, you now have the skills to fix other satellite dishes in the future when the need arises.
Ready to upgrade your TV experience? Call us now at (877) 471-4808 to find the perfect Dish Network plan for you! Don’t miss out on great entertainment—our team is here to help you choose the best package and get you started today.


