-
Posted on: 13 Aug 2024

-
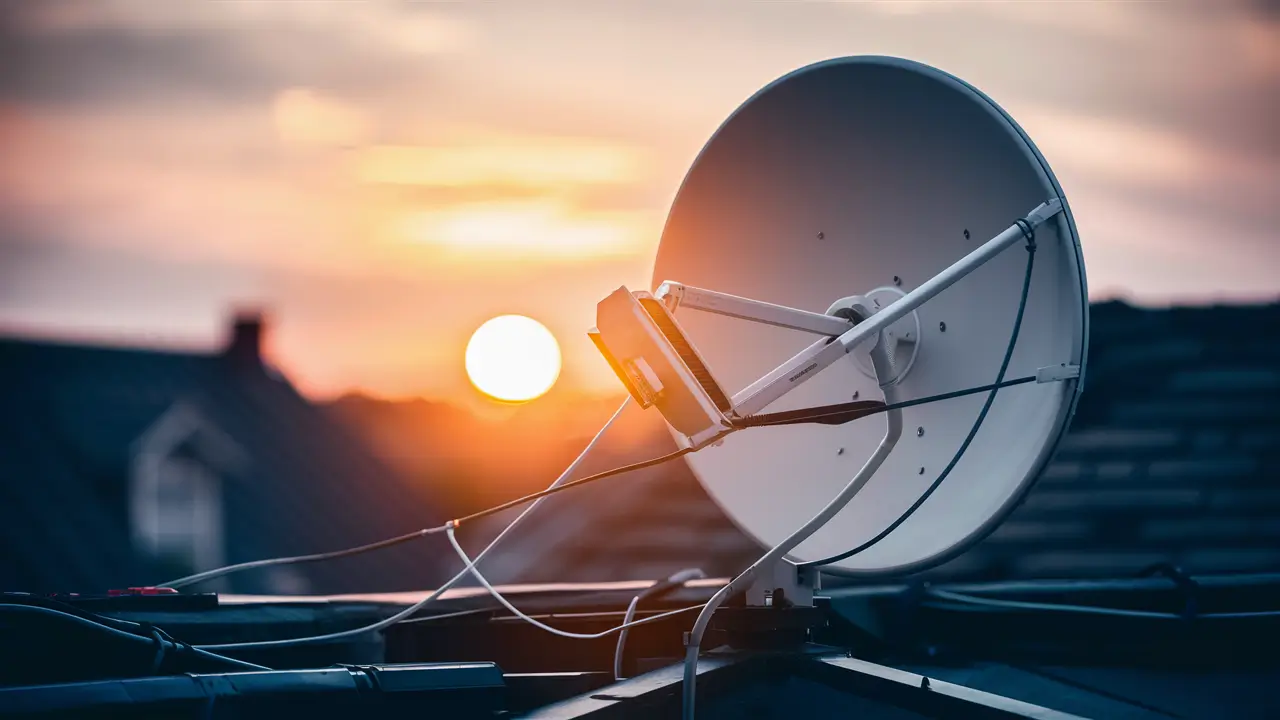
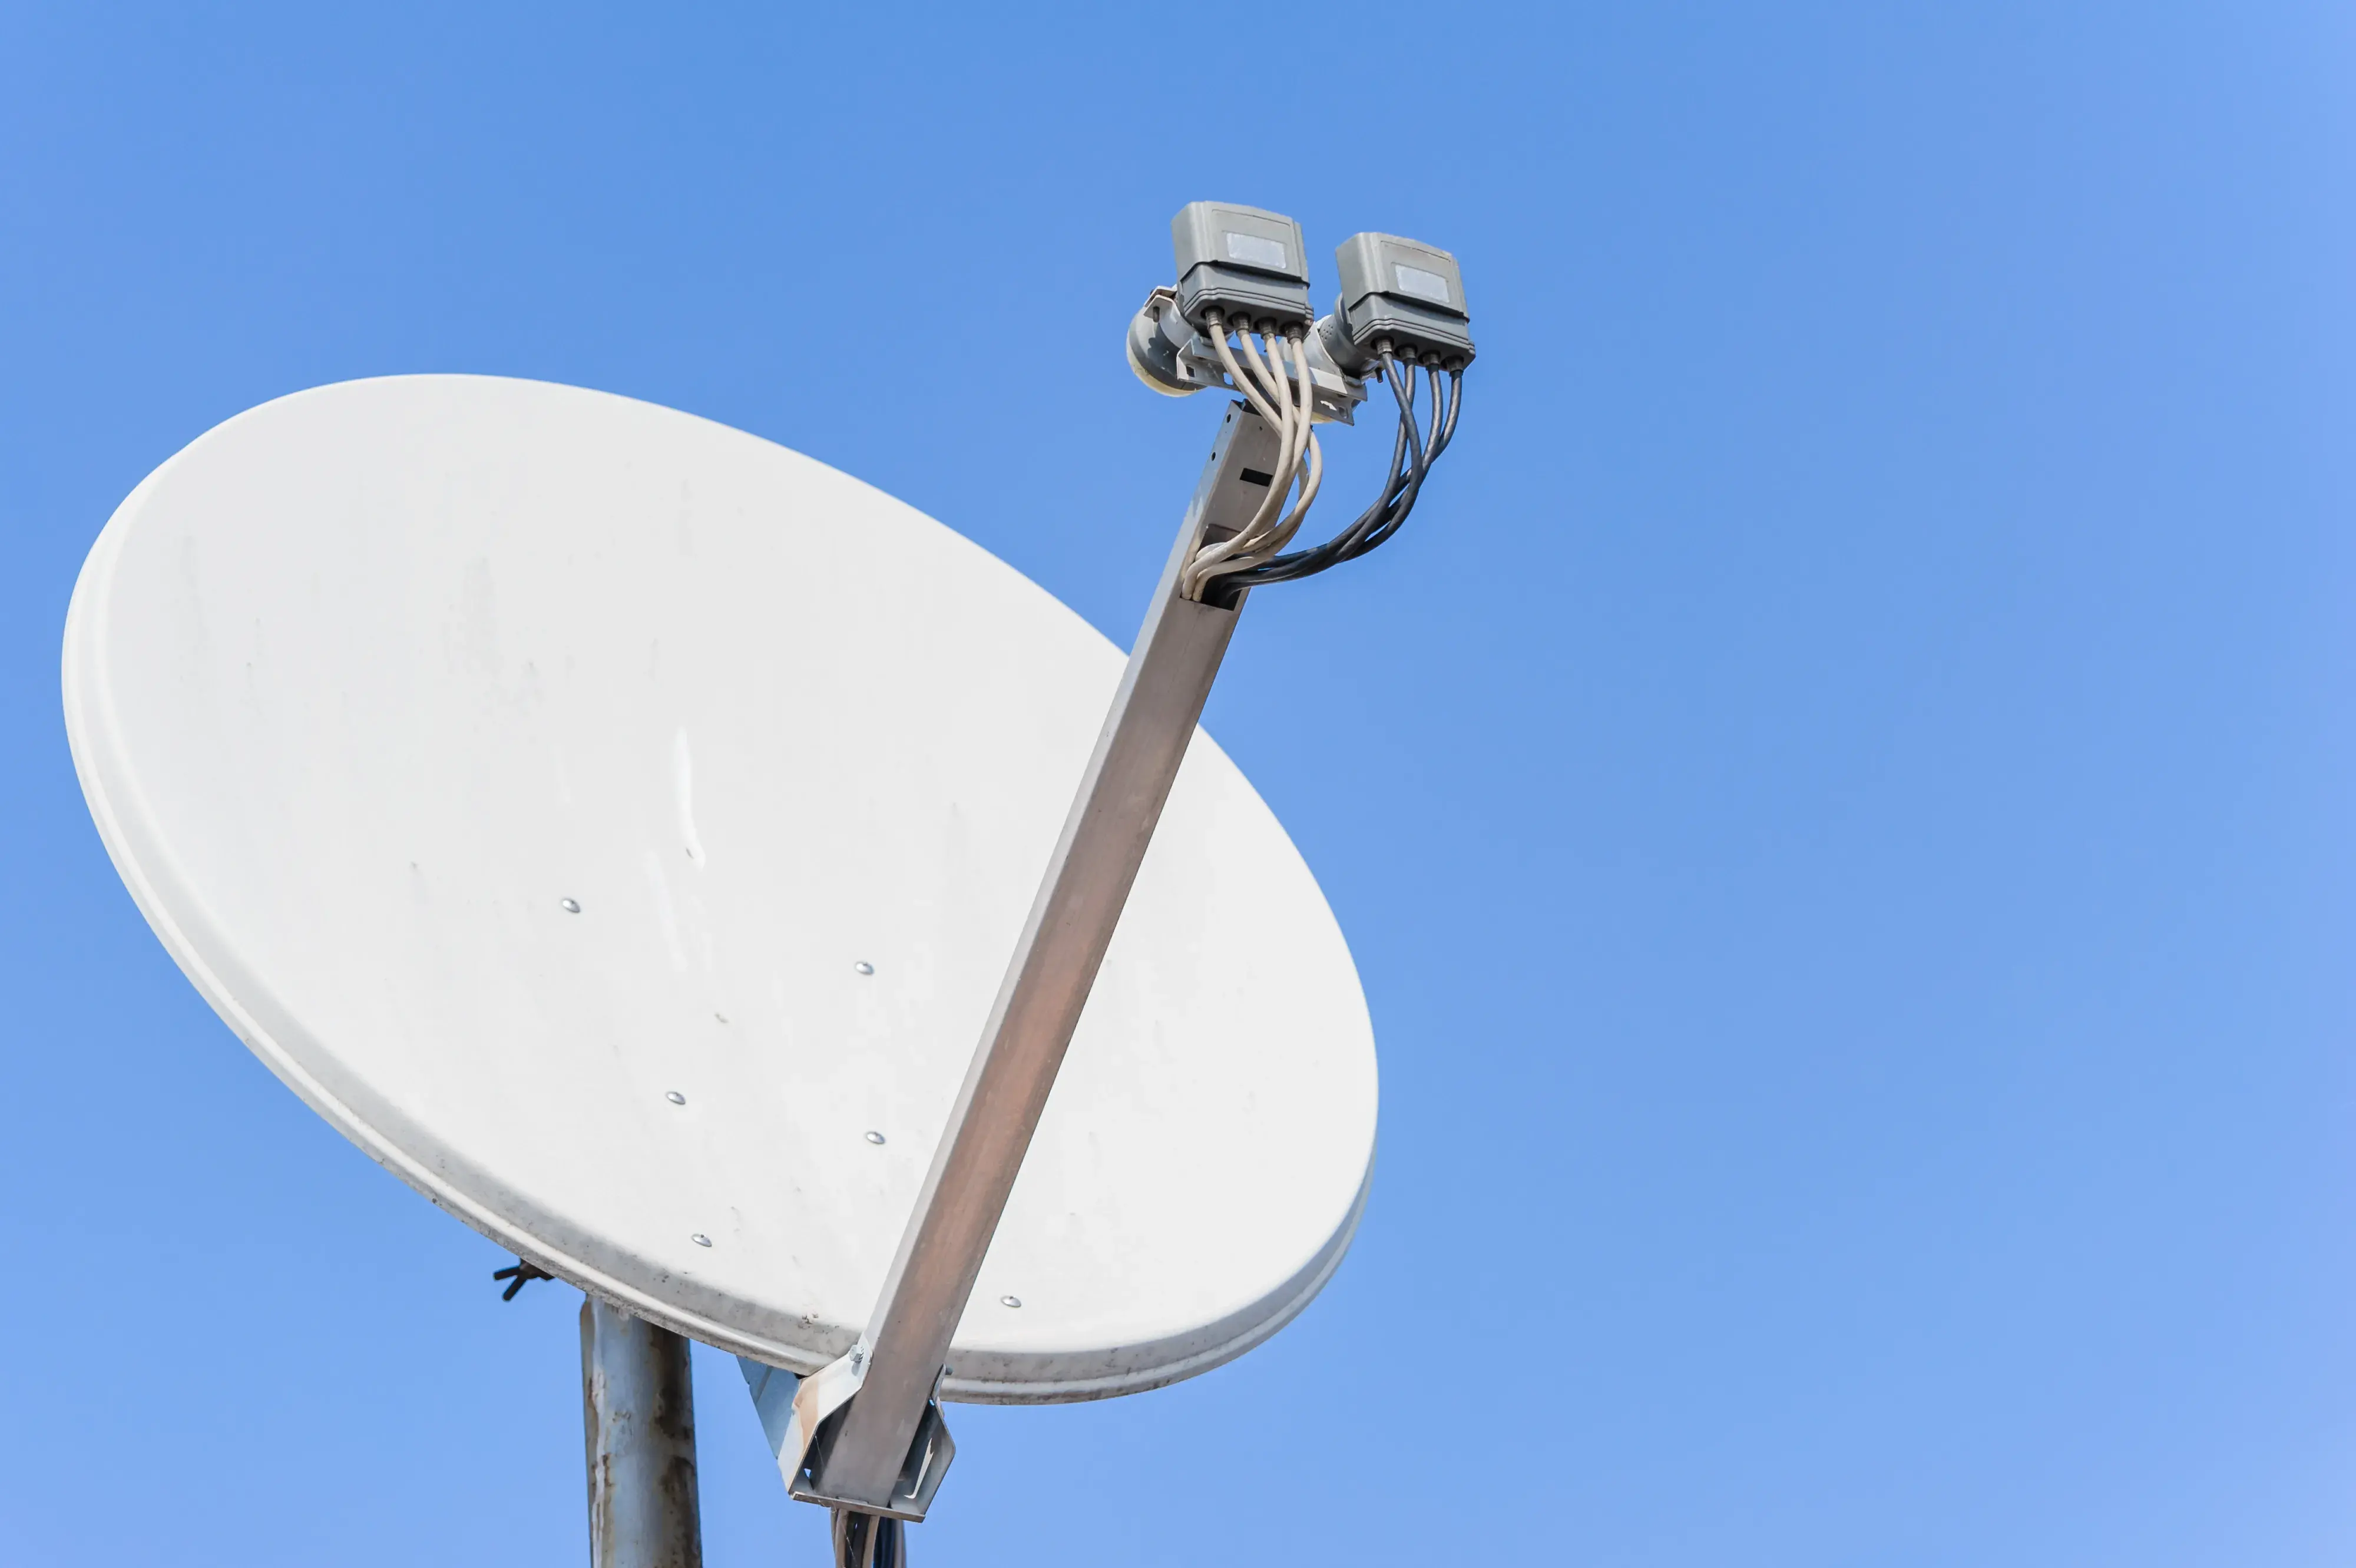
To properly install a Dish Network satellite TV system, there is a need to ensure that your satellite dish has been well aligned for the best signal. Aiming for the dish is not an easy process, but if you follow the steps provided below in the letter, you will be able to acquire the satellites and get to enjoy your favorite TV shows. Here is a step-by-step guide on how to point a Dish Network satellite dish:
Choose an Installation Location
The first thing that needs to be done in pointing your Dish Network is to decide where exactly you are going to put up the satellite dish physically. Consider the following when picking a location:
- Lack of obstructions for viewing the southern sky. Dish satellites hover over the equator and thus require a site with a clear line of sight towards the south at azimuth between 120° and 180°. This is because trees, buildings, and other structures can easily act as barriers and hinder the signal from getting through.
- Position it close to where your TVs are situated. It is advisable to keep the cable distance between the dish and your receivers as short as possible. Signal weakens as distance reaches beyond the normal limit of transmission. Arrange the dishes as close as possible but not necessarily on top of each other.
- Firm, sturdy mounting. The satellite dish is exposed to a lot of wind and therefore must be fitted firmly either on the roof, a wall, or a pole stand. It should not vibrate or rock to ensure correct orientation.
Conclusion Today I have learned how to establish the azimuth, elevation, and skew of the antenna.
The physical pointing in the case of Dish Network primarily involves the azimuth, elevation, and skew angles of the dish.
Azimuth means the direction in which the dish should be aligned in terms of compass direction. For the continental United States, the azimuth will be generally 180° south or 125° southeast.
Elevation is the angle up from the ground and is the transition from the horizontal plane to the horizon. Most locations will have a dish elevation between thirty to forty-five degrees.
Skew is as straightforward as aligning the perpendicular angle of the dish mounting bracket provided that it was mounted on a roof or slanted surface.
The exact azimuth, elevation, and skew angles for your address can be found in the Dish Point app or the simple Dish’s ZIP code search. These will provide you with the initial pointing settings.
Mount the Dish
Having the azimuth, elevation, and skew angles for your location, you can then proceed with installation and physically aligning the dish. The basic process includes:
- Proper anchoring of the dish bracket mast to your roof, exterior wall, or ground base securely. This may necessitate boring holes for lag bolts or concrete anchors.
- Bolting the dish assembly itself to the mast bracket and making it firm.
- Rotating the skew angle on the sloped roof mounts to enable the dish face to be in the vertical position.
- Rotating the dish to the required azimuth compass position depending on the geographical position of the station.
- Rotating up/down to achieve the correct altitude.
- Adjusting the pole mount downwards or ensuring that the face of the dish is not inclined to the left or right.
- Pulling coaxial cables from the LNB arm at the rear of the dish to your house and the satellite receiver. One should not lay much emphasis on the cable connections.
The mast, mount, and dish assembly are designed to enable adjustment in any direction while simultaneously ensuring the proper positioning of the dish once alignment is done.
Finding the Satellites
However, since the Dish Network dish has been physically directed by the settings of your location, the next step is to get on the satellites themselves. This must be accompanied by the ability to display satellite signal strength. Options include:
- Digital display of signal strength of dish receiver box.
- The external satellite meter is temporarily attached.
- The locator feature of the Mobile Dish Point app.
Begin by keeping the dish tilted to the left or the right and then rotate the dish while looking for the best signal. Once the peak has been identified, start gradually lowering and raising the dish horizontally until the optimal signal is achieved. You may overdo it and require some corrections. When using the satellite locator app, simply follow the instructions displayed on the screen when picking up signals.
Optimizing Signal
Having the Dish aligned perfectly to get the signals of the satellites, you now have your Dish properly aligned. However, it is often possible to fine-tune in small steps for further improvement, which is why the term ‘tweak’ is used here.
Now and then, tweak the azimuth, elevation, and skew angle slightly in an attempt to achieve an even better signal lock. Suspend all activities as soon as the maximum signal is received. This is well illustrated by the disparity between say 85% and 100% signal strength when it comes to picture quality.
Last but not least, carefully tighten all screws, especially those behind the dish, pole clamps, and locking screws. If things come loose later, one or another can get out of position and thus come into the picture, and you will lose your alignment. Inspect signal levels in the linked television sets. You now have your Dish Network installation aimed towards the reception of the best satellite television programming.
Troubleshooting Tips
Here are some quick troubleshooting tips if struggling to get a signal:
- Make sure there is no interference with the view of the southern sky. This is imperative.
- Make sure all connections between the dish mounting are tight.
- Verify coaxial cable runs for Secure connections with no kinks or damage.
- Make sure that the satellite receiver is switched on and connected to the television properly.
- Setting of correct angles such as azimuth, elevation, and skew for the geographical area.
- When looking for the highest signal, always be very organized. Go slow.
- Optimizing takes small gradual adjustments at a time. Avoid abrupt movements.
If some care has been taken while aiming at your dish, you’ll get an awesome satellite TV experience for several years with Dish Network. However, the dish system must be accurately set at the initial stage. This way, we need to learn how to use the right tools so that we may be able to have a good start.
Ready to upgrade your TV experience? Call us now at (877) 471-4808 to find the perfect Dish Network plan for you! Don’t miss out on great entertainment—our team is here to help you choose the best package and get you started today.


