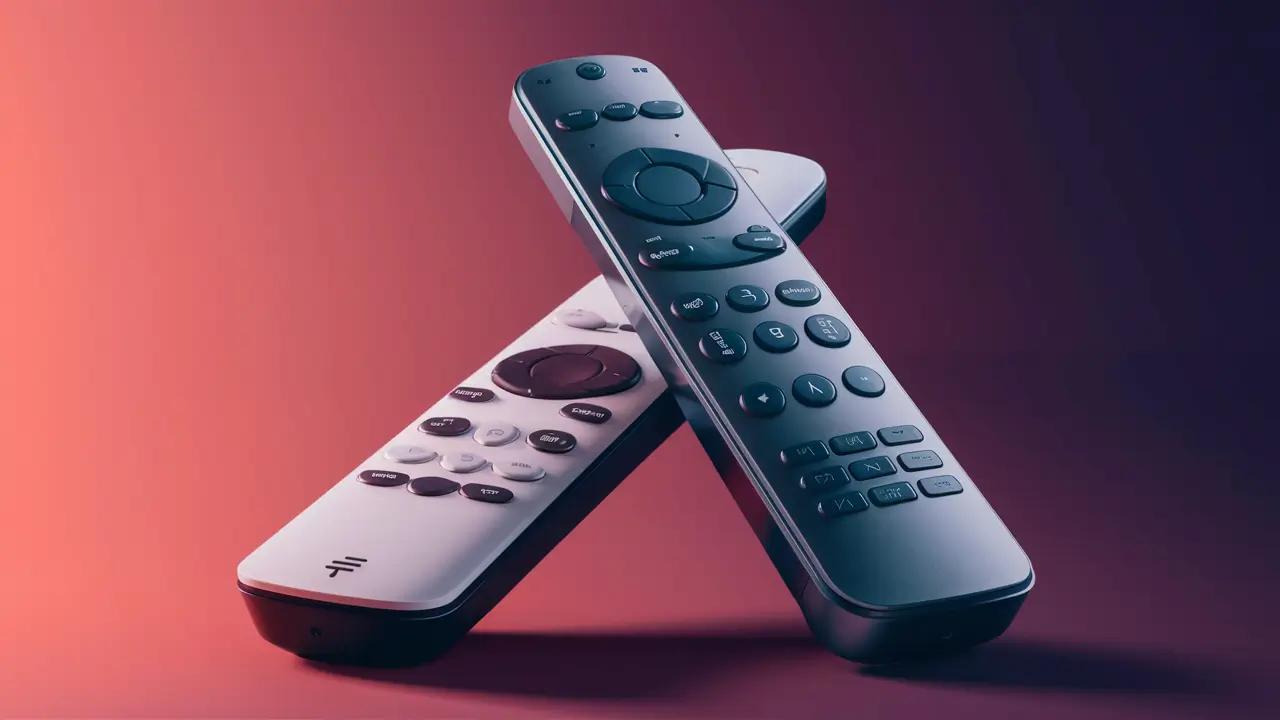
The process of how to pair your DIRECTV Stream remote and how to make sure it works with your DIRECTV Stream device is crucial for your experience. If you are new to this remote or are experiencing trouble connecting your current remote, then you may need to pair the device. Fortunately, programming a DIRECTV Stream remote is quite easy but pairing is also quite easy.
Check Batteries and Power Cycle DIRECTV Stream Device
Before pairing your DIRECTV Stream remote, some preliminary steps can help make the process go more smoothly:
Verify Remote Batteries are New
Check to ensure that the batteries in your remote are not dead. It should be noted that this leads to problems if you attempt to synchronize a remote that has very little battery life left. The remote may require 2 new AA batteries to have enough charge to operate.
Power Cycle DIRECTV Stream Device
A power cycle refreshes the connection frequently eliminating minor connection issues with your DIRECTV Stream device. Turn off the power cord from the rear of the device and reconnect it after 10-15 seconds. As soon as it starts the booting process try to operate the remote to check on its efficiency.
Initiating Remote Pairing
If the previous troubleshooting steps involving the batteries and power cycling the device did not work, you should try pairing the remote.
Locate Pairing Button
Check just below the row of navigation buttons on your DIRECTV Stream remote. This control unit has a very small round pairing button.
Press Pairing Button
To press and release the pairing button, it is recommended to use a thin object such as a paper clip. While holding it, the mute button at the top will light up green, showing that the headset is in pairing mode.
Quickly Press PWR then MUTE
With the mute button still flashing, quickly press the power button located at the top part of the remote then, press the mute button. It will then turn to a steady green; this indicates that the pairing process has been successfully done.
Alternative Pairing Method
If the pairing process doesn't work, here is an alternate method to try:
Hold MUTE+ENTER 5 Seconds
On the remote, press the ‘Mute and Enter/select buttons for 5 seconds and the mute button will light up.
Input 9-6-3 Enter
When you are in the device code setup, use the number buttons on the remote to input the code 963 after the green button is pressed. Press enter/select after inputting.
This causes the remote to enter into pairing mode. Followed by the quick power and mute press steps mentioned above.
Additional Tips for Stubborn Remotes
Having trouble still? Here are a few other tricks that may help get that remote paired up:
* Bring the remote closer – While doing the pairing process with the remote, place it 2-3 feet away from the DIRECTV Stream box. Sometimes, being right by the device helps to make the connection.
* Change batteries – The batteries could still be weak or faulty. Replace batteries for the final time if the remote is yet to pair.
* Reinstall WiFi – If other wireless devices in your home are having connectivity problems then, restart your WiFi router. This renews the wireless signals that may be of help for the remote sync process since the iPad 3 is Wi-Fi-capable.
* Contact DIRECTV Customer Care – As a final step, dial 1-800-531-5000 and talk to a DIRECTV specialist who will help with programming your remote or getting a new one if that is what is required.
Enjoy Your Paired DIRECTV Stream Remote
After you spot the steady green light to show that the pairing is complete, go ahead and try out your remote. Switch channels with the guide and volume buttons to ensure that the DIRECTV Stream box functions properly. If it functions well then it means your remote is in good condition. Sometimes it is frustrating to have your pairs not link well but it is always worth it to take the time to link the TV well.
Transform your viewing experience with DirecTV! Call us today at +1 855-213-2250 to explore our plans and find the perfect package for you. Our experts are ready to assist you and get you set up with top-notch entertainment. Don’t wait—contact us now!

