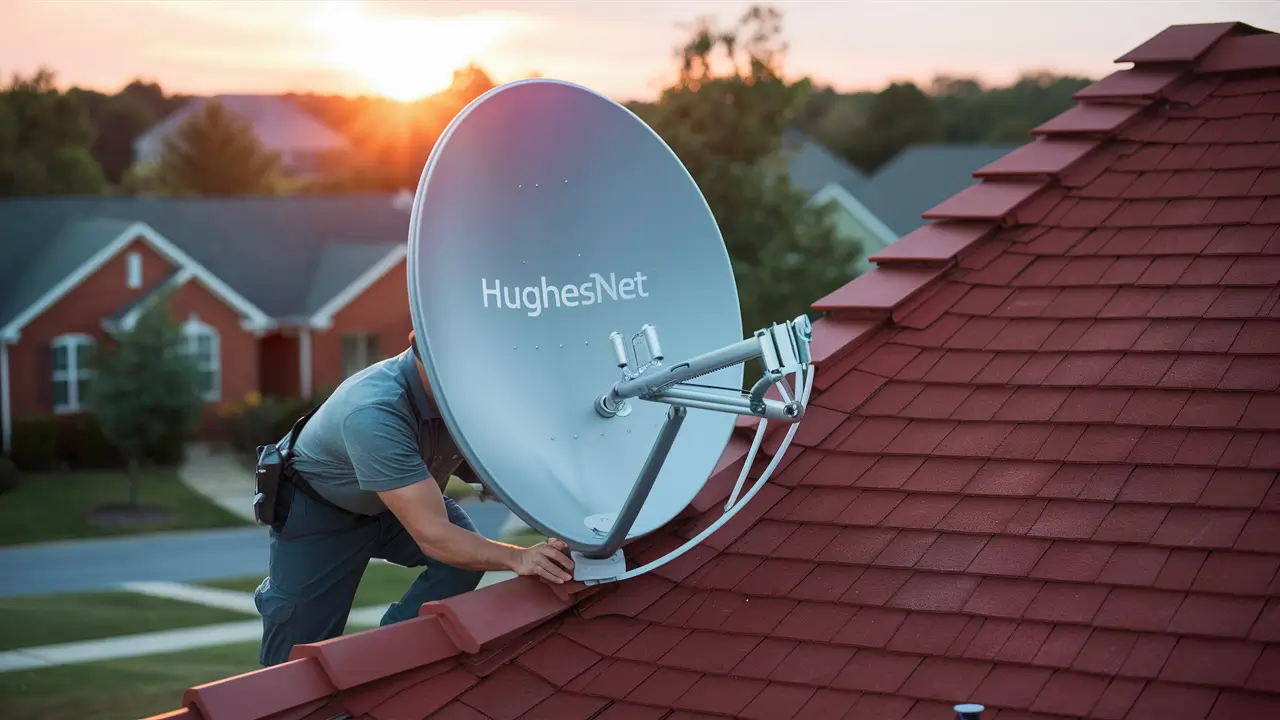
HughesNet is among the top SATTV INTERNET service providers in the United States. HughesNet has got you covered when it comes to internet connection especially in those areas where cable or DSL internet is not possible. HughesNet satellite dish can be installed in a way that the user connects to their satellite network to access internet at high speeds. The following is the procedure on how to install a HughesNet satellite dish properly as described in this article.
Things You'll Need
Before installing the satellite dish, make sure you have the following items:
- HughesNet satellite dish and accessories (normally encompass the dish, the bracket, the cables and so on).
- Power drill
- Wrench sets
- Level tool
- Coaxial cables
- A computer or other internet-connected device
Select Installation Location
The position of the satellite dish is important in ensuring that the satellite signal that is received is strong. Here are some tips on selecting the installation site:
- Select an area where there is no obstruction in the southern direction. Certain barriers like trees, buildings and other structures can also interfere with the transmission of the signal.
- Select a place where the satellite can be installed firmly or attached on the side wall or roof of the vehicle.
- Ensure that the place chosen complies with the distance standards outlined by HughesNet in the instruction manual.
- The location should be such that it can accommodate the cables running into the house to connect to the modem.
Install the Mount
The satellite dish should be fixed firmly, and for this, one should use a stable mounting. Here are the steps to install the mount:
- Gently, use the template found in the manual to scribe the holes for the screws. Ensure that the template is properly aligned.
- Chisel away the wall at the points you drew. Select the type of the screws depending on the surface where they are to be screwed in.
- Secure the mount firmly to the wall with a screw on, preferably with a power drill. Check if it is well anchored and strong to support the satellite.
Assemble the Satellite Dish
After the mount is installed firmly, you can start assembling the satellite dish components:
- Secure the arm assembly to the mount bracket by the use of nuts and bolts strategically placed on the arm assembly. Secure them firmly with the right wrenches that must fit the nuts properly to avoid slipping and causing injury.
- Then, secure the satellite dish to the arm. Make sure the holes on the two faces match up and tighten the nuts and bolts adequately.
- Install the low noise block converter (LNB) arm to the satellite dish assembly as described in the manual using the hardware and wrenches provided.
Point the Dish
To ensure that the HughesNet satellite signal is received, proper alignment of the satellite dish is essential. Here are the key steps:
- The finder tool included with the kit can assist in properly orienting you towards the satellite.
- The azimuth, elevation, and skew angles can be changed by loosening the nuts that hold the dish in position and then tightening them later.
- See the signal strength indicator on the finder tool and adjust the dish position for the maximum strength.
- Perform fine-tuning until there is a strong signal to guarantee the correct orientation.
Connect the cables and switch on
After positioning the dish correctly, you can complete the final installation steps:
- First, lay down coaxial cables from the LNB arm to the building interior and connect it to the modem.
- Secondly, plug the modem into your router or a personal computer through the Ethernet cable.
- At last, connect the modem and router to the source of electrical power as well as turn on the PSU’s.
The modem lights should show that the dishes are installed correctly, and the satellite is connected. Now you can begin to receive high-speed satellite internet through HughesNet for your home!
Conclusion
HughesNet satellite dish system must be installed properly so as to obtain the best internet services to support your needs. When choosing the site, installing the subassemblies, placing the dish, and connecting the equipment, adhere strictly to the provided instructions. When aligning the dishes correctly and mounting them correctly, it is possible to have a stable high-speed connection, even in the districts with no access to the ground cable lines.
Ready to upgrade your TV experience? Call us now at (877) 471-4808 to find the perfect Dish Network plan for you! Don’t miss out on great entertainment—our team is here to help you choose the best package and get you started today.


