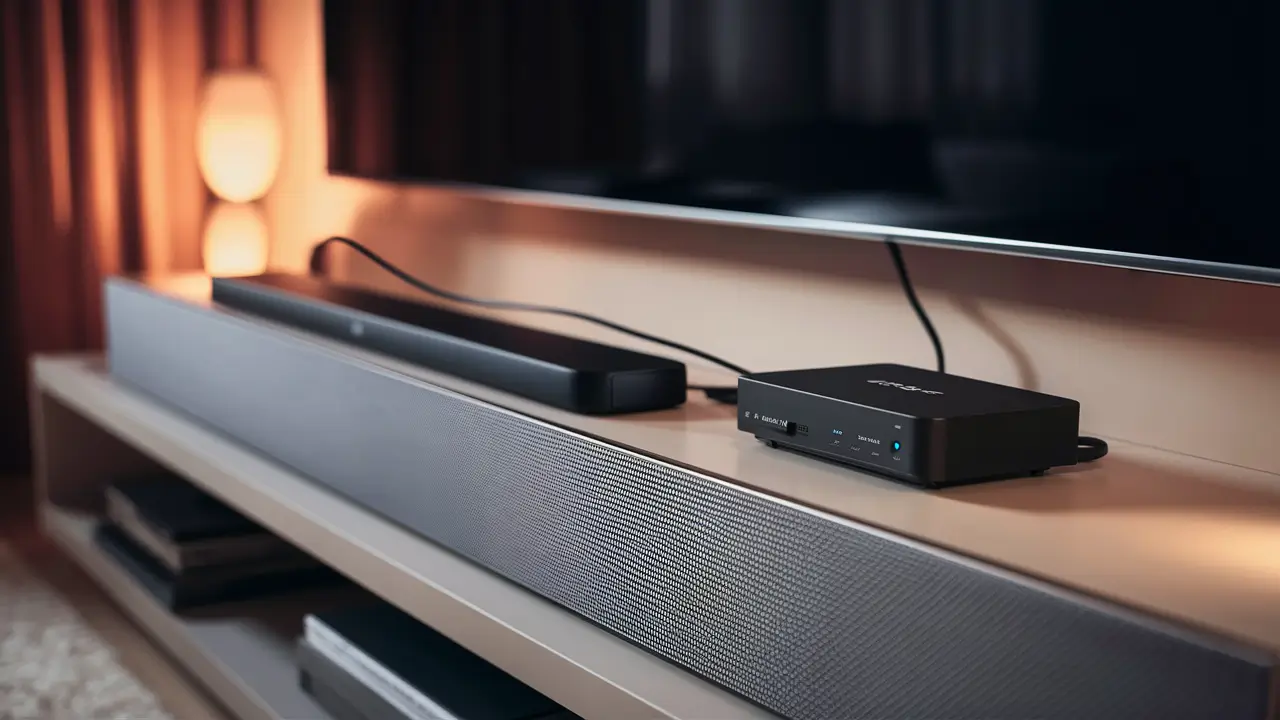
Here I show how to watch TV with enhanced audio and loudness by connecting a soundbar to your Dish Network Joey receiver. Connecting to a soundbar is easy, but there are a few steps you will have to follow to make it operate with Dish.
What You Need
Before connecting your soundbar, make sure you have the right equipment:
- What is a Dish Network Joey receiver?
- Soundbar with optical audio input
- S/PDIF or TOSLINK which can also be referred to as an optical audio cable
- Television with an HDMI connection point
A minimum setup of a soundbar only needs the following devices: If your soundbar supports HDMI though, you also have the option to connect it via HDMI rather than the optical cable. Before starting any of the procedures ensure that you have either an optical or HDMI cable with you.
In terms of connections, it supports Optical Audio Cable connections.
The simplest way to add a soundbar to a Dish Joey is by using an optical audio connection:
- Step 1. Plug the Dish Joey receiver into your television using an HDMI cable that should have been provided. Ensure that your TV input is on the HDMI port where you have connected the cable.
- Step 2. Find the Optical port at the back part of your soundbar. Hence, there will be a small, square-shaped outlet labeled Optical In or Optical Audio In.
- Step 3: Plug one end of the optical cable into the Optical In socket on the soundbar. Plug the other end into the OPTICAL SPDIF input jack on the back of your Dish Joey receiver.
- Step 4: Switch on the TV, the receiver, and the soundbar. Once all devices are turned on, the soundbar should be able to recognize the audio signal from the receiver on its own.
- Step 5: On your soundbar remote, find the Source, Input, or Audio button and set it to Optical. You should now get to listen to sound from the TV through the soundbar instead of the TV-set speakers.
- Step 6: Take your Dish remote and open the Sat menu then go down to Audio. Choose Alternate and rename it as Optical. This makes sure that the receiver forwards all the Dolby audio signals to the soundbar.
This means that once you set your Dish Joey’s audio output to Optical, whatever is transmitted through the receiver gets to the connected soundbar.
Connecting via HDMI ARC
However, if both your TV and soundbar have HDMI ARC, you can also use HDMI cable instead of Optical to connect them.
With HDMI ARC, the TV audio is transmitted back to the soundbar through the same HDMI cable without the need for an optical connection. However, HDMI ARC has to work in both the source and sink devices for this method to be effective.
Follow these steps to hook up a soundbar via HDMI ARC:
- Step 1. Plug the Dish Joey receiver into an HDMI input of your television set in the same manner as any other peripheral device as you use the HDMI cable that comes with the receiver.
- Step 2. Plug another HDMI cable into the HDMI ARC port on your TV and the HDMI ARC port on the soundbar. Some of these ARC ports may be labeled clearly at the back of your devices.
- Step 3. Access the Sat menu on your Dish remote and move down to the audio option. Click on Select Alternate and set HDMI as the default.
- Step 4. Make sure the soundbar's input is also configured to use the HDMI ARC link. Select the suitable HDMI input or ARC depending on the remote or menu of the soundbar.
HDMI ARC has the benefit of having one HDMI cable to link your TV to the speaker. Remember that HDMI ARC has to be supported by both devices; otherwise, you will have to turn to optical means.
Adjusting Sound Settings
Once you complete the physical connections between your Dish Joey and soundbar, take a few minutes to verify everything is working and properly configured:
- Switch between various channels and streaming applications. Audio should come out from the soundbar only.
- Ensure that volume is affected with your sound bar remote and not the TV or dish remote.
- Allow features such as Dolby Atmos or DTS on the soundbar if supported. You may need to run a configuration for the soundbar to recognize Dish audio formats.
- Adjust soundbar parameters such as equalizer settings and subwoofer crossover to optimize for bass, treble, or dialogue.
It is also important to repeat the sound calibration process in case your soundbar has a special tuning microphone. This enables one to maximize any surround sound effects that may be in the system depending on the size and shape of the room.
Troubleshooting Tips
If you don’t immediately get audio from the Dish Joey to the soundbar, try the following troubleshooting steps:
- Switch TV input sources and ensure the correct HDMI port is selected on the receiver for Joey's input.
- Change the audio output on the Dish receiver to Optical or HDMI ARC again.
- Make sure that cables are plugged correctly into ports present at the back of the devices.
- Try rebooting the Joey receiver and the soundbar.
- Take a factory reset of the soundbar then go through the settings to search for new firmware versions.
Ensuring that every step of the setup process is followed, and every connection is checked could eventually reveal potential sources of error. There are configuration changes that you need to make on the Dish satellite receiver and the soundbar to get the best audio output.
An external soundbar can be installed to enhance your Dish TV and Joey experience. After connecting is done right, you will experience enhanced sound, good volume, as well as surround sound from movies, and sports, among other events. It is as simple as spending adequate time connecting cables and configuring audio outputs correctly, and there you have a complete home theatre solution.
Ready to upgrade your TV experience? Call us now at (877) 471-4808 to find the perfect Dish Network plan for you! Don’t miss out on great entertainment—our team is here to help you choose the best package and get you started today.
