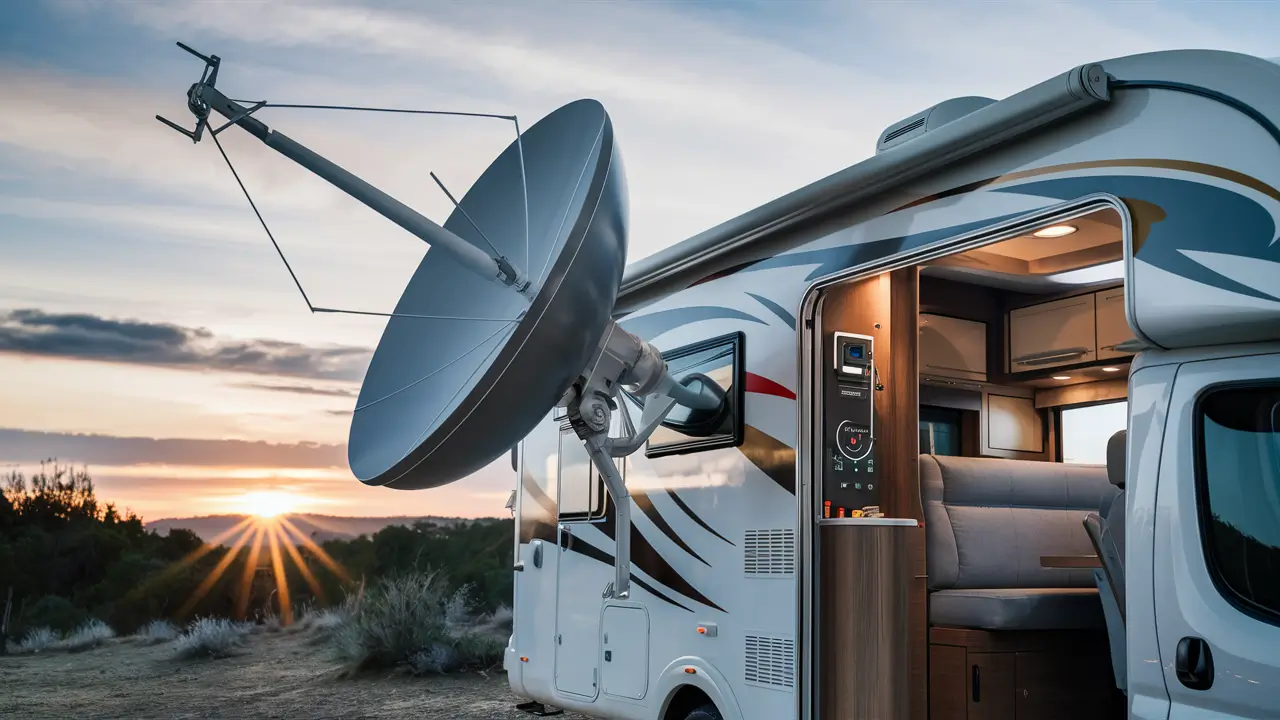
Connecting a satellite dish to an RV enables you to watch satellite television while on the go. More specifically, having TV access enhances the experience and comfort of living in an RV. Setting up satellite in an RV is not too difficult if you follow these steps:
Select a Satellite Service and Equipment
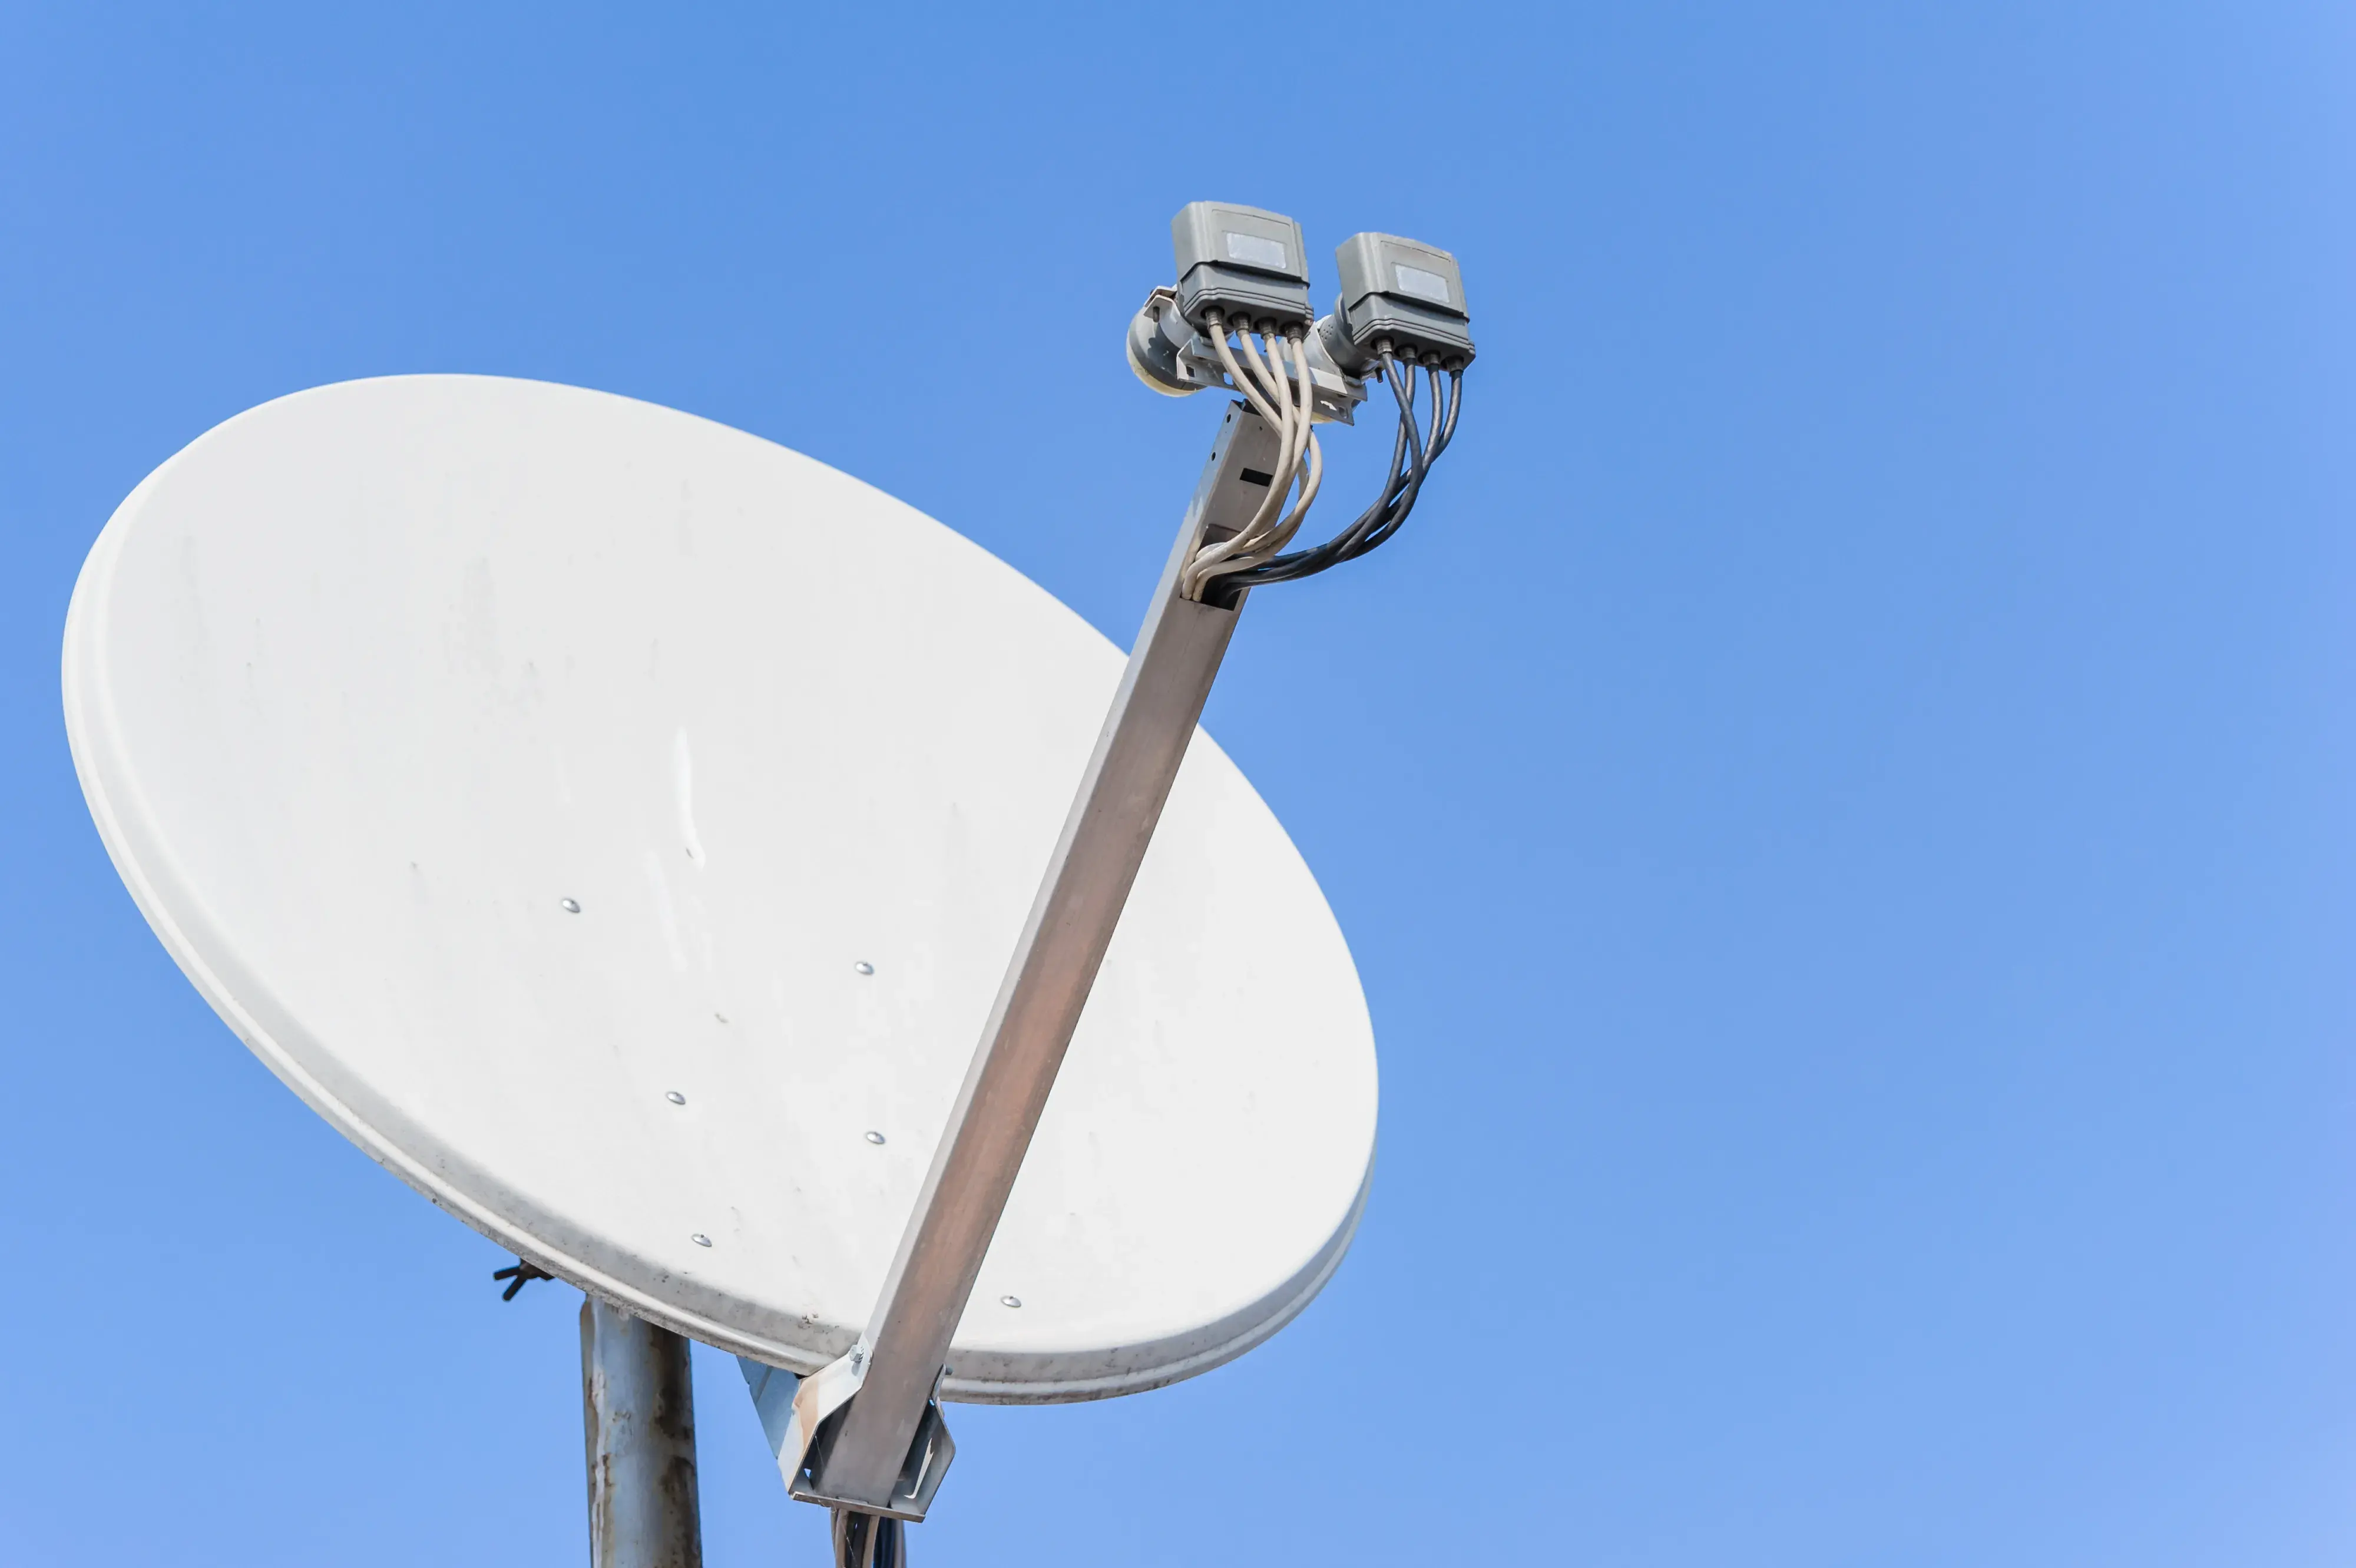
The first process of making SATTV INTERNET accessible for the user is to select a satellite TV provider and obtain the required hardware. These two main RV satellite services that are available in the market are DIRECTV and DISH Network. For this you will require the RV satellite dish, the receiver, cables and the mounting systems that are specific for the RVs. The costs are reasonable, and you will need to invest $200 – $500 on the equipment. You also have to incur other normal monthly charges for whichever satellite package you go for.
If you’re looking for satellite gear, be sure to seek out self-pointing or automatic dishes designed for RV use. These make setup much easier than having to manually point and tune the dish. Two common brands of RV satellite dishes are Winegard and King Jack.
Decide on Dish Placement
The next decision is to decide where to place or install the satellite dish on your RV. Common locations include:
- Roof: Has an unobstructed view of the satellites but has to ascend to mount and cannot adjust the dish while boondocking.
- Rear ladder: Easily accessible and adjustable but may interfere with the rear camera view.
- Side/rear wall: Generally, it is easy to reach and move around but you can’t have quite a good view as you may depend on what other car is next to you.
Some of the aspects that should be considered when placing a dish include ease of access, possibility to adjust the dish in case it is blocked, the possibility of blocking other fixtures like cameras or lights and cable reach.
Mounting Bracket and Cables
After you are done deciding which area should be used for the installation, secure the heavy-duty bracket of the type that is used for satellite dish installation. Screws should be of the right size and should be well screwed to ensure it does not wobble. With regard to roof mounts, the penetration should be sealed with waterproof sealant.
Finally, run and install all the required coaxial cables from the dish location to the interior of your RV to connect it to your satellite receiver. Exterior cables should be used, and cables should not be laid in areas that come in contact with sharp edges or sources of heat. Bring in cable clips and ties to help lock your cables in their respective positions. You might want to consider using a portable satellite tripod kit which enables you to move the dish outside whenever you are parked rather than having it fixed.
Mounting and Orientation of Satellite Dish
The next steps are to ensure that the cables are properly run, and the dish bracket is properly installed, before you can proceed and attach your RV satellite dish, as per the manufacturer’s instructions. Self-pointing dishes are relatively easy to set up initially, as has been indicated above. Some of the details you input include your geographical location and wanted satellite TV service provider for the quick activation of the auto-positioning attributes.
The pointing is usually precise but you may have to fine tune the orientation to capture the signal optimally. Consult your dish manual for more details concerning how to change positioning. Strength meters installed on receivers aid in precise alignment. Permanent dishes that are mounted on the roof or are fixed will require readjusting every time you find a new place to park. In portable tripod dishes, repointing is necessary when the position of the dish is altered.
Turn the Service on and look for Channels
The last one is the service activation and channel scanning for available ones. Go ahead and call the satellite provider of your choice if you want to subscribe using your receiver ID. After switching on the service, you need to use the setup guide of your receiver to search for the available channels. If channel availability changes, rescan each time you relocate from one area to another. You may also be requested to align dishes on an as when and if there is poor signal quality in some areas.
Satellite Connections: How to Get It Right
Here are some useful tips for maintaining RV satellite connectivity on the road:
- Leveling blocks – The practice of placing blocks under the wheels of the RV helps reduce the amount of movement and misalignment of dishes while parked.
- Bring the tripod of the satellite TV – A manual portable satellite kit enables one to position the dish for reception and move to another area conveniently.
- Check trees – Before parking, scan site foliage to align dish to known satellite positions. Prune out any branches that are growing over the top of the plants if necessary.
- Use high quality coax cable - Rather than using normal thin wires for the outside cable, go for the thick RG6 grade coax cable for the best signal to your receiver.
- Add on dish de-icing kits – Dishes that are heated mean that snow/ice cannot build up and affect the signal in cold climates.
- Download satellite mapping applications – There are specific applications like Satellite AR where one can locate the ideal dish position based on the exact parking space.
Proper installation together with good positioning of the dishes is important in ORDER TO eliminate or reduce cases of irregular or unstable satellite signal reception. However, if the RV is equipped with the right accessories and is in the right position, satellite TV entertainment can be enjoyed wherever the RV is. The willingness to adjust positions and rotate or improve your dish orientation helps a lot in getting consistent reception at any location.
Ready to upgrade your TV experience? Call us now at (877) 471-4808 to find the perfect Dish Network plan for you! Don’t miss out on great entertainment—our team is here to help you choose the best package and get you started today.


