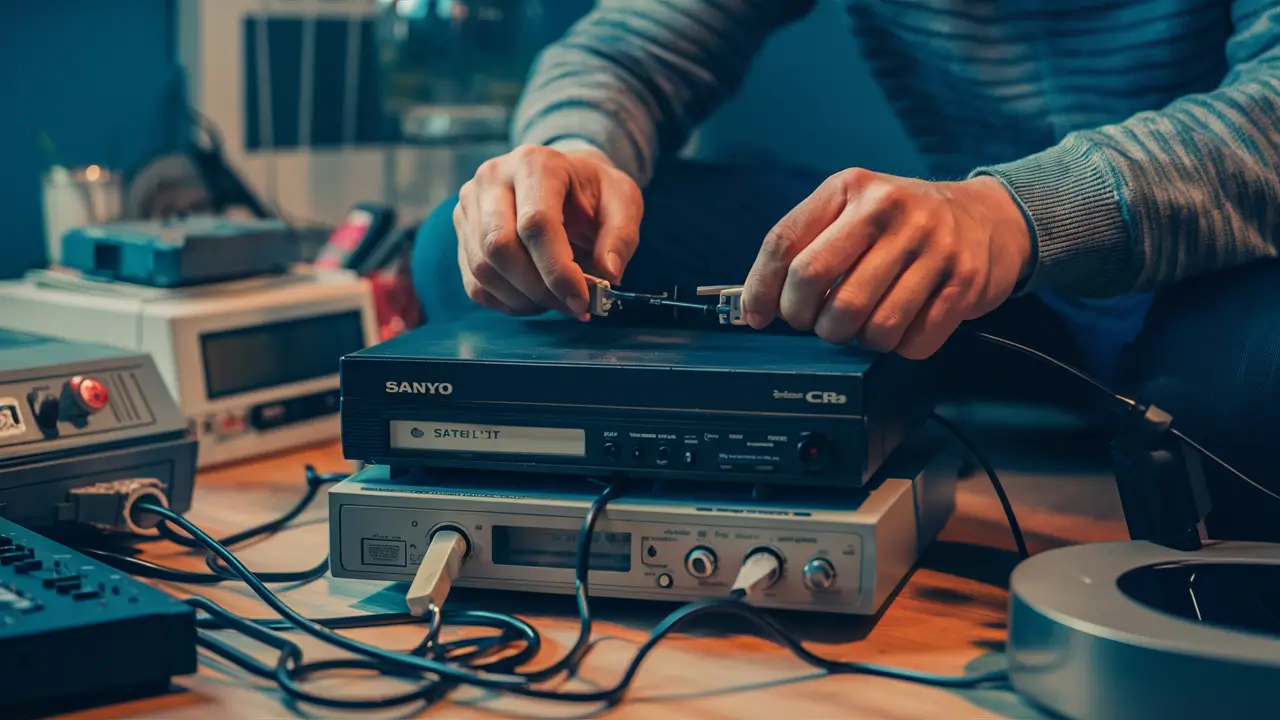
Using an old Sanyo VCR with Dish Network satellite TV requires simple procedures to connect the two devices. It is very simple to connect your Dish Network box to your VCR to enable the recording of satellite programs by just using a few cables and settings. Here are the steps you are likely to follow to have your Sanyo VCRs connected.
What You Need
- Sanyo VCR
- The equipment consists of a Dish Network satellite receiver.
- Coaxial cable (normally comes with the Dish receiver).
- RCA audio/video cables
- Television with detachable inputs
Step 1 – Connect the dish receiver to the TV
The first thing that needs to be done is to make sure that the Dish Network receiver is well-connected to the television set. With the included coaxial cable, connect the ‘Satellite In’ port on the back of your Dish receiver box to the coaxial input of the TV. Ensure that the receiver is on and that you can watch Dish channels on your television.
Step 2 – Connect The VCR To The TV
After that, you should add the Sanyo VCR to your TV. With the help of RCA audio/video cables, get the composite video ‘Out’ terminal located at the rear part of the VCR connected to the composite video ‘In’ terminal of the TV. Usually, such inputs are made in yellow color. Wire the left and right audio out terminals of the VCR to the corresponding left and right audio in terminals of the TV, normally labeled with white and red respectively.
Step 3 – Connect the dish receiver to the VCR:
The next step that you will have to do is connect the output of the Dish Network box to the input of the Sanyo VCR. Utilizing an identical RCA audio/video cable, connect the yellow composite video “Out” port at the back of the Dish box to the yellow video “In” port at the back of the VCR. Next, using the wires, join the white and red left/right audio out terminals of the Dish receiver to the white and red left/right audio in terminals of the VCR.
Now, the final step, tune the VCR to the dish channel.
On the VCR front panel, there should be an option that indicates the input channel through which the VCR should receive the video and the audio connected from the Dish receiver in the previous step. Typically it is either channel 3 or 4 but you will want to check your VCR owners manual for specifics. Turn your VCR to this channel. You should now have the program currently being televised on the Dish receiver reflected on the screen of your VCR.
Step 5 – Program the VCR to record.
Now you can record programs on your Sanyo VCR as you normally would, given that the Dish receiver’s output is now going through the VCR. You should refer to your user manual from the VCR for instructions on the right way to program recordings on the model you have. Commonly, most VCRs offer the ability to record by date/time, or by manually pressing Record on the front panel of the VCR during the show you want to record. The VCR will then capture whatever program is being transmitted to it from the Dish box at that certain period.
Additional Tips
- You can consult the manuals for your specific Sanyo VCR model as well as the Dish Network receiver for further instructions if required. In this case, it is important to understand that menu options and possible names of inputs can vary from one model of the device to another or from one brand to another.
- Always ensure that your VCR is set to the channel you have your Dish receiver output set to whenever programming your recordings.
- If possible, it is recommended to use S-Video or composite connections rather than coaxial cables to have a better picture quality.
- Use the guide provided by Dish Network to help you identify the airing date and time of shows before taping them on the VCR.
- It’s important to point out that a correct setup connection means that all the Dish contents are actually channeled through the VCR and then to the TV, so one can watch and record satellite programs.
The ability to record satellite programming on VHS tape is achieved by following these steps to route your Dish Network receiver through your Sanyo VCR using both coaxial and RCA cables. The only thing to remember is that you may have to consult the device manuals for the menu settings and the on-screen ‘help’ that comes in the form of an interactive program guide. Older VCRs may require some effort to connect to today’s television equipment, although the video and audio connectors required are quite universal. With some preparation, you will be able to record Dish shows at a time that is convenient for you and record them on VHS tapes shortly. Appreciate the convenience of its ability to record your favorite shows that are on the Dish Network schedule!
Ready to upgrade your TV experience? Call us now at (877) 471-4808 to find the perfect Dish Network plan for you! Don’t miss out on great entertainment—our team is here to help you choose the best package and get you started today.
