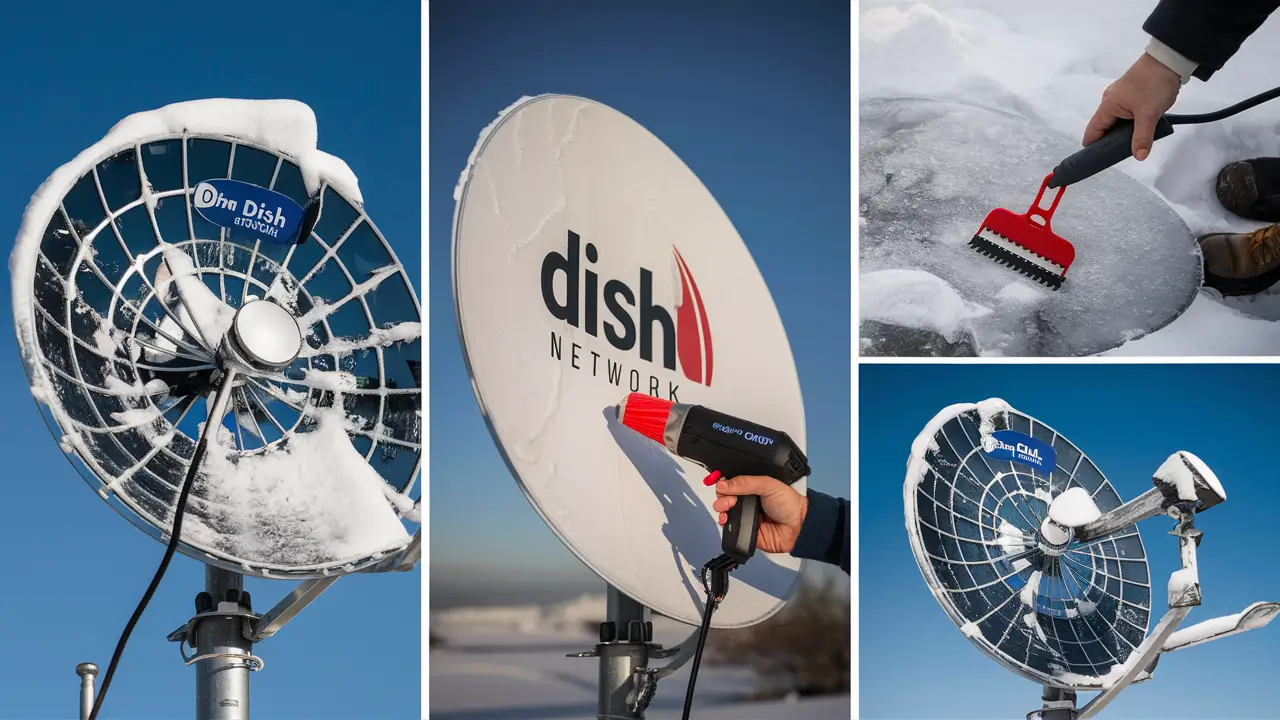
When winter has come and the temperatures are below zero, owners of satellite dishes may experience a frequent issue – ice formation on the dish. This ice may disrupt your satellite TV signal or even reduce its quality. To ensure that you get the best reception during winter, it is important to remove ice from your satellite dish. Here are some tips on safely and effectively removing ice from your satellite dish:
Assess the Situation
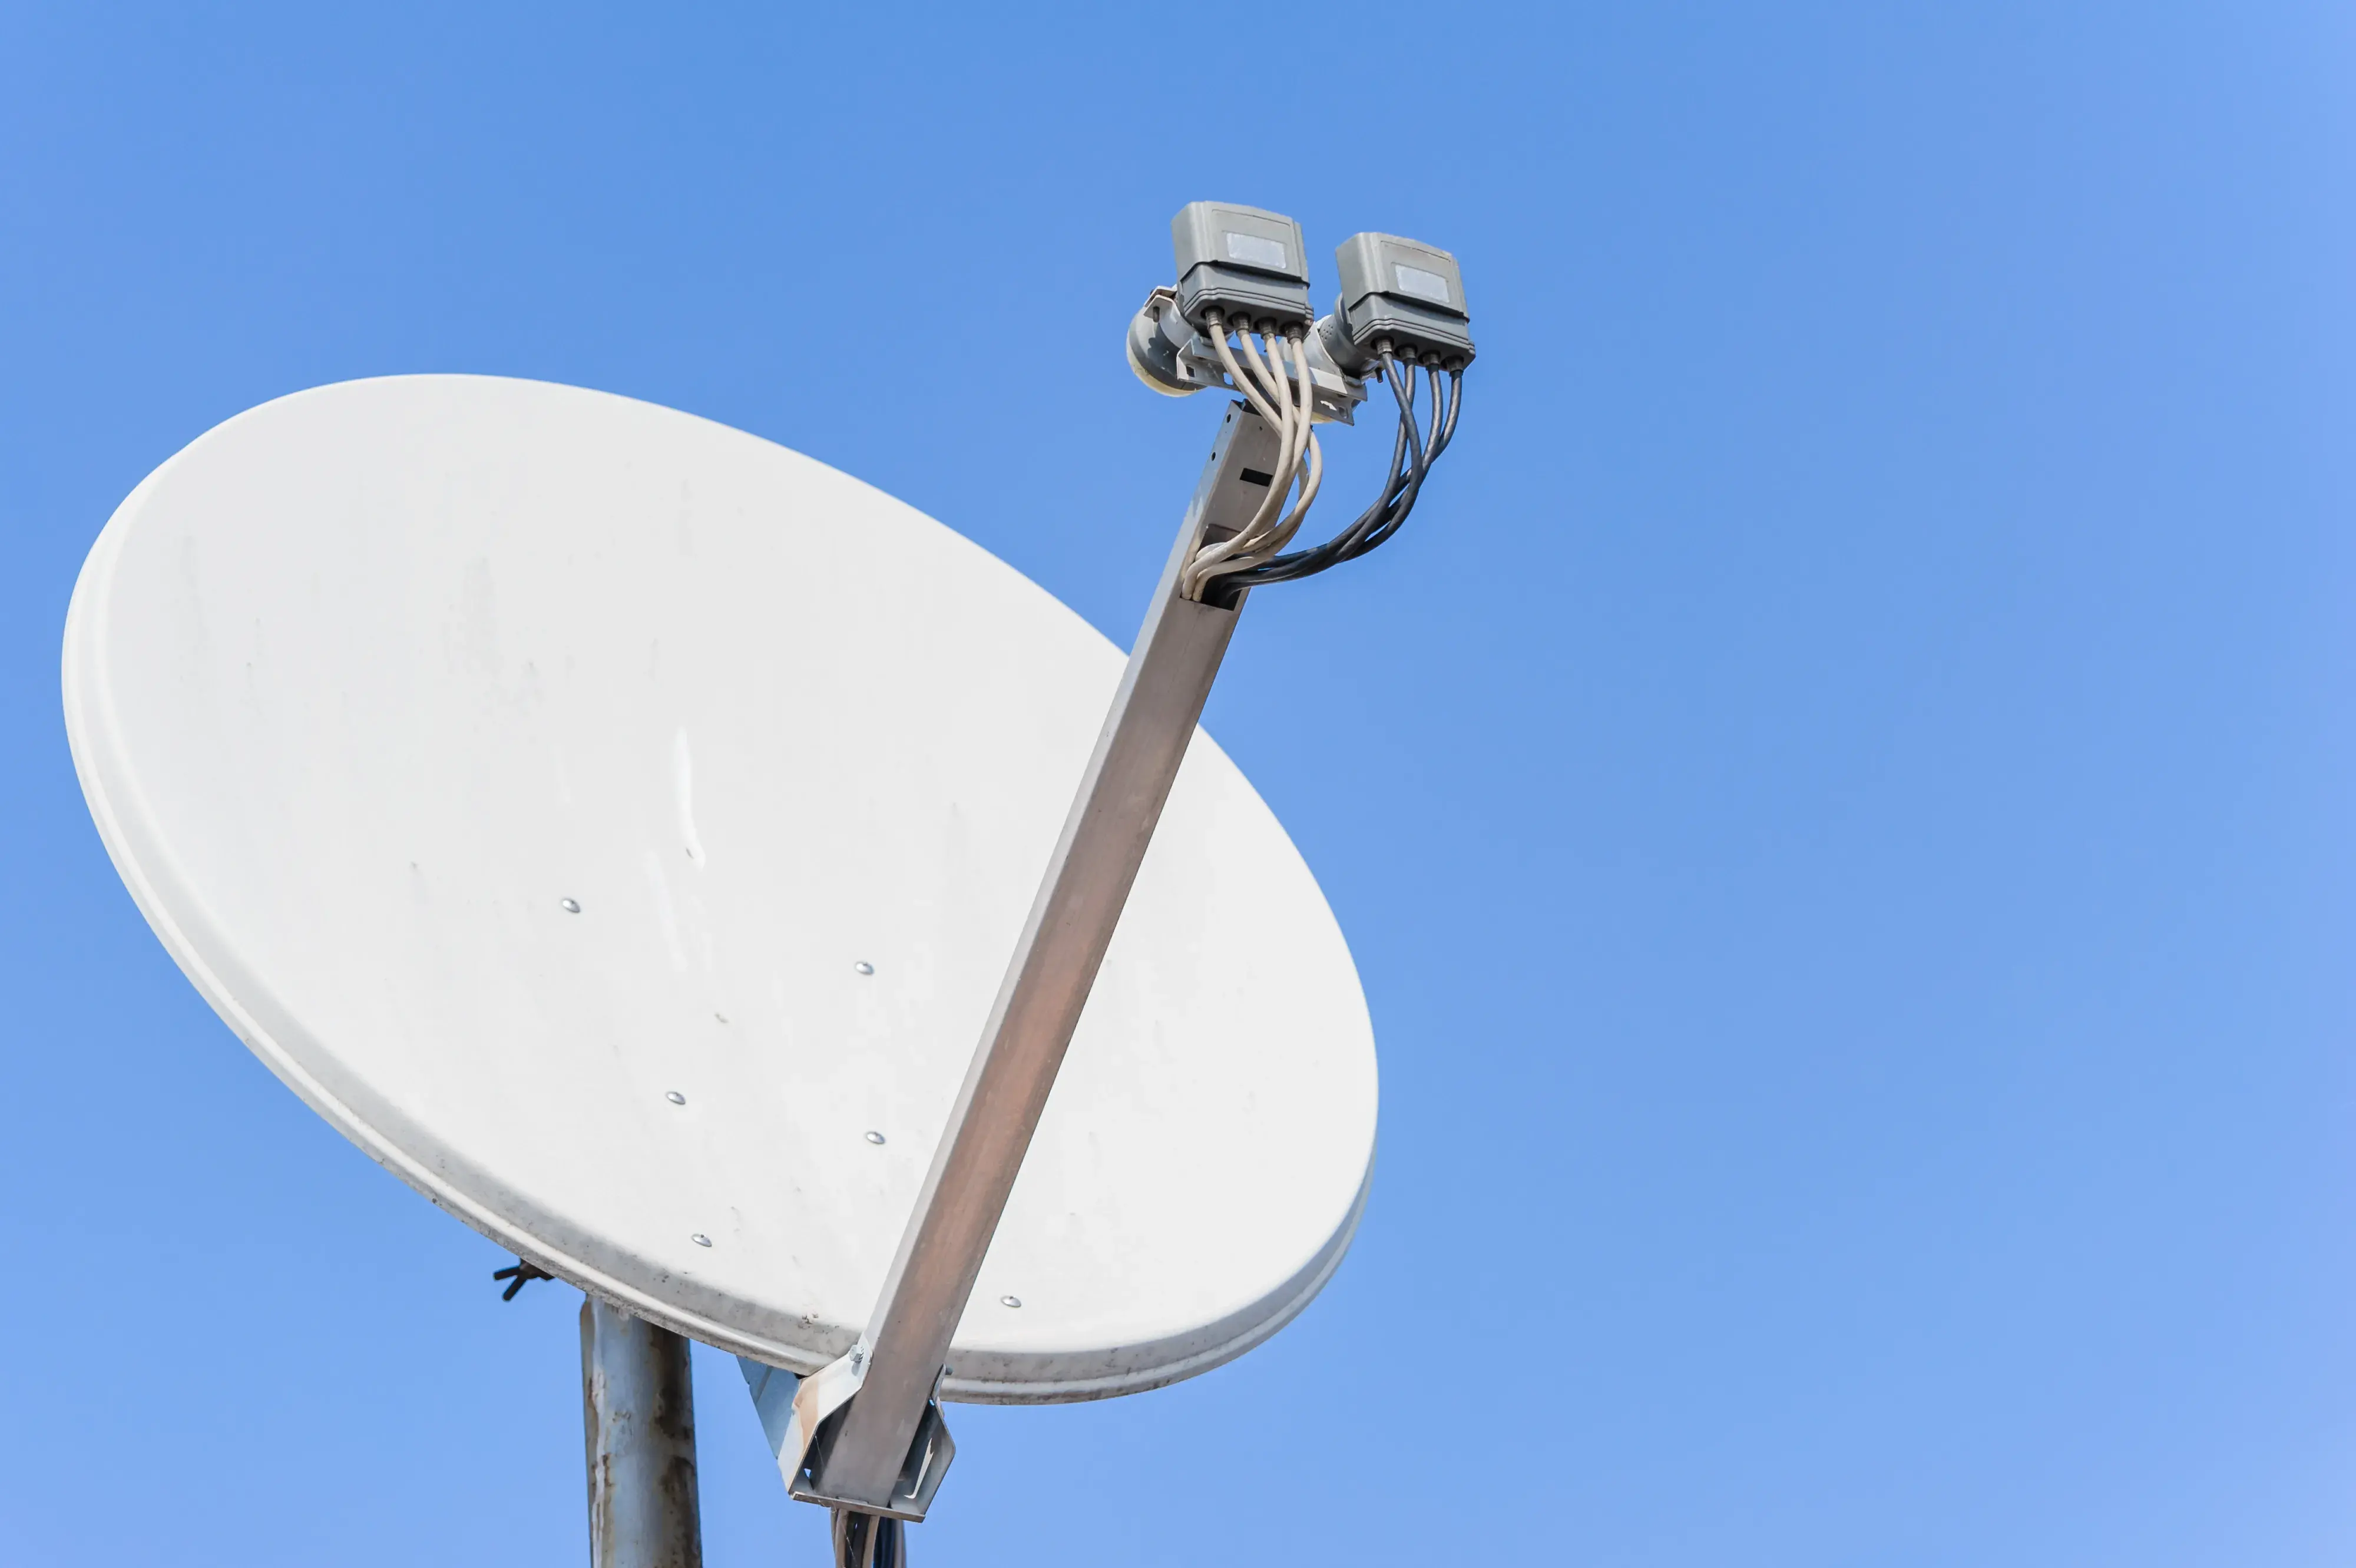
If you’re planning to clear the ice off the satellite DISH NETWORK, first consider how much of it has formed. Sometimes, it is possible to clean the furniture with the help of simply sweeping the surface with a broom. But if the layer of ice is thicker as measured to be 1/4 inch or more, then it will be a bit challenging to remove it. You can examine the underside of the dish by looking for ice formations – ice forms mainly on the underside since it is in the shade most of the time. Look at the reflector and the LNB (Low Noise Block) placed at the focal point to determine if they are covered with ice.
Switch Off Electricity to the Dish
For safety purposes, you will need to switch off power supply at the back of the satellite dish before proceeding to remove the ice. Find the power cable connecting your satellite receiver and your circuit and disconnect it. In doing so you will avoid any chances of electrical shocks as you repair the unit.
For light ice, use a broom.
In situations where you only have a thin layer of snow or thin layer of ice on the ground, a simple broom can work miracles. Choose a soft broom so that you do not end up creating scratches on the surface of the dish. Swing it from side to side across the top and bottom contact areas to push the ice apart. It should melt on its own once it has been liberated from the ice crystals. Then do not rub or scratch the ice with the broom bristles.
Use a plastic scraper for thicker layers of ice.
In cases where the ice is thicker and cannot be managed using the broom, a plastic scraper tool is useful. Again be careful not to use anything metal or abrasive that could damage the satellite dish surface. A good scraper, made out of plastic, will easily remove the ice without being dangerous in any way. To scrape the ice, one should be cautious enough to hold any falling large pieces of ice to avoid causing harm to other people or damaging property on the ground. It is advisable to press gently while scraping to be in a position to remove most of the frozen buildup.
Apply Deicing Compound if necessary
If there is ice that doesn’t melt after some time, it is advisable to use a special ice melt compound used for satellite dishes. These compounds are easily accessible in almost any hardware store. Choose a deicing product that will not harm satellites in any way so that it will not affect the function of the components. Spread a thick layer over all the frozen parts and let it remain for 10-15 minutes. Chemical melting and the possibility to remove the ice easier with a scraper should get rid of even the hardest layer of it.
How about making your own deicing mixture at home?
In the absence of a commercial deicing product, the next best thing is soap and water solution, preferably liquid dish soap. All you have to do is dilute a few drops of soap in warm water in a spray bottle. Spread it liberally over the entire icy dish surface. It is recommended to let it sit for 5- 10 minutes. It will melt the ice with heat while the soap assists in reducing friction to make scraping easier. As you can imagine, this is much less convenient than using commercial deicers, but it is also free of charge.
Holding it in a hair dryer – low heat is another way of heating it.
A low wide heat setting is sometimes sufficient to warm up frozen satellite dish parts by using a hair dryer. Do not point it towards one specific location – just glide it over the entire surface to warm the frozen areas. Take extra precautions so that the various components of the dish do not end up burnt because when this happens, melting damage is inevitable. LNB at the focal point of the dish is the most exposed and hence is at risk of being damaged. Place the dryer 12 inches away to avoid overheating as you move the dryer around in circles.
The general rule is as follows: If in doubt, call a professional.
If all the above remedies are not effective, do not endanger the satellite dish through application of force. At this stage, it is better to invite a professional satellite installer or repair technician. They have commercial grade deicing tools and knowledge to remove ice without damaging your dish system. They can also determine if there was any harm below the layers of ice. While it may be more expensive it can be worth it to hire a pro to come and clear the thick layer of ice to ensure that the satellite TV signal is back.
Prevent Future Ice Buildup
Once you get your satellite dish clear of ice, take a few preventative steps to avoid ice forming again later in winter:
- Fix a dish heater which is connected to the LNB part of the dish. The heater is self-regulating and will heat up to a temperature just slightly above the freezing point whenever ice is present.
- Place a plastic weather protection kit on your dish for protection against sleet and freezing rain.
- Remove any accumulated ice or snow before it freezes after every snow or sleet storm.
- You may want to re-roof the dish to a lower position below the eve line of the roof. The effect of higher exposure is to raise the ice risk.
- Trim any branches that may hinder sunlight from reaching the dish in the morning. Higher levels of light exposure result in the formation of less ice.
In addition to the removal techniques mentioned above, the following preventive measures will help you maintain a perfect signal on your satellite dish all winter long even in cold and icy conditions. This will ensure that you are warm, and no interruptions on the television even when the temperature is extremely low.
Ready to upgrade your TV experience? Call us now at (877) 471-4808 to find the perfect Dish Network plan for you! Don’t miss out on great entertainment—our team is here to help you choose the best package and get you started today.


