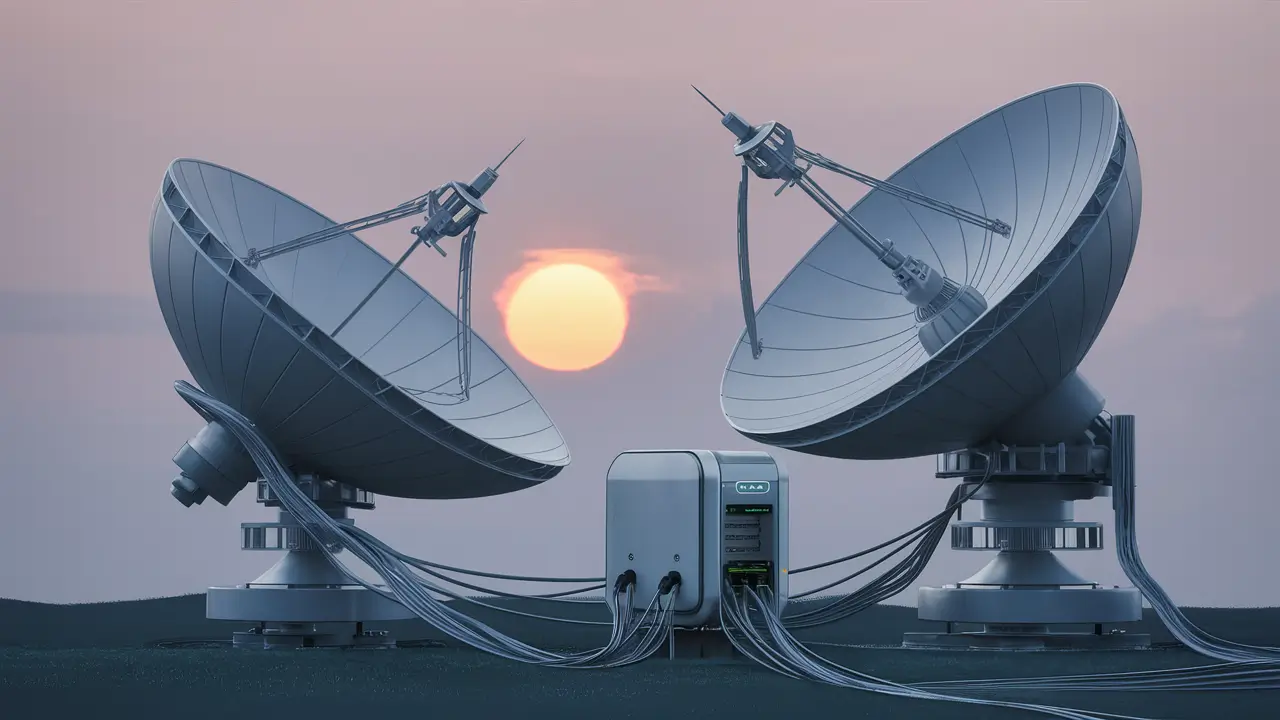
In case of joining two SATTV INTERNET to one receiver is convenient if you intend to collect signals from two dishes that are oriented on different satellites. This let you to avail more channels and programs with the single receiver as compared to the other companies. Here is a step-by-step guide on how to connect two satellite dishes to one receiver:
What You Need
- Satellite dishes and mounts x2
- Coaxial cables
- Multiswitch
- Satellite receiver with a single tuner
- Endevour or Azimuth
- Screwdrivers and other simple hand tools
Step 1 involves installation of satellite dishes in the respective areas and locations.
The first stage involves fixing both satellite dishes on proper stands and make sure that they have a direct view of the satellites that you want to receive. It is recommended to consult the instructions that came with your satellite dishes to understand how they are to be installed and mounted. Ensure that the dishes are firmly fixed in a way that they cannot shift or move around in any way. Align each dish towards the desired satellite by using the azimuth, elevation and skew settings.
Step 2: Connect Coaxial Cables Coaxial cables can be connected by following the steps below: Connect the input end of the coaxial cable directly to the transmitter or any other source.
Connect the coaxial cables of the satellite dishes to the position where the satellite receiver will be installed. The use of outdoor-rated RG-6 quad shielded coaxial cable is advised to minimize signal loss and interference. Cable runs should be kept to a minimum, and if there are any joins then these should be joined correctly in order to maintain signal integrity. Ensure that the left and right cables are easily distinguishable by either having labels on them or different colored cables.
Step 3: Acquire and Install a Multiswitch
One of the necessary pieces of equipment that you will require is a multiswitch. This enables you to interconnect the signals from two or more satellite dishes that feed into a single cable that is connected to your receiver. Multiswitches are measured by the number of satellite inputs they are capable of handling, most often four or eight. Get a multiswitch that can accommodate all your dishes and an output to your receiver. The multiswitch should be installed near the receiver inside your house or if you have an outdoor weatherproof box.
Step 4: The cables should then be connected to the multiswitch
Join the coaxial cable runs from each satellite dish to the input terminals on the multiswitch with left and right cables distinguished clearly. the threaded pieces should be fastened more securely but not excessively. The third cable should be connected between the “Satellite Out” port on the multiswitch to the “Satellite In” port on the back part of the satellite receiver. This sends the combined signal to the receiver.
Step 5: Configure the Receiver The final step is to configure the Receiver to work with the Receiver Gateway settings that were established in Step 4 configure the Receiver as follows:
With the cables connected as mentioned above, insert the necessary plug and switch on the satellite receiver. Launch the automatic or manual search to look for satellite signals. The receiver will scan the satellites which are connected to the multiswitch ports. Choose the preferred satellite for tuning and test the reception of the channel. Customize the list of available channels and favorites to get the channels from both satellites interchanged according to necessity.
Step 6: Funneling the Signal Strength
This can be done by using a satellite meter or a signal strength indicator on the receiver to ensure that the signal strength is the best. Optimize the location of each dish to ensure the best signal reception for all the frequencies. Also fine-tune LNB tilt and skew settings and dish location. Make small coaxial cable repositioning as and when required in order to obtain the best results.
Using a Dual-Tuner Receiver
The above deals with installation of two satellite dishes to a single-tuner receiver through a multiswitch. But there’s another way to record it and that is using a dual or multi-tuner satellite receiver. These have two tuners inside that enables reception of signals directly from two satellite dishes without the help of a multiswitch. Installation is easier because each tuner is connected to one dish. The disadvantage is that it can offer less flexibility in integrating multiple satellites.
Benefits of Connecting Multiple Dishes:
- Programs can be accessed from various satellites.
- Organize combination of HD and SD programming
- Avoid rain fade and loss of signals
- While watching one channel, record another
- No other Mult switch rental charges
By following these steps, it is possible to use two satellite dishes with the help of one receiver. Time spent on proper placement of the dishes and the cables will help to incorporate additional programming and increase signal stability. Never mishandle equipment and ensure that outdoor connections are closed well to enjoy long-term performance of your dual satellite. Happy viewing with the enhanced satellite TV experience!
Ready to upgrade your TV experience? Call us now at (877) 471-4808 to find the perfect Dish Network plan for you! Don’t miss out on great entertainment—our team is here to help you choose the best package and get you started today.


