-
Posted on: 13 Aug 2024
-
Usually, for only a few minutes, connecting your Dish Network receiver to your TV is an easy procedure. Connecting your Dish Network receiver to your TV may be done step-by-step here:
Things You'll Need:
- Dish Network receiver
- HDMI cables audio-video cables or RCA cables (composite video with red, white, and yellow plugs).
- TV remote control
- Your TV
Step 1: Decide on HDMI or AV cables
DVI cables offer better picture and sound quality than other cables, so it is advised to use HDMI cables if your TV has HDMI inputs. Red, white, and yellow connectors cables like audio video cables will produce good quality but not high definition. Look at the rear part of your TV and identify which ports are available then go for the most appropriate cable.
Step 2: Join the cables
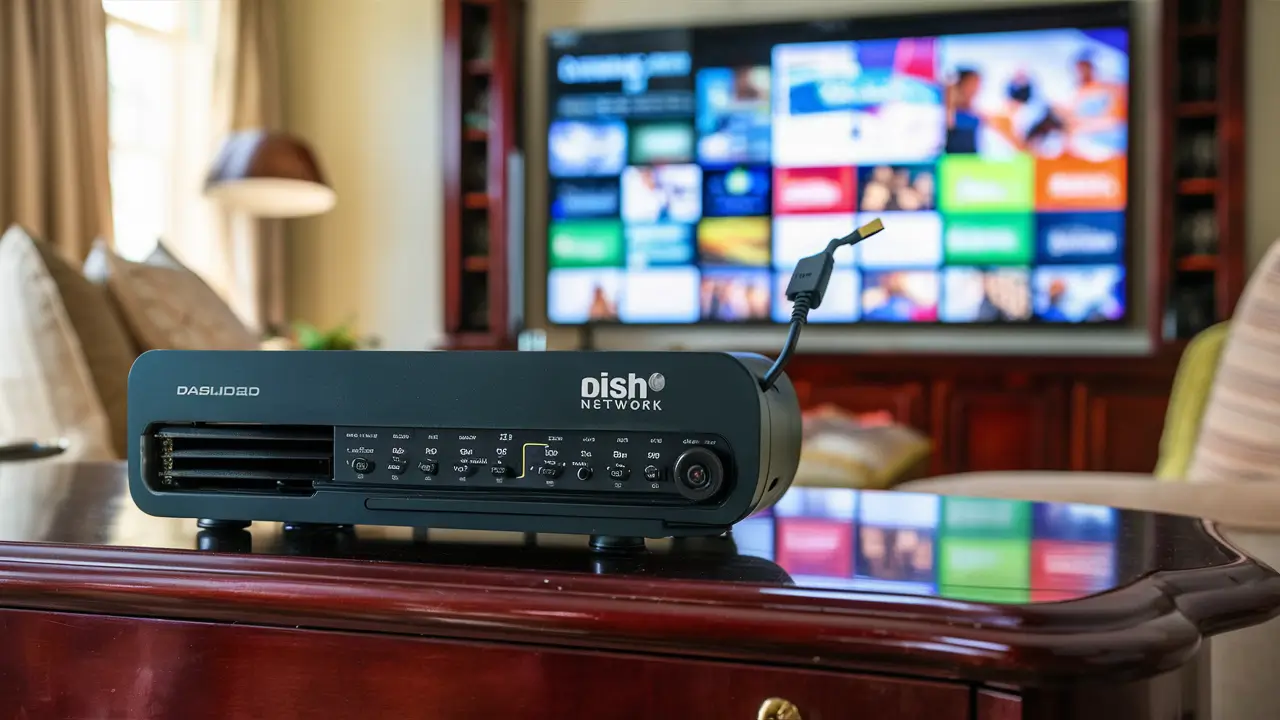
When using HDMI, insert the HDMI connector in the “HDMI Out” socket located at the rear part of the receiver. Connect the other end to one of the HDMI ports at the back of the television set. Ensure that both ends are firmly connected.
If using the AV cables, connect each color of the cable to the same colored port at the back of the television and the receiver. The yellow cable fits into the “Out” port of the receiver and the “In” port of the television. The red and white cables are used to connect the audio “Out” and “In” ports in each of the devices.
Step 3: Connect the receiver power cord The receiver power cord is connected to the receiver of the TV.
Insert the power cord of the Dish receiver into a power outlet to switch on the device. You should notice the front of the receiver is lit up.
Step 4: Switch on the television.
Get your remote control for the television and switch on the television. Check that it is set to the right input channel for the ports that you connected the receiver to, normally HDMI 1 or AV/Video. Frequently, you may find yourself needing to change inputs on the remote to get to the right channel.
Step 5: Finalize the configuration of the receiver.
When the receiver is turned on for the first time they will have an installation setup displayed on the television screen. Watch the on-screen instructions to properly install the satellite dish, scan for the channels that you wish to watch, and set your preference for the final process of setting up the dish. This generally only takes 5-10 minutes.
Step 6: Watch TV!
Once setup is over, you should be able to view TV channels playing through the receiver on your television! Select the Dish Network remote and surf through the various channels to check whether it functions correctly.
Troubleshooting Tips
If you don't see anything on your TV screen after connecting your Dish Network receiver, make sure:
- Cables are properly terminated at both ends
- Now, the TV is set at the right channel of the input equipment.
- Turn on the receiver and the TV
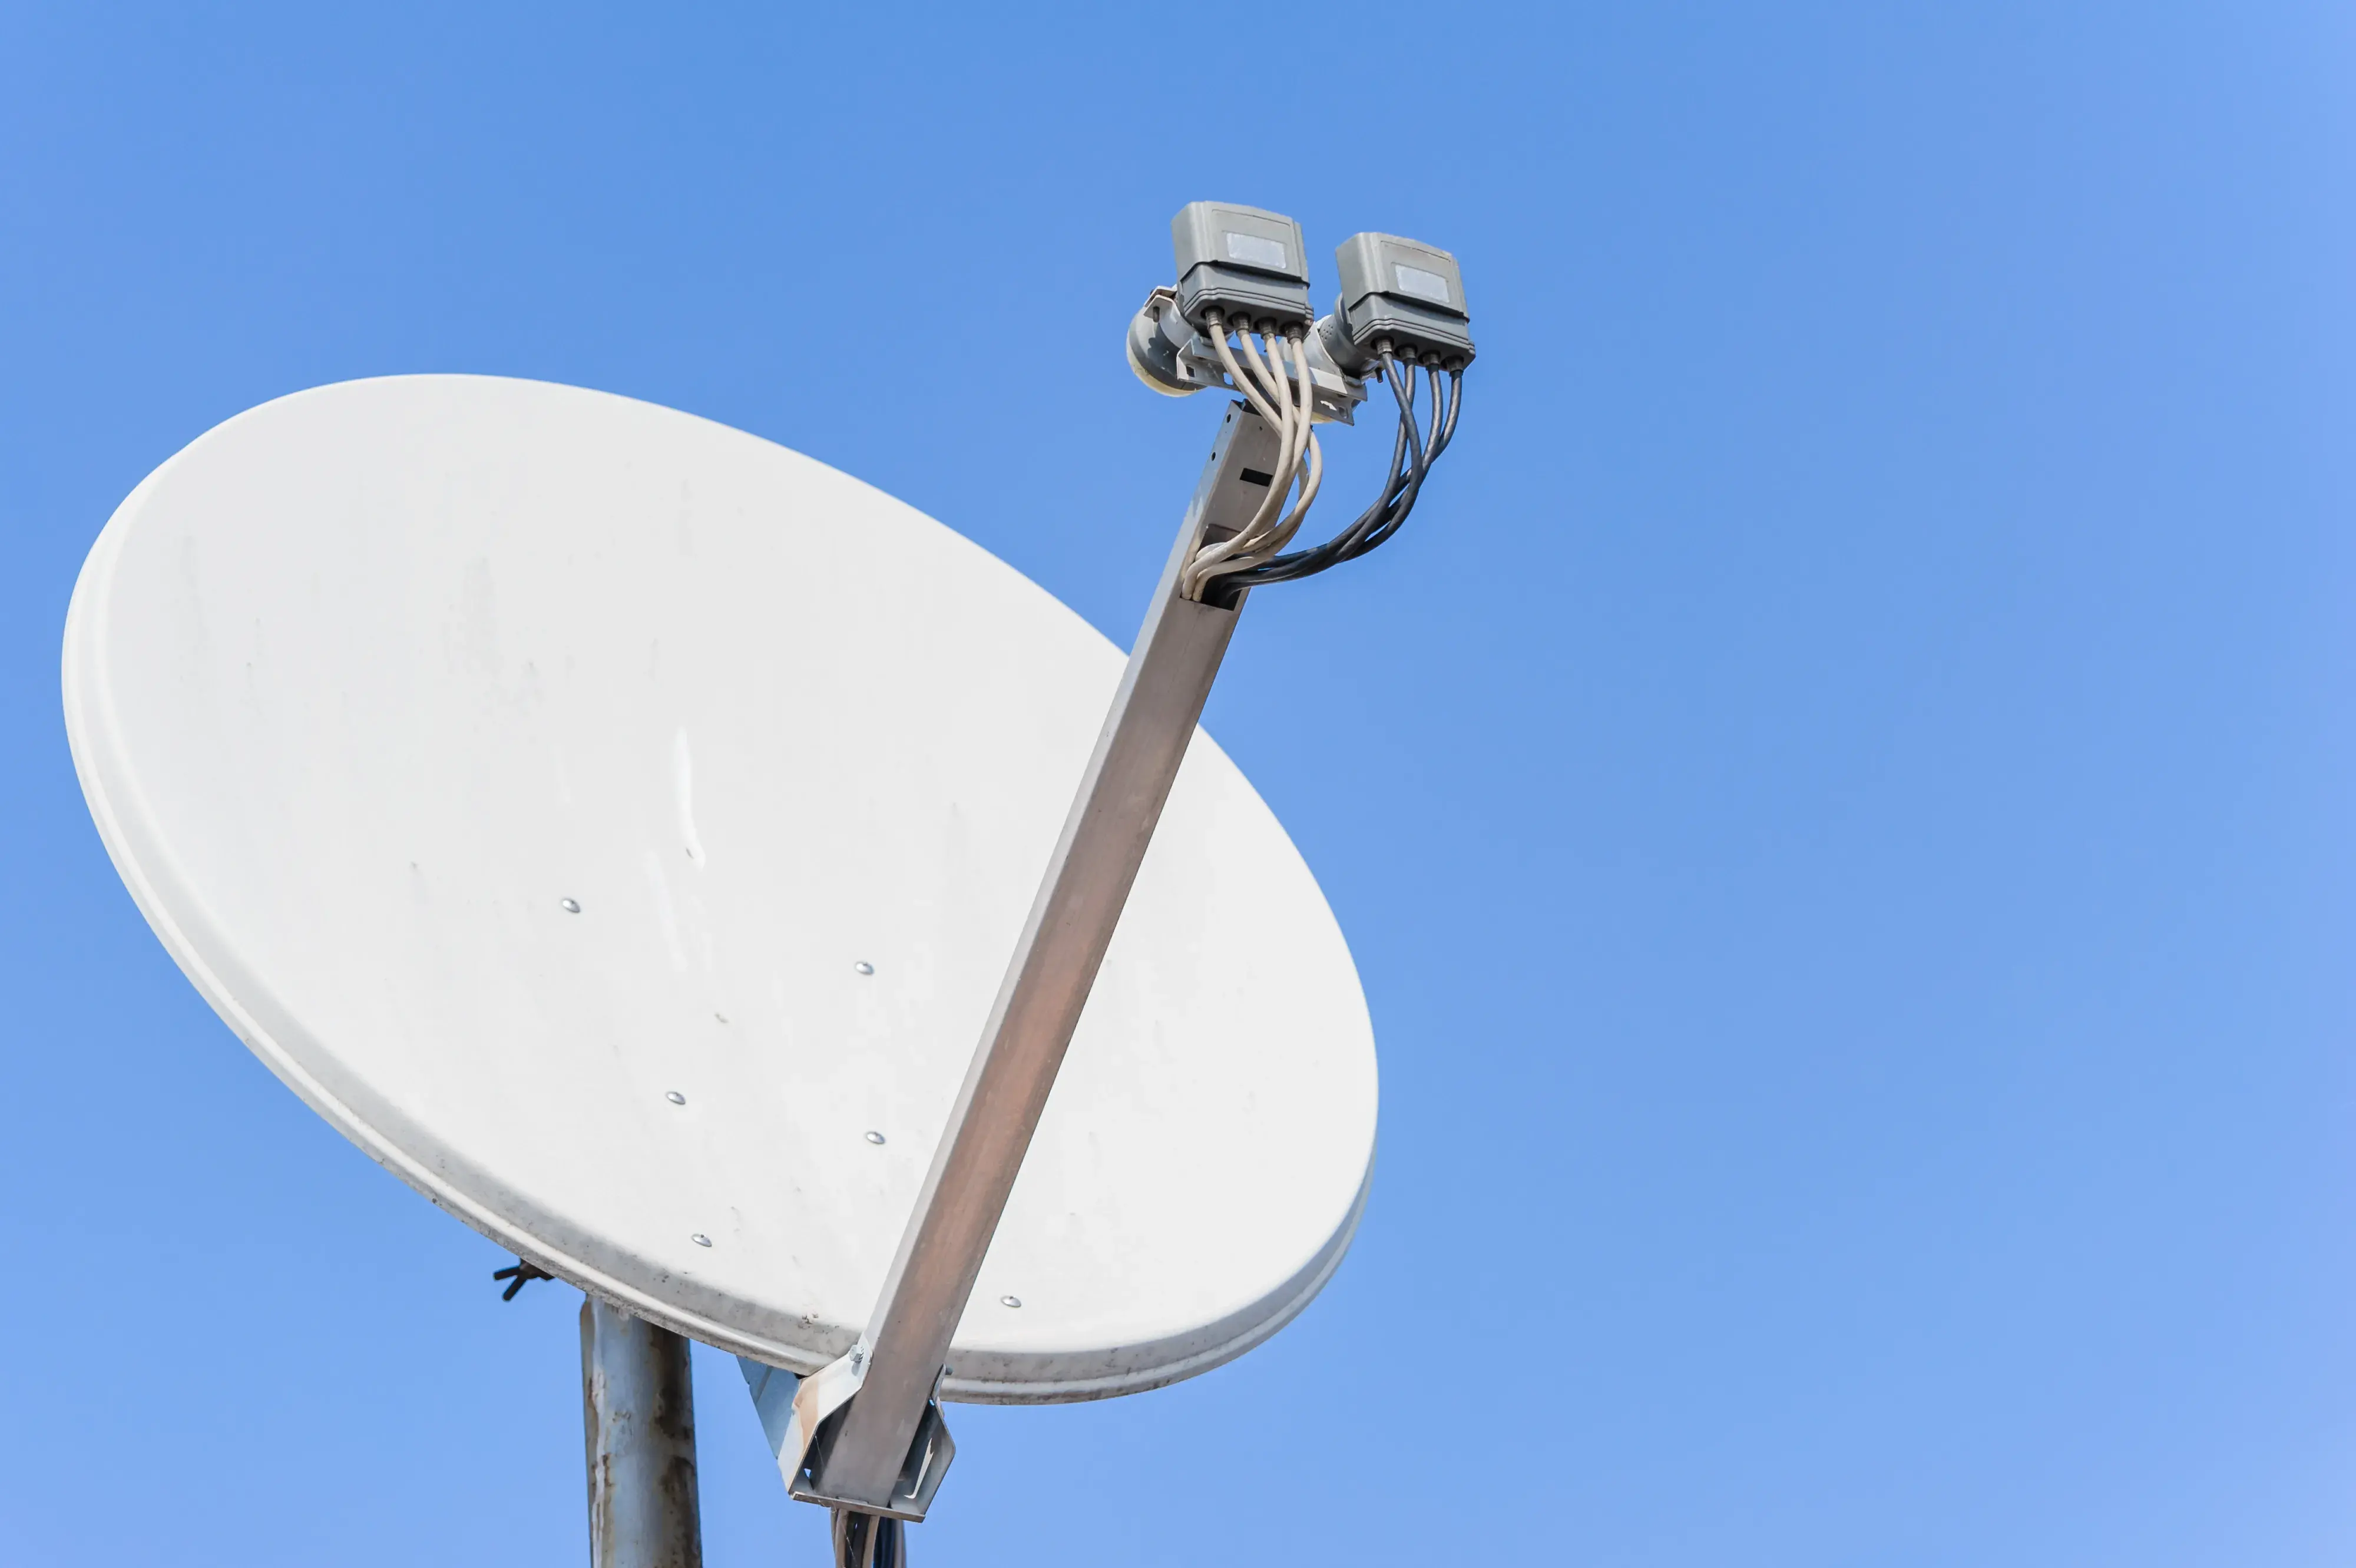
- A satellite dish is properly aligned with the receiver
Still not working? Unplug all peripherals and power cords and then reconnect them properly to the devices. Go back to the beginning and set up the receiver once again.
In case of problems, consult Dish Network support for additional steps to solve the problem. List the make and model of your devices and the details of the connections they use. It can use support to go through checks and make your TV and receiver communicate.
Additional Tips For Setup:
- Place the devices in a manner that the cables can easily connect between the TV and the receiver. Give room for air circulation around the receiver.
- Make sure that your satellite dish is not blocked by anything and is perfectly aligned with the satellites.
- Set your Dish remote to control both the television and also the receiver at the same time by programming your remote.
- Tape over HDMI and AV ports with sticky tabs so that it’s easier to connect cables next time.
Cables that link your Dish Network receiver to the TV are few when you follow the signal’s color-coded port. The initial setup of the receiver software should take approximately 10 minutes. If there is something that concerns you or if you have problems getting your devices connected to watch your favorite shows, Dish technical support is always ready to assist you. With the help of this guide, you should be able to set up your satellite channels on the TV screen in a very short time.
Ready to upgrade your TV experience? Call us now at (877) 471-4808 to find the perfect Dish Network plan for you! Don’t miss out on great entertainment—our team is here to help you choose the best package and get you started today.