Dish Network is a Satellite TV Service, which can be connected to your television through a receiver to view the available satellite programs. Here is a step-by-step guide on how to connect a Dish Network receiver to your TV:
Preparation
Before connecting your Dish receiver, make sure you have the following equipment:
- Dish Network receiver– any regular Dish Network receiver or a Hopper DVR.
- HDMI cable is preferable, but it is optional to use A/V or composite cables.
- A TV set with HDMI, component, or composite video inputs, if any
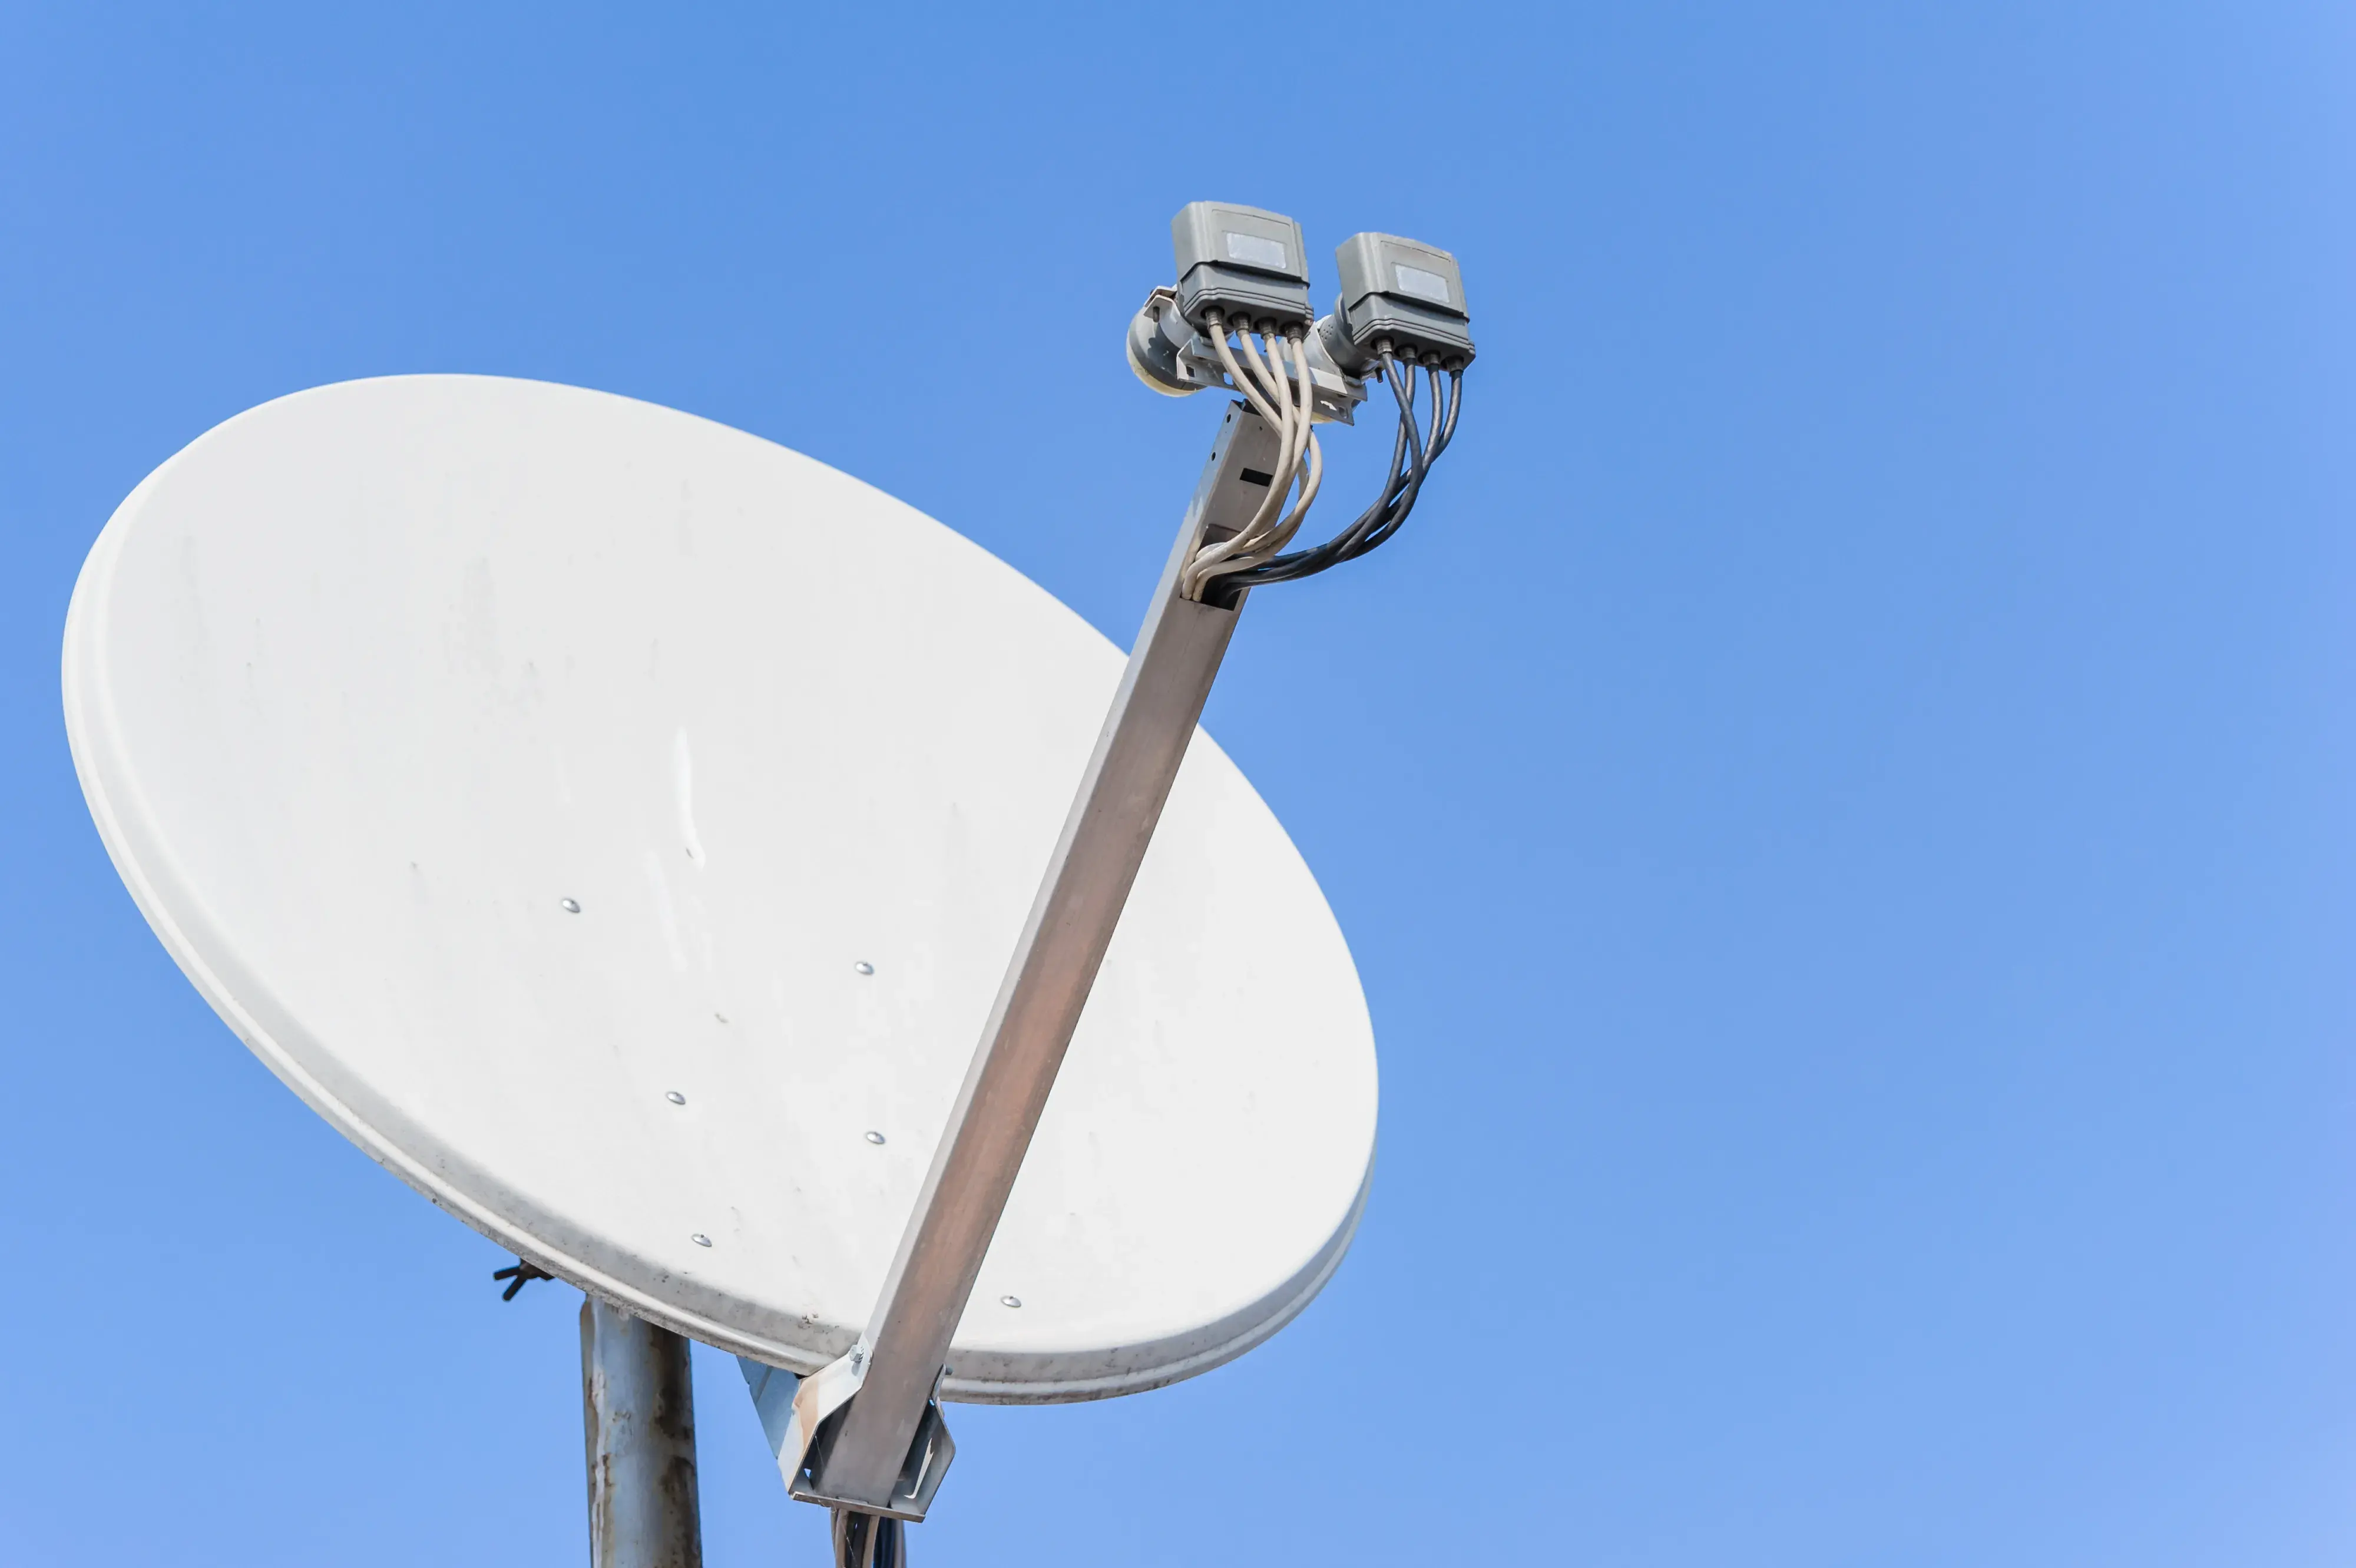
- Reception satellite dish capable of receiving Dish signals
- Ethernets cable used for the Hopper boxes
Determine Connection Type
A dish receiver can be connected to your TV through an HDMI, component which consists of red, blue, and green cables, or the A/V composite which is connected by yellow, white, and red cables. HDMI is the best because it offers high-quality input if the TV has an HDMI jack. The component video also has the capability of delivering high-quality definition or HD video. A/V offers playback in standard definition. Select the cable connection possible with your television set.
Connect Cables
As will be observed on the back of the Dish Network receiver there is provision for the various cables. Always ensure that the receiver is out of the socket before you try to connect or fix any cables.
- HDMI – You should plug one end of the HDMI cable into the HDMI out of the receiver. Plug the other end into an HDMI input port on the TV that is not being used by any other device.
- Component – Make sure that the VGA red, blue, and green cables are connected to the corresponding-colored component out ports in the receiver. Plug the other three ends into the component video input jacks of your TV.
- A/V – Fix the yellow composite/A/V cable into the video out terminal position of the rear side of the receiver. You then must plug the white cable in the left audio out port and the red cable in the right audio out port. Screw the other three ends into the yellow, white, and red A/V input ports on your TV respectively.
Power On Devices
To ensure proper connectivity and Dish alignment to receive Dish signals, check your Dish satellite and ensure that it is connected and oriented correctly before switching on all the equipment. Also make sure that the AV input on your television is set to the correct input that corresponds with the connection you made with the receiver (HDMI1, Comp1, Video1, etc.).
Insert the power cord from the Dish receiver and TV into the electrical outlets. You must turn on the television first, then the dish receiver. The receiver needs a minute to start up since it must download guide data.
Run Dish Setup
When powered on for the first time, the Dish receiver will automatically prompt you to run through setup, which includes:
- In this, search for the satellite(s) that your dish set up receives.
- Downloading guide data
- The process of creating a remote-control pairing or a connection between a master control and a slave one.
- Performing cheques on signal strengths
To configure Dish simply follow the on-screen prompts to finish setting up the device. For Hopper boxes, similarly, one end of the Ethernet cable should be connected to the receiver and the other end should be connected to your home router to ensure that the box receives on-demand content and updates over the internet.
Activate Service
After that, to obtain actual service, you will need to contact Dish or input the account details into the actual receiver. To locate your Dish account number, look at the Dish billing statements you have received previously. Similarly, re-installing the program or factory resetting a receiver typically involves re-activating service as well.
Test and Enjoy
On activation, you should be able to view live TV broadcast stations and even program schedules. Experiment with various channels and features to make sure everything is functioning as required before adding any equipment. In case of difficulties in channel reception, some problems with dish configuration might be detected when you run Check Switch under the Satellite setup.
In the best of worlds right now you have a working Dish Network of a receiver that relays Satellite channels and features to your TV! The only issue is that all cables should be fixed properly do not require much maintenance and can be considered very simple. However, if you, for instance, need to relocate your equipment or troubleshoot the lost channels, just plugging in the cables or aligning the satellite may be enough to address the issue.
Ready to upgrade your TV experience? Call us now at (877) 471-4808 to find the perfect Dish Network plan for you! Don’t miss out on great entertainment—our team is here to help you choose the best package and get you started today.
