-
Posted on: 30 Jul 2024
-
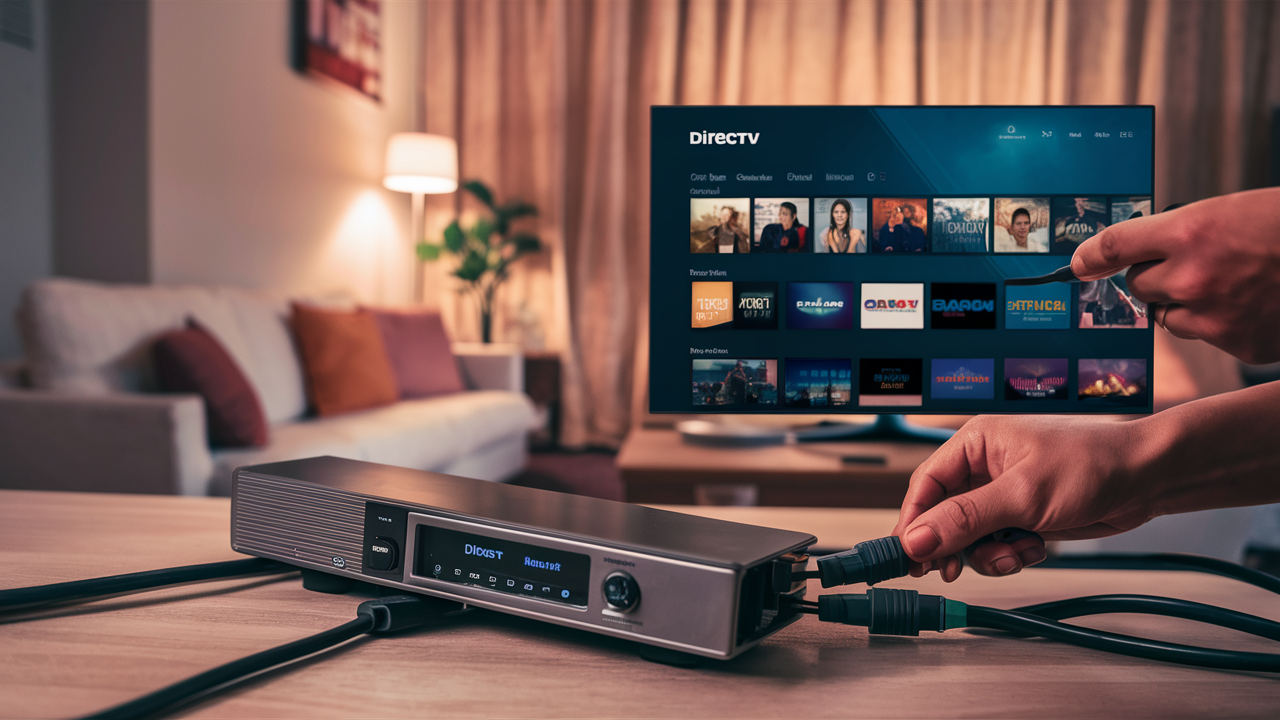
Although connecting your DIRECTV receiver might appear difficult, it's a controllable procedure with clear, methodical guidance. This tutorial will help you through the required actions to get your system working whether you are configuring a new receiver or reconnecting an old one.
What You Will Require
- Check you have the following before beginning
- DirecTV receiver
- previously installed satellite dish
- coaxial cables
- HDMI cable (or composite cables for older TVs)
- power wire
- remote control TV
First: Arrangements for Your Equipment
Start by setting your Directv receiver next to your television in a well-ventilated location. Make sure the receiver has adequate around space to avoid overheating. To facilitate the connection, position your TV and receiver near one another.
Second: Linking the Satellite Dish
Find the coaxial wire emanating from your satellite dish. Directly connecting to your receiver, this cable brings the satellite signal inside your house.
- Look for the SAT-IN port on the rear of your Directv receiver. Here the coaxial wire from the satellite dish will be coupled.
- Screw the coaxial wire into the SAT-IN port to connect it. Make sure it is tightly secured; avoid overtightening to harm the port.
Third step: connecting the Receiver to your TV
Your receiver has to be connected to your TV next. The approach will change based on the kind of TV and receiver you own.
With an HDMI cable
Given its finest audio and visual quality, HDMI is the recommended connection type.
- To locate the HDMI port on the rear of your receiver,
- Plug one end of the HDMI cable into the HDMI port found on the receiver.
- Connect the opposite end of the HDMI cable to an accessible HDMI port on your TV. For usage later on, note the HDMI port number (e.g., HDMI 1, HDMI 2).
Composite cables (for older TVs)Use composite cables—yellow, red, and white cables—if your TV lacks an HDMI connector.
- Look for the composite ports on the rear of your receiver. Usually, they are color-coded.
- Match the composite cable colors to the respective receiver ports (yellow to yellow, red to red, white to white).
- Connect the opposite ends of the composite cables to the matching ports on your TV.
Fourth step: energizing the receiver.
It's time to turn on your TV now your receiver is connected to the satellite dish.
- Look for the power cord that comes with your Direct TV receiver.
- Connect one end of the power cable to the rear of the receiver and the other end to a power outlet.
- Press the front of the receiver's power button or use the remote control to turn on it.
Step five: configuring the receiver
You will follow on-screen directions to finish the setup after your receiver is turned on. Usually, this entails the following:
- Select your favorite language here.
- The receiver will try to find the satellite signal in two directions: Make sure your satellite dish is orientated for best signal reception.
- Should your receiver be a fresh one, you might have to activate it. Use the on-screen cues to finish the activating procedure. This might need verifying your subscription details and inputting your account information.
Step 6: Programming Your Remote Control
You should arrange your remote control to run your receiver and TV if you want to completely enjoy your DirecTV service.
- Program the remote using the guidelines included with your remote. Usually, this entails pushing a sequence of buttons to link the remote to the TV and your receiver.
- Once configured, test the remote to guarantee it can manage the receiver and TV operations like power, volume, and channel shifting.
Step 7: Changing the Sound and Image Filings
Change the image and sound settings on your TV and receiver to maximize the watching experience.
- Use your remote to go to the settings menu on your receiver.
- Match your TV and personal tastes by changing the resolution, aspect ratio, and other visual parameters.
- Control the audio parameters to guarantee the best sound quality. This might call for changing the audio output type and volume range.
Advice for Troubleshooting
Here are some troubleshooting guides should you run into problems throughout the setup process:
- Check all cable connections to guarantee they are safe without a signal. Make sure your satellite dish points clearly toward the sky and is properly adjusted.
- Make that your TV is set to the proper input/source—e.g., HDMI 1—that matches the connection the receiver is using. No image or sound.
- Reprogram the remote and look for any obstacles between the remote and the receiver that might be causing it not to function.
Conclusion
Connecting the satellite dish, tying the receiver to your TV, and system configuration for best performance define your DIRECTV receiver. Careful use of these guidelines will help you to have a flawless viewing experience with your DirecTV subscription. Should you run into any ongoing problems, don't hesitate to call DirecTV customer service for further help.
Transform your viewing experience with DirecTV! Call us today at +1 855-213-2250 to explore our plans and find the perfect package for you. Our experts are ready to assist you and get you set up with top-notch entertainment. Don’t wait—contact us now!