To connect your Sanyo 40-inch television to Dish Network, follow the simple steps below to go through the connection process. By connecting it with the right cables and satellite receiver, you can get hundreds of stations from Dish’s programming options. The following is a guide on how to connect your Sanyo TV with Dish Network:
What You Need
Before connecting your Sanyo TV to Dish Network, make sure you have the following equipment:
- Sanyo 40-inch television
- Dish Network satellite receiver (e.g. Hopper, Joey, Wally, etc.)
- Co-axial cable: this mostly comes with the satellite receiver.
- HDMI cable (high speed)
- Found a satellite dish that can receive Dish signal
- Dish Network subscription
Step 1 – To start up the satellite dish there is a process one has to follow and below is the first one.
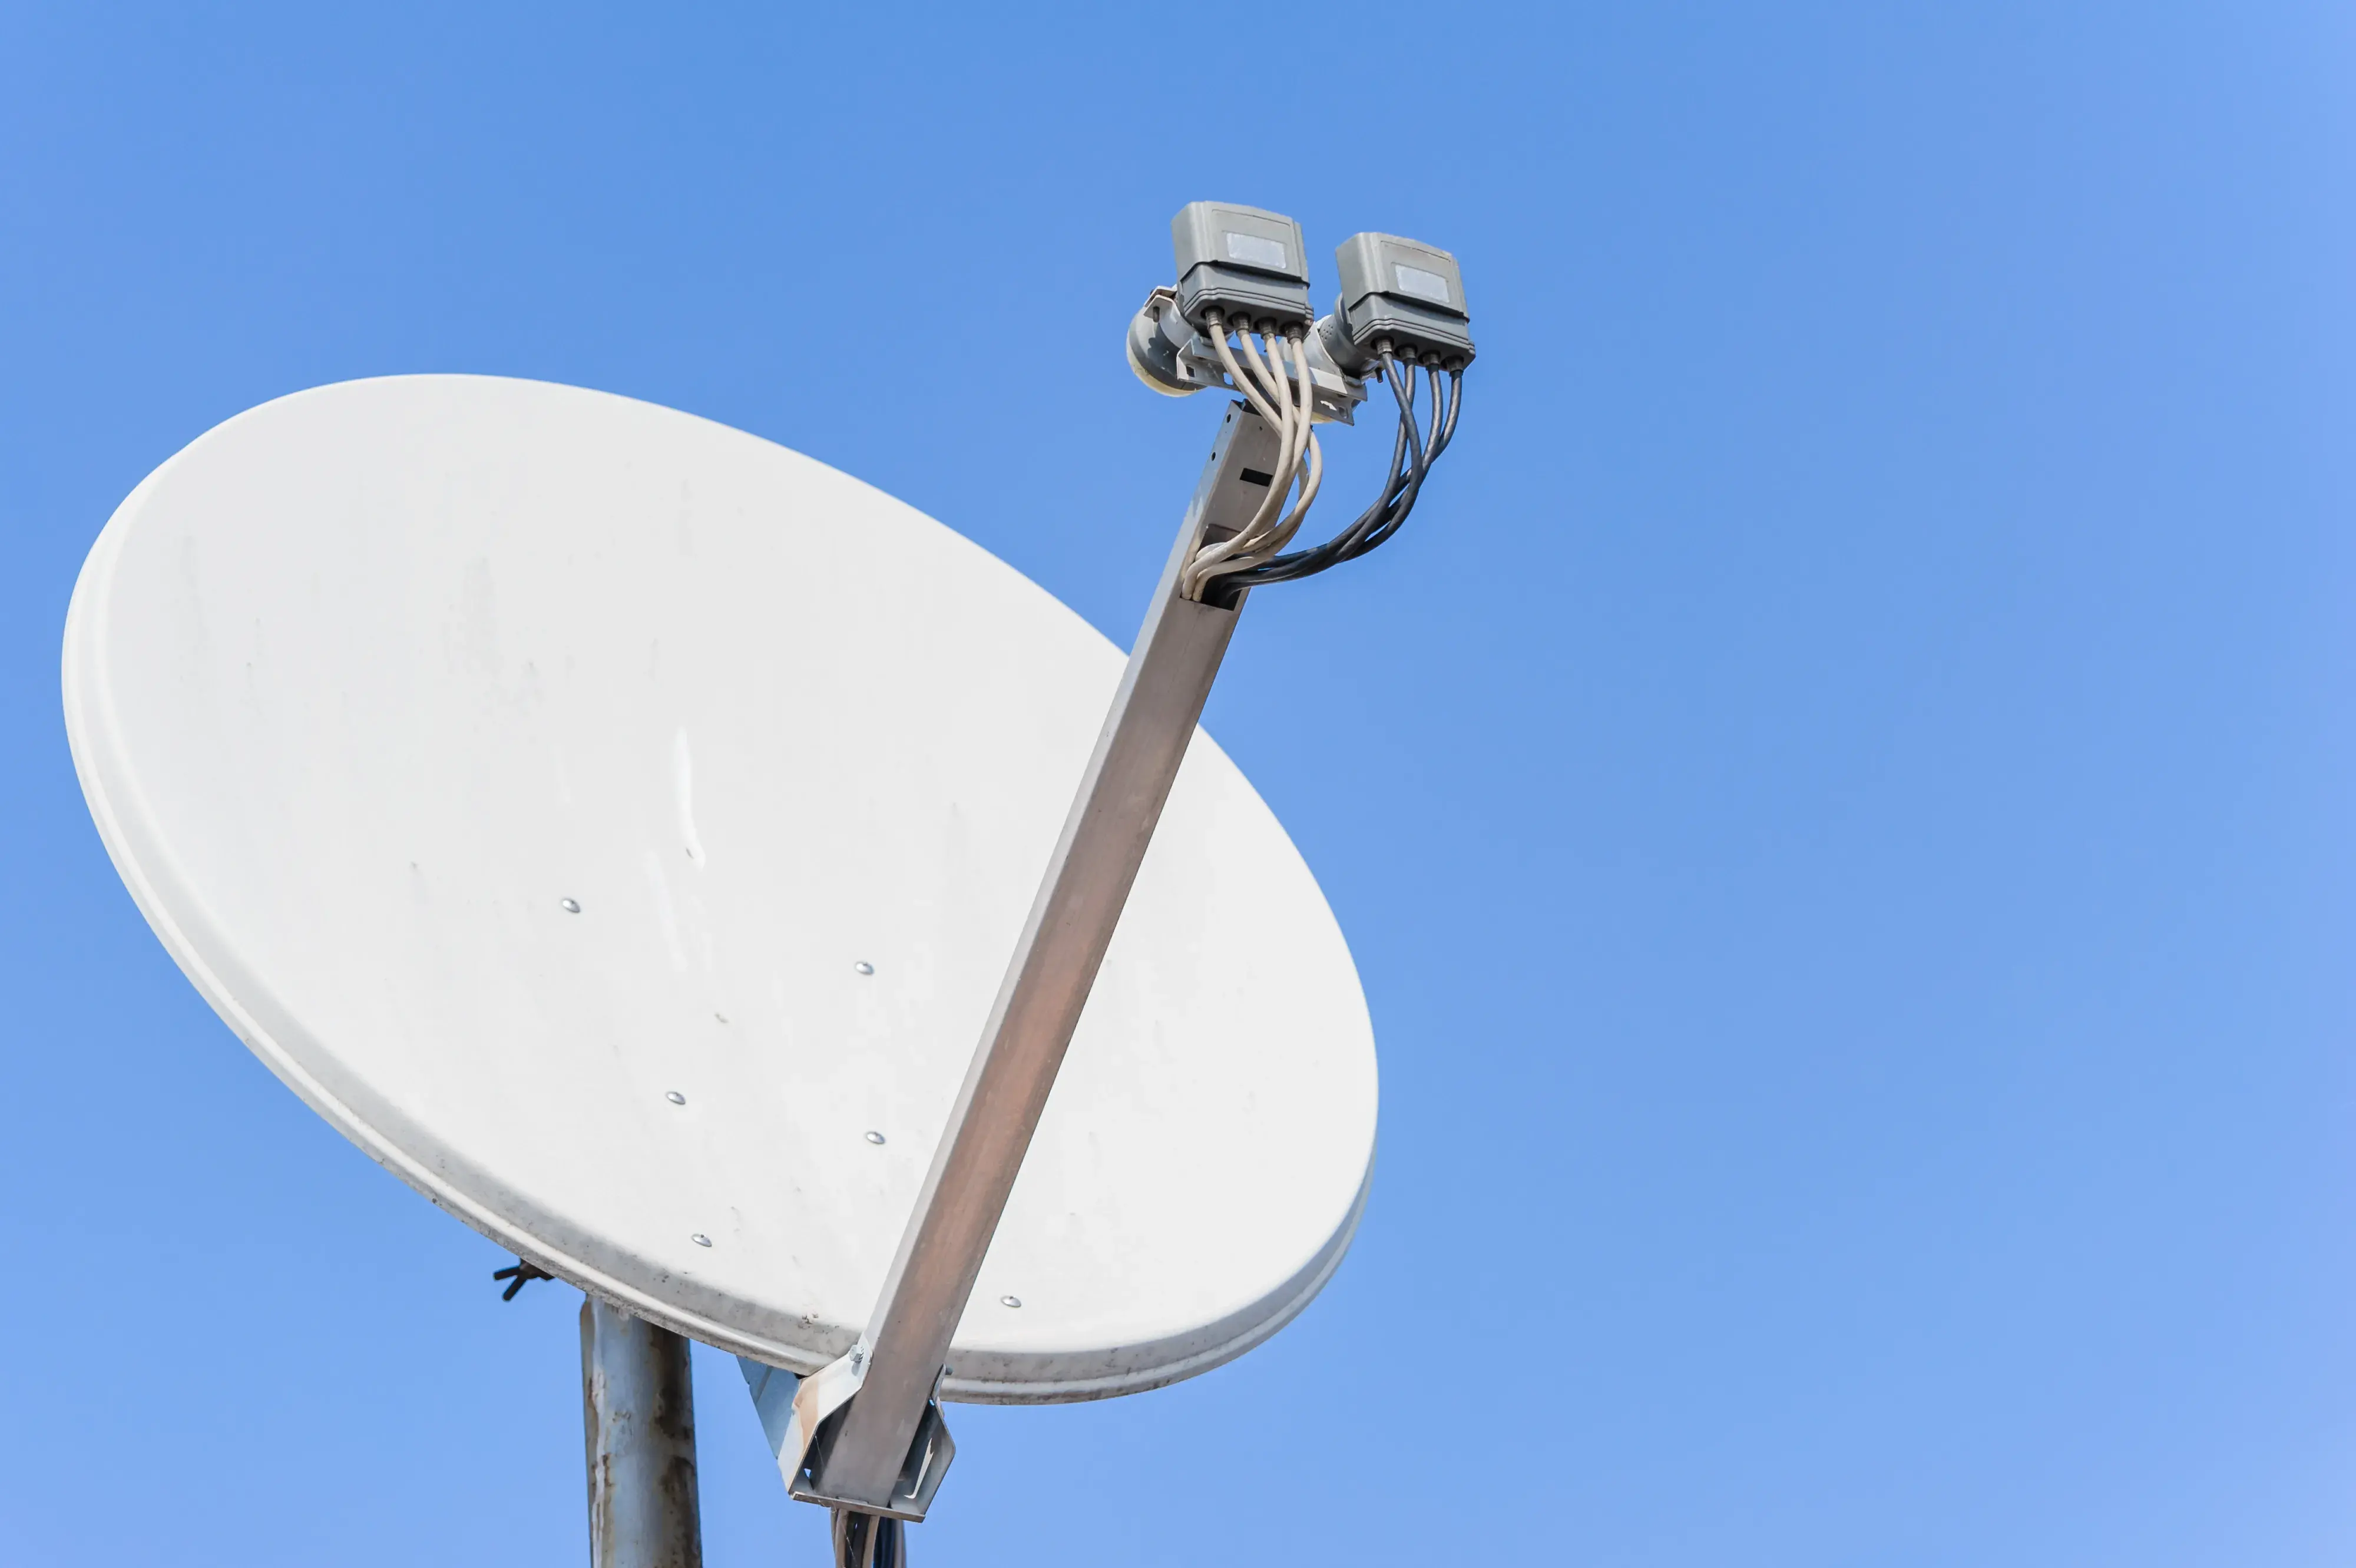
The first one involves mounting your satellite dish and making sure that it can capture good signals from Dish Network satellites. You may require professional installation or can install it yourself if you consider yourself fairly handy. The satellite dish has to point toward the southern sky and therefore requires proper orientation.
Antenna alignment and cabling will be done for you if you hire the services of a professional technician for the installation. In DIY installation, you will need to go through Dish’s installation guide to search for satellite and then fine-tune the signal. This involves fine-tuning the dish’s azimuth, elevation, and skew while observing the signal strength meter on the receiver side.
Step 2 – Connecting the Satellite Receiver
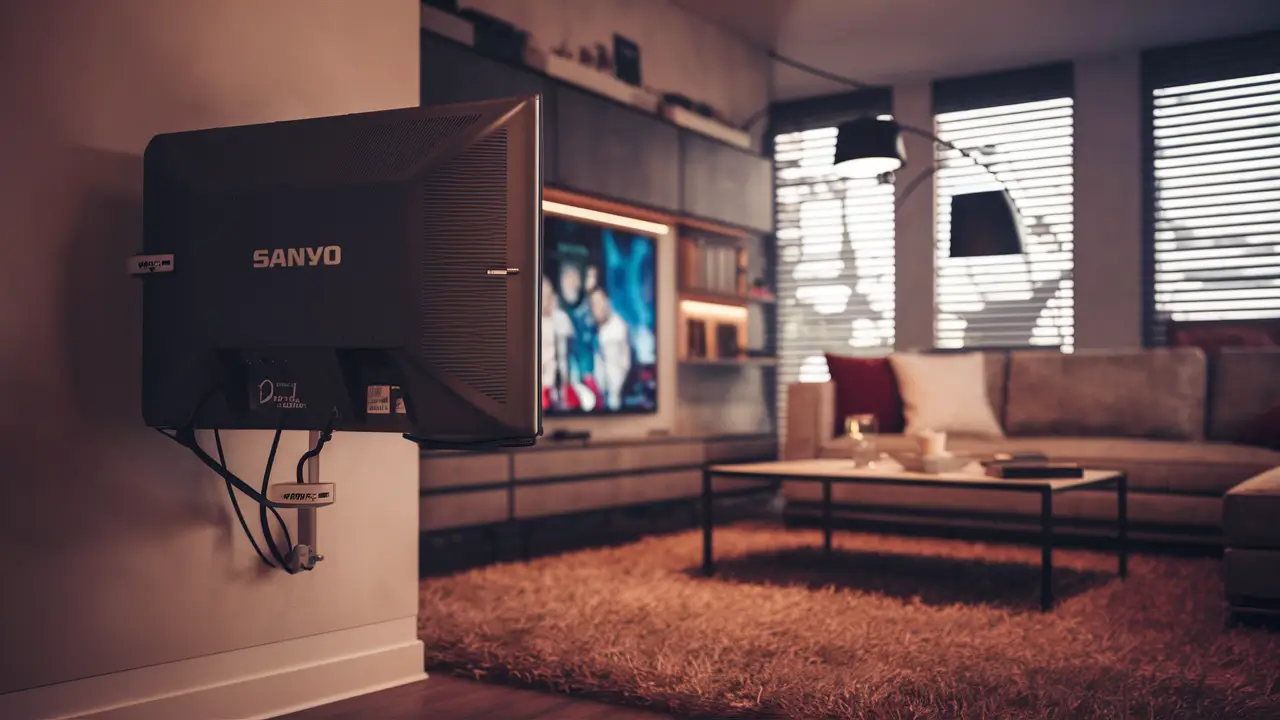
Now that you’ve had the satellite dish installed, let’s get your Dish receiver connected. Connect the “Satellite In” port at the back of the receiver to the satellite dish via a coaxial cable. Ensure that the connections are tight.
The Hopper, for example, has two tuners; therefore, you may require two cables to connect both the ‘Satellite In’ ports if you desire to utilize all the features. Plug in the receiver’s “TV Out” jack to the television via an HDMI cable for high-definition video.
Step 3 – Connect The TV And Receiver to Power
First, connect the Sanyo television and the Dish receiver by employing the cables listed in Step 2 when all the components are still off.
Connect both devices to an electrical outlet. Remember it is recommended to plug the TV first before the Dish receiver; otherwise, the Dish receiver will not sync properly.
Step 4 – Power On Devices and Activate the Dish Receiver
Switch on your 40-inch Sanyo TV first by pressing the power button or with the help of the remote control. After that, switch on your Dish Network receiver. If your TV and cables are properly connected, you should see the receiver boot up on screen.
Go through the instructions displayed on the screen and proceed to activate the Dish account and initiate the setup process. To synchronize the equipment just type in your Dish Network account number. The activation process is pretty simple, and it should not take a lot of time, approximately 5-10 minutes to complete.
Step 5 – Run The Setup Wizard
After your equipment is turned on, a configuration that will help you to properly set your channels, guide, and preferences will be initiated. The Dish receiver will search for the satellite signal channels which may take more than 10 minutes.
Then you will verify the account details such as the billing information and the selected programming package. The system may also download new software and updates which may sometimes need the receiver to be restarted. Last but not least, configure any parental control and channel favorite to complete the basic configuration.
Step 6 – Start Watching!
Once these 5 steps are done, your Sanyo television should be connected to Dish Network programming in full high definition. Using the Dish remote, browse through the channels to confirm that you can access the Dish guide and content.
If you see that some channels are absent or there are connection problems, it is advisable to check the connections of the satellite dish, and HDMI cables, and learn more about it from Dish Network’s guide. Place the satellite dish and the receiver box well away from other electronic equipment or objects that could affect the signal.
Use Your Dish Subscription on Your Sanyo TV
By following this process, one can gain an opportunity to view Dish Network’s variety of live sporting events, news, famous programs, movies, and many more on the newly purchased Sanyo television. You now have an excellent view of the content without any difficulty and excellent customer support in case of any problems in the future.
Ready to upgrade your TV experience? Call us now at (877) 471-4808 to find the perfect Dish Network plan for you! Don’t miss out on great entertainment—our team is here to help you choose the best package and get you started today.