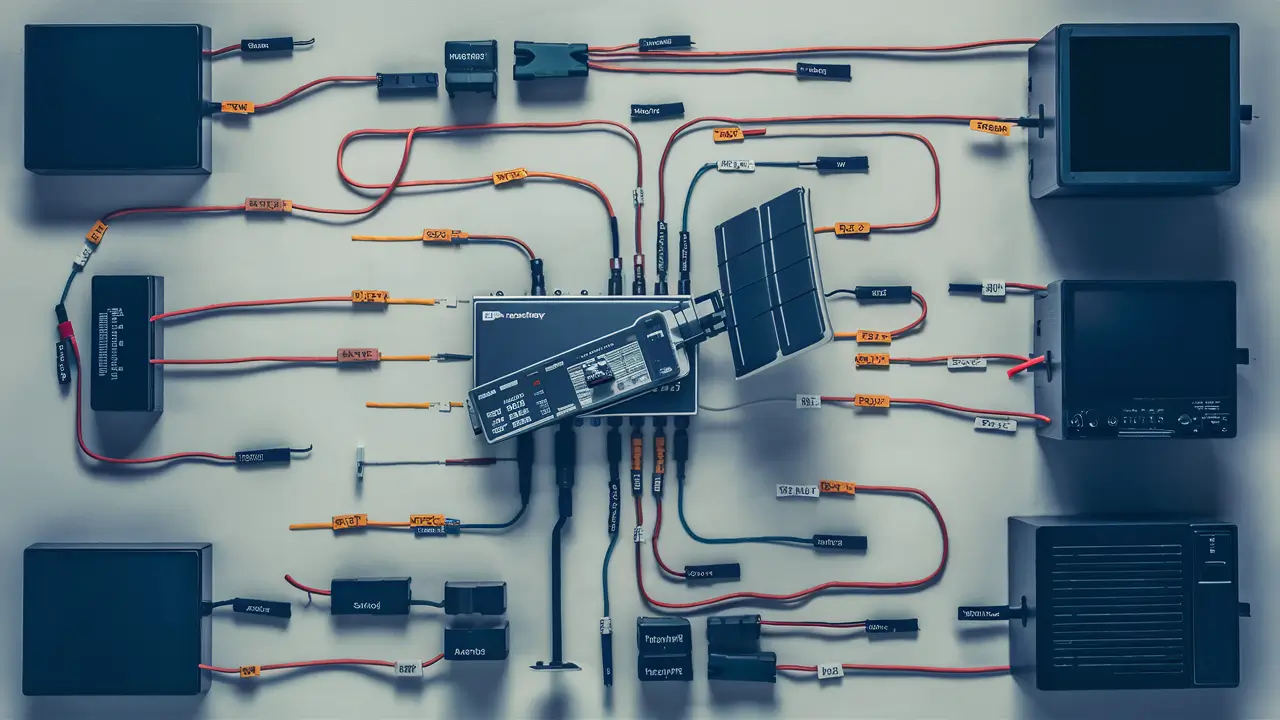
Using two TVs and one Dish Network receiver is useful if one desires to have satellite programs in two different rooms but is not compelled to purchase a second receiver. Given the right tools and a little bit of preparation, installing two TVs in one dish receiver is a fairly easy home repair job. Here is a wiring diagram of how you can connect two TVs to one Dish Network receiver:
What You Need
- A Dish Network receiver which could be the model 211z,211k, or any other Dish Network receiver.
- 2 TVs with available HDMI/Composite Video Connection
- HDMI splitter or amplifier
- Coaxial cable
- RCA stereo audio cables.
Preparation
Before pulling cables over walls and floors and through rooms, plan where you want to place the Dish receiver and the two TVs to hook up. Ideally, the Dish receiver should be placed halfway between both the TV locations to ensure that long cable length runs are not required.
It is also important to note that the HDMI cables are capable of transmitting signals up to 15 meters or 50 feet maximum distance before signal attenuation occurs. If the distance between your two required TV positions is more than this distance then it is better to use the composite video.
Wiring Diagram
Once you have mapped out the placement of your devices, follow this wiring diagram:
-
Dish Network receiver
- Plug in the coaxial cable of the dish to the satellite input terminal on the back of the Dish receiver.
- Plug one end of an HDMI cable into the HDMI output port at the back of the receiver and the other end into the input port of an HDMI splitter or amplifier.
-
HDMI Splitter/Amplifier
- Plug in HDMI cable into one of the available outputs of the splitter/amplifier and connect it to the HDMI port of TV #1.
- Plug another HDMI cable from the second splitter/amplifier output port to the HDMI port of the second television.
-
TVs
- Switch on both the TVs and the Dish receiver.
- Switch both the TVs to the correct HDMI input by using the input button available on the remote of each of the TVs.
If your two TVs exceed the length capabilities of HDMI cables, use this alternate wiring diagram:
-
Dish Network Receiver
- Attach the satellite input to the receiver in the same way as it was done before.
- Screw on the composite video (yellow) and stereo audio (white and red) output ports of the receiver to the composite video/audio cable.
-
Composite Cable
- Take the composite cable and run it to the location of TV #1.
- Plug in the yellow composite video connector to the composite video input of the first television set or TV #1.
- Plug the white/red audio connectors into matching composite audio input sockets.
-
Audio Splitter
- Subdivide the audio signal immediately after the Dish receiver through an RCA stereo splitter or a “Y” cable.
- Connect one of the cables to the composite inputs of TV #1 as it was explained above.
- Connect the other set of cables to the composite audio and video outputs of TV #1 in the same way as above.
Setup and Activation
When the wiring between the Dish receiver and two TVs is done by the diagram, turn on the Dish receiver and TVs. Use the input or source buttons on each TV remote to select the correct input channel for the connecting TV. This should turn on the satellite signal if everything is well done as far as the cabling is concerned.
You can now proceed to the setup menu for scanning the available programming and power on the receiver for both locations. Ideally, both TVs should be able to change the channel and access the Dish programming guide with their remotes if both are on and set to the right input.
It is important to note that some of the Dish receivers could only allow one active TV location at a time while accessing the DVR recorded programs or On Demand services. Thus, you might have to turn off TV #1 to view recordings on TV #2. This drawback can be solved by incorporating a dual-output module accessory.
Tips
Here are some additional tips when wiring your Dish receiver to two TVs:
- Prefer HDMI as the best input option for picture and sound quality whenever it is available.
- If using HDMI connections, be certain that the cables used are capable of supporting high-definition video signals.
- Install mount splitters and amplifiers centrally where TVs are located.
- Be sure to label your cabling at both the sending and receiving ends.
- Check the reception of both TVs before doing final cable installations for permanent fixtures.
However, in outline, this project has several steps, and the main of them is to connect two TVs to one Dish Network receiver: mostly it is important to split the video and audio signals. If you have a bit of an idea beforehand and have the right cables, then you can wire your home entertainment system to let you have satellite programming viewing in different rooms.
Ready to upgrade your TV experience? Call us now at (877) 471-4808 to find the perfect Dish Network plan for you! Don’t miss out on great entertainment—our team is here to help you choose the best package and get you started today.