-
Posted on: 13 Aug 2024
-
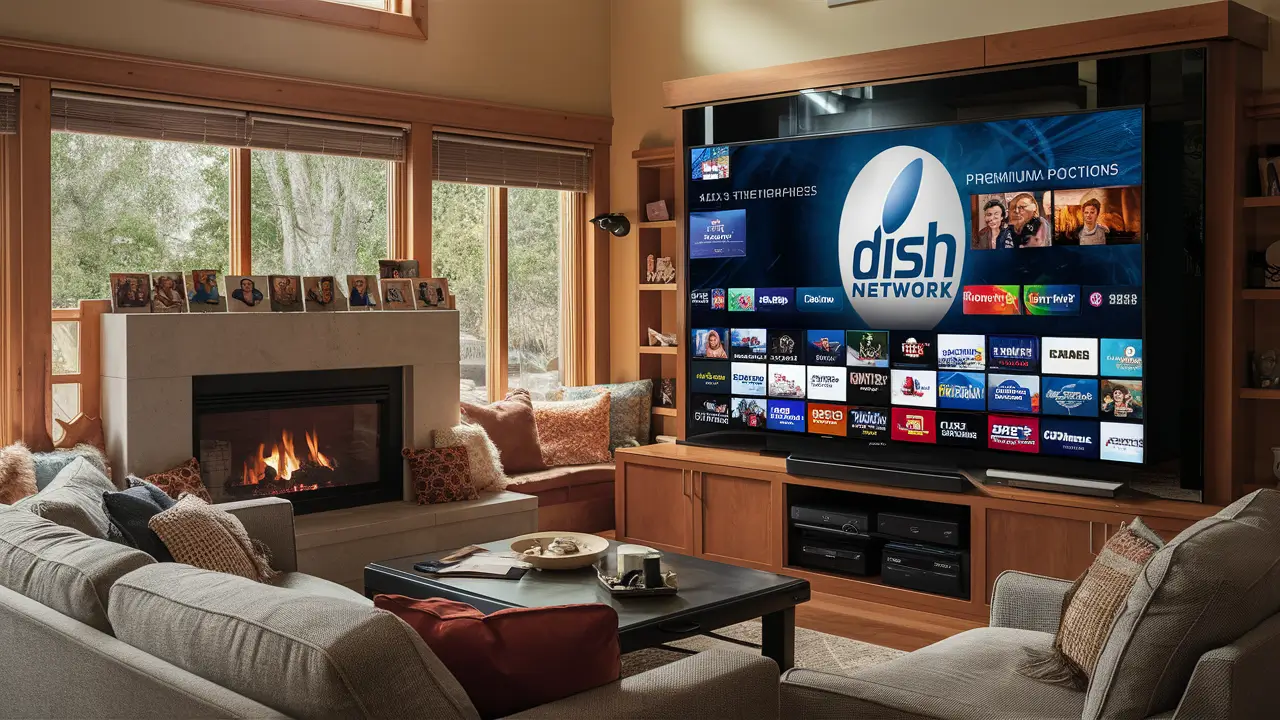
Upgrading or replacing your television can be an exciting experience, especially with the range of modern TVs offering stunning visuals and smart features. However, if you’re a Dish Network subscriber, the process of changing out your TV might seem a bit daunting due to the integration with Dish’s equipment and services. Fear not! This guide will walk you through the entire process, ensuring that you can enjoy your new TV with your Dish Network package without any hiccups.
Step 1: Gather the Necessary Equipment
Before you begin, make sure you have everything you need:
- Your new television
- Dish Network receiver (existing)
- HDMI cable (or other compatible cables)
- Remote control (existing)
- Power cables
- Any additional accessories (like a soundbar or streaming device)
If your new TV supports higher resolutions (like 4K), ensure that your Dish receiver is compatible with these features. You might also need a high-speed HDMI cable for the best performance.
Step 2: Disconnect the Old TV
Start by disconnecting the old TV from the Dish Network receiver and any other connected devices. Follow these steps:
- Power off the TV and the receiver: Unplug both the TV and the Dish receiver from the power outlet to avoid any electrical issues.
- Disconnect the HDMI (or other) cables: Unplug the HDMI cable or any other video/audio cables connecting your old TV to the Dish receiver.
- Remove any accessories: Disconnect any additional devices like soundbars, gaming consoles, or DVD players from the old TV.
Make sure to keep all the cables and accessories organized, as you’ll be reconnecting most of them to your new TV.
Step 3: Position Your New TV
Unbox your new television and position it where you plan to set it up. Ensure that the location is close to the Dish Network receiver and any other devices you plan to connect. Consider factors like viewing angle, distance from the seating area, and glare from windows or lights when choosing the spot.
If you’re wall-mounting the TV, follow the manufacturer’s instructions carefully. Make sure the mount can support the weight of your TV and that it’s securely attached to the wall.
Step 4: Connect the Dish Network Receiver to the New TV
Now it’s time to connect your new TV to the Dish Network receiver. Here’s how:
- Connect the HDMI cable: Plug one end of the HDMI cable into the HDMI port on the Dish Network receiver and the other end into an available HDMI port on your new TV. Most modern TVs have multiple HDMI ports, so choose one that’s easily accessible.
- Power up the TV and receiver: Plug both the TV and the Dish receiver into the power outlet and turn them on. Use the TV’s remote control to select the HDMI input that you connected to the Dish receiver.
- Check the signal: Once the TV is set to the correct HDMI input, you should see the Dish Network welcome screen or the last channel you were watching. If the signal doesn’t appear, double-check the cable connections and ensure the receiver is properly powered on.
Step 5: Program the Remote Control
Your Dish Network remote control needs to be paired with your new TV to control functions like volume, power, and input selection. Here’s how to do it:
- Press and hold the TV button: On your Dish Network remote, press and hold the “TV” button until all four mode buttons (TV, DVD, AUX, SAT) light up.
- Enter the TV code: Use the number pad to enter the code for your TV brand. Dish provides a list of TV codes in the receiver’s settings menu or user manual. Once you enter the correct code, the TV mode button should flash three times, indicating the code has been accepted.
- Test the remote: Try using the remote to turn the TV on/off, adjust the volume, and switch inputs. If it doesn’t work, repeat the process with a different code until you find one that works.
Step 6: Adjust the Picture and Audio Settings
Your new TV likely offers advanced picture and audio settings that can enhance your viewing experience. After connecting your Dish receiver, take some time to adjust these settings:
- Picture settings: Navigate to the picture settings menu on your TV. Adjust the brightness, contrast, color, and sharpness to your liking. Many TVs also have preset modes like “Movie,” “Sports,” or “Game” that optimize the picture for different types of content.
- Audio settings: If you’re using your TV’s built-in speakers, adjust the audio settings for clarity and balance. If you’ve connected a soundbar or external speakers, make sure the TV’s audio output is set to the correct device.
- Resolution settings: Ensure that the TV’s resolution is set to match the highest resolution supported by your Dish receiver. For example, if your receiver supports 4K, make sure the TV is set to 4K UHD resolution.
Step 7: Connect Additional Devices
If you have other devices like a Blu-ray player, gaming console, or streaming device, now is the time to connect them to your new TV. Use the remaining HDMI ports on the TV for these connections.
Step 8: Update and Optimize
Many new TVs come with built-in smart features and apps that may require an internet connection. If your TV has smart capabilities, connect it to your Wi-Fi network and check for any available software updates. Keeping your TV’s software up-to-date ensures optimal performance and access to the latest features.
Step 9: Test and Troubleshoot
Once everything is connected and configured, test your setup by watching a few different channels or streaming content. Pay attention to the picture quality, audio clarity, and remote functionality. If you encounter any issues, here are some common troubleshooting tips:
- No signal: Double-check the HDMI connections and make sure the TV is set to the correct input.
- Remote not working: Try reprogramming the remote with a different code or replace the batteries.
- Poor picture quality: Adjust the TV’s picture settings or ensure the Dish receiver is set to the correct resolution.
Step 10: Enjoy Your New Setup!
Congratulations! You’ve successfully changed out your TV with your Dish Network package. Now, sit back and enjoy your favorite shows, movies, and channels with enhanced picture and sound quality on your new television.
Conclusion
Changing out a TV when you have a Dish Network package is a straightforward process that involves a few basic steps. By following this guide, you can seamlessly transition to your new TV and continue enjoying the full benefits of your Dish subscription. Whether you're upgrading to a larger screen, adding smart features, or simply replacing an old TV, this guide ensures that your new setup will be up and running in no time.
Ready to upgrade your TV experience? Call us now at (877) 471-4808 to find the perfect Dish Network plan for you! Don’t miss out on great entertainment—our team is here to help you choose the best package and get you started today.

