-
Posted on: 13 Aug 2024
-
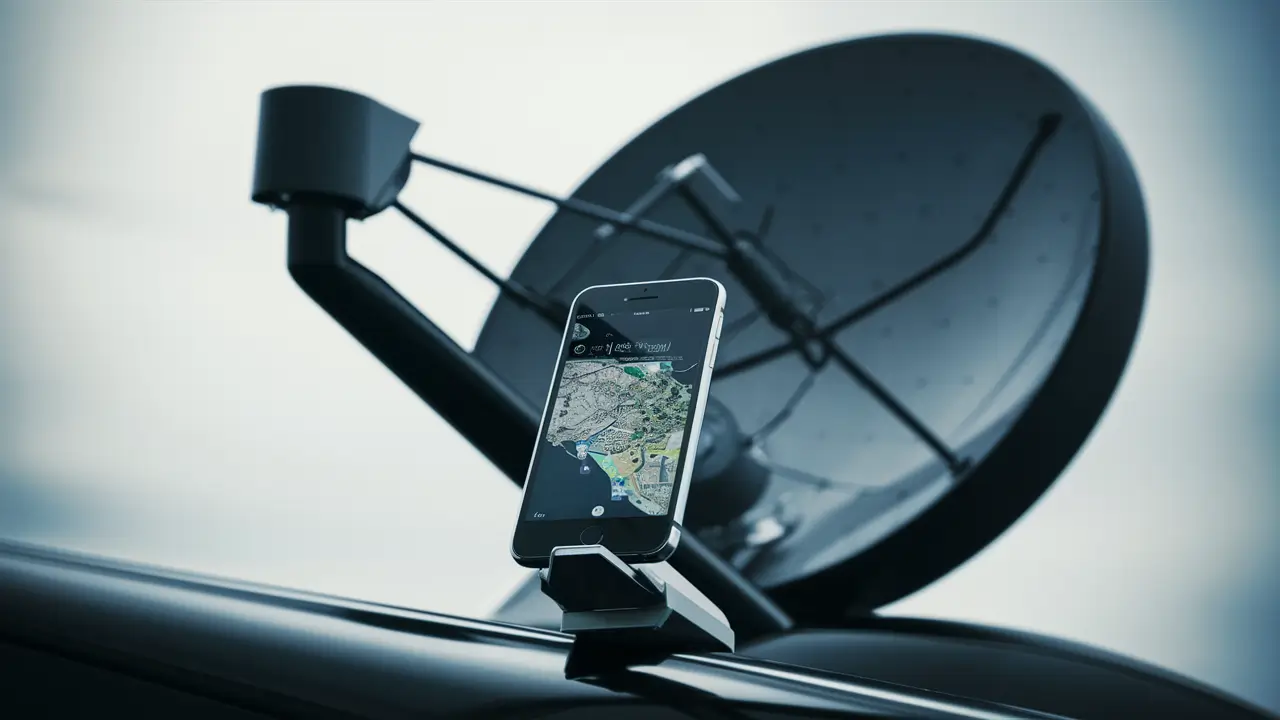
Aiming a dish to ensure that it catches the best signal is usually a tedious and inconsequential activity. It is not necessary to pay thousands of dollars to have a professional install the dish because with the right equipment, and sometimes with some time, you can easily point your dish accurately. Perhaps one of the most helpful modern tools in installing a DIY satellite dish is your iPhone. With the right applications installed, there are also other features of the iPhone that can aid in proper alignment such as augmented reality. Here is a step-by-step guide on how to align a satellite dish using your iPhone:
What You Need
- Satellite dish and its mount
- Wrench and hardware to attach dish:
- iPhone with iOS 12 or later if available
- Satellite Dish Alignment App (ideas below):
- Sweeping vistas of the southern sky
Select Satellite Alignment App
The following are some of the few good, augmented reality apps that are available for use in iOS devices with respect to the task of pointing your satellite dish. Some of the best examples include Satellite AR,DISH NETWORK Pointer AR, and Dish Align AR. These apps use your iPhone camera, GPS, gyroscope, and compass to superimpose where those satellites are in the sky at the present time. This makes it possible for you to identify where you need to aim your dish for the best reception. Other features that are available in Dish Align AR include the magnetic compass calibration and the level placement guides which are handy when mounting a dish on the roof or wall. To fill out this guide, we will be employing the Satellite AR application that many people are familiar with.
Find Appropriate Mounting Location
Before you get a chance to pull out your iPhone, you have to choose the right spot to install your satellite dish. It should be positioned firmly onto a vertical surface that should be static and preferably be part of a structure such as a wall or roof. Select a site that is exposed to the southern sky, where the communications satellites are stationery in their orbit around the earth. Make sure there are no trees, buildings, or other structures over the dish since these may obstruct the dish’s view towards the satellite. To point the dish accurately is of no use if signals are blocked.
Install Satellite Dish Securely
Once you have recognized the rising placement, safely mount your satellite dish. If mounting on a roof or ladder, ensure the following safety measures are observed. Screw down the dish mount firmly according to the type of the surface you are installing it, whether concrete, wooden, dry-walled and the rest of them You need to have an installed dish mount that will enable you to change the direction of the dish through the elevation and azimuth angles. Aim coaxial cables installation to be out of the walking areas but not exposed to high risk of being damaged. It is essential to have enough cable length to enable the dish to be rotated and tilted in order to achieve proper alignment.
In order to use the tool, first, the Satellite AR app must be downloaded and installed on an Android device.
With the dish in position, it’s now time to bring our your iPhone from your pocket or handbag. If you have not done so already, download and install the Satellite AR app on your device. When the app prompts you to do so, grant it permission to use iPhone camera, GPS location, and motion. Open Satellite AR and set the preferences of both augmented reality mode and the calibration of the compass. Next, you will have to input the approximate latitude and longitude of the dish installation. The app gets to know where in the sky it has to direct the user to look at the satellites. For convenience, you can type the lat/long of your address on the web or use current iPhone GPS location.
It is seen that all the ten satellite channels are present in the Scan Sky and the locator helps to identify the satellite cluster.
After launching Satellite AR, it will turn on your iPhone’s rear camera and give you a similar overlay to the first version when aligned properly with the satellites. By turning your iPhone camera around, slowly scan the southern sky. Notice when you see the satellites cluster after-screen overlay. The satellites grouped on-screen by using the app show you which direction your mounted dish should face with pinpoint accuracy. In case the augmented satellite cluster does not appear on the screen, you may need to calibrate the compass in the Satellite AR app.
Align Dish Boresight
Now that your dish is safely mounted and the Satellite AR app tells you where satellites are you will need to get physical. You should now loosen the adjustment screws on the installed satellite mount to enable you change the elevation and azimuth of the dish. Without moving the dish, align the round LNBF receiver or feedhorn located at the end of the dish so that they are pointing straight ahead. This part hang down under the bowl-like dish. This MNBF extension can be thought of as the iron sights on a rifle pointing in the roughly correct general direction of the dish’s boresight. Move your body in a way that the line of sight with the LNBF matches with the satellite clusters shown in the app.
Tweak Elevation and Azimuth
However, while keeping your line of sight on the center boresight of the dish, you can now start to fine tune the dish itself. Slowly they tilt the dish mount in the vertical plane and turn it in the horizontal plane until the physical dish is pointing closer to the augmented satellite cluster that you can see on your iPhone. Ideally, someone will help to keep that center sightline from behind the dish while the mount direction is being changed. Be patient and adjust the alignment slowly to have utmost control over the movement.
Peak Signal Strength
When well aligned, maximum signal strength is achieved through the dish hardware. This peak signal can be measured using an analog or digital tuner that is connected to your satellite coaxial cables. On the other hand, you can settle for another related app such as Satellite Direction that comes with a signal meter displayed on the screen. Rotate the dish alignment in cycles, slowly adjusting the left-right and up-down positions until you get to the optimal signal strength. If done, screw all the adjustment bolts on the dish mount in order to freeze this good pointing position.
You are now able to have your satellite dish professionally aligned using only your iPhone! Just a little patience is needed, nonetheless the visual guidance from augmented reality iPhone apps makes it easier to get a clear satellite television signal. Just be sure to check that all the mountings are well secured so that winds and weather do not shift the dish from the right position. Listen to unplugged broadcasts and all the educational, sports and other forms of entertainment programs that come directly from satellites above!
Ready to upgrade your TV experience? Call us now at (877) 471-4808 to find the perfect Dish Network plan for you! Don’t miss out on great entertainment—our team is here to help you choose the best package and get you started today.