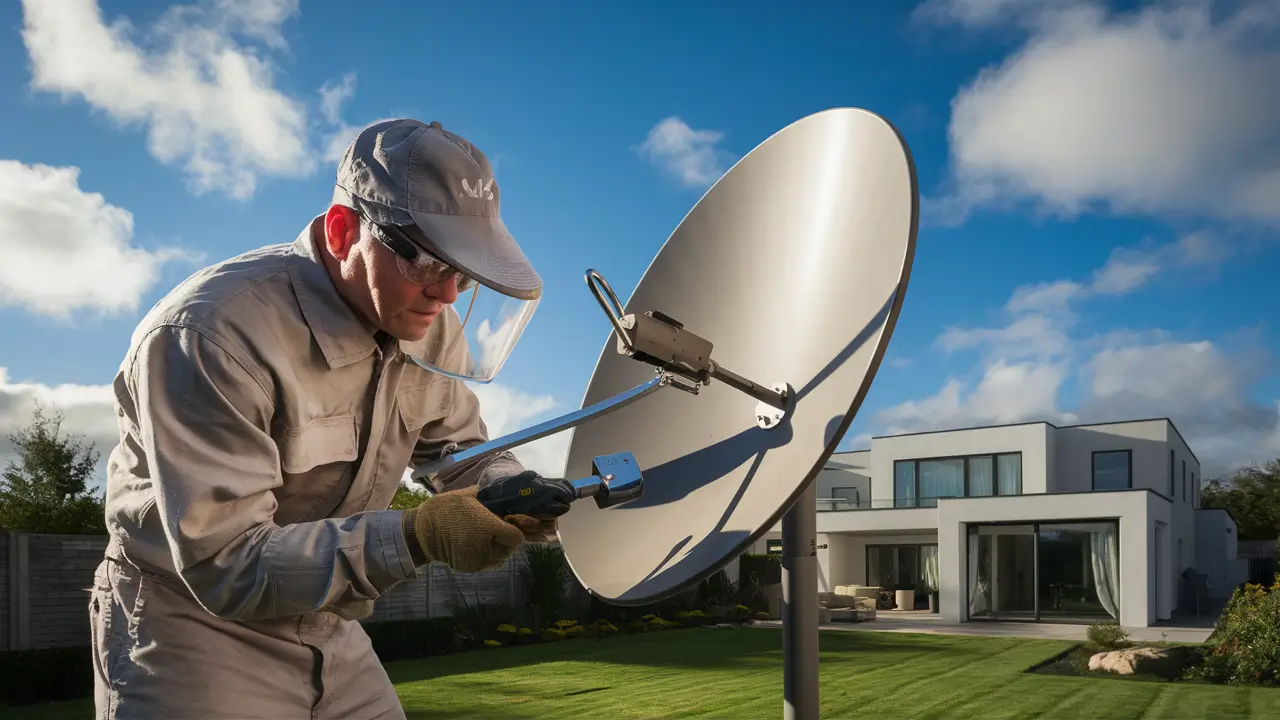
Adjusting a Dish Network satellite dish is a critical procedure that should be done carefully to get a good signal and good picture quality TV. In most cases, you will require a few tools, and it is just several steps for you to take so that you can align your Dish well for the best reception.
Supplies Needed
- Dish Network satellite dish and mounting hardware
- Screwdriver for tightening nuts
- Level
- Compass
- TV to check the signal
- Ratchet with 7/16 socket for fine-tuning the height
- 5/16 nut driver or socket to adjust skew.
Determine Install Location
When determining where to mount your dish, consider these factors:
- View of the Southern sky: Moreover, the Dish Network satellites are towards the South therefore your dish should not be obscured by anything in that direction. Ensure that trees, buildings, or other objects do not interfere with the signal.
- Sturdy Location: Select a stable location that has a flat horizontal surface to fix the dish on and that must be leveled, like an exterior house wall, a sturdy part of the roof, or a pole mounted on concrete.
- Accessibility: Choose a location that is convenient for changing the dish during alignment and maintenance activities. This is made easier if the existing mount holes from a previous dish are used.
Install Dish Mount
Depending on the location you have chosen for the surface and keeping in mind the possibility of subsequent adjustments, mount the dish mounting bracket firmly in compliance with the guidelines of Dish Network. When fixing on wooden surfaces, it is advisable to use lag bolts while on concrete or brick surfaces, you should use masonry anchors. Check it is completely plumb using your level.
Position Mast Arm
With the mount secured connect the arm mast section to aim the dish in the general direction of the southern sky. It does not need to be exact yet as you will adjust precisely later during the fine-tuning phase. Tighten bolts securely so that the arm stays in the position it is set when adjusting the height of the table.
Attach Reflector & LNB
Subsequently, mount the round dish reflector section on the end of the mast arm as per the model requirements for it to swivel left or right during the adjustment. Your multi-sat LNBF (“Low Noise Block Feedhorn”) then threads onto the end of the reflector arm to grab the satellite signals.
Ensure No Obstructions
At this time during the installation, you will also need to check to ensure that there are no interferences that may reduce your signal strength due to blockage of the dish stare. Consider the position of the dish regarding the southern sky and search for any trees branches, poles, buildings, or large hills that may obstruct the reception. It is a small tree branch that sometimes requires trimming to allow the signal to pass through.
Get Satellite Positions
From here, you will need to use Dish Network satellite positioning charts to align the azimuth, elevation, and skew to the satellites that your LNBF assembly will interface with – typically, 110, 119, and 129 orbital positions. Locate your region on the given charts and determine the orbital positions with their corresponding angles.
Set Initial Azimuth Angle
Using your compass, fine-tune the mast arm left or right so that the dish reflector is pointing towards the true south. Next, rotate it to the azimuth angles necessary for the satellite orbital positions you have to navigate to. Azimuth setting at 110 degrees west of south is the most frequently used in the calculation. It gets you in the ballpark so that, with further tweaking, you can get straight to the goal.
Adjust Elevation Angle
Tighten the elevation bolts slightly on the mast arm to create the ability to tilt the dish up or down so that it matches the elevation of the satellites you are targeting. Adjust the initial angle by referring to Dish Network elevation charts based on your location, using the ratchet with a 7/16 socket on the adjustment nut. The safe access purpose should not be more than 45 degrees.
Set Skew Angle
Skew is defined as the slight tilting or turning in the dish to accommodate the reception of signals from satellites that orbit in ellipses and transmit signals at varying heights and angles. Skew can be set by using a 5/16 nut driver and the 110 satellite also helps in getting the other satellite locations off this point.
Connect Coax Cables
Connect the coaxial cable from your Dish LNBF assembly to your satellite receiver and use external signal amplifiers if necessary for long distances. Connect the two or three outputs of the LNBF to the satellite inputs of the receiver. Press the sat input 1 on the receiver for the start of the setup. Some of the other satellites should remain off during alignment for the time being.
Activate Satellite Receiver
Connect your Dish Network compatible with high-definition or standard-definition satellite receiver and television. Proceed through the receiver setup questions and continue until you get to the satellite installation dish-pointing part. Use the signal strength meter display to get to the highest point of the signal.
Precision Peak Tuning
You will now proceed to the precision adjustment phase to achieve optimal signal strength on all the satellites you wish to receive. Go back to the receiver and rotate the LNB connection in small increments of azimuth, elevation, and skew until the signal strength on the receiver reads the full signal on all satellites.
Test All Satellites
Link the coax feed lines individually from the LNBF to all of the satellite inputs available on the Dish receiver. Increase the signal amplitude for each orbital position, 110W, 119W, and 129W, to verify proper alignment in the reception of programming transmitted by the satellites.
Confirm Signal Lock
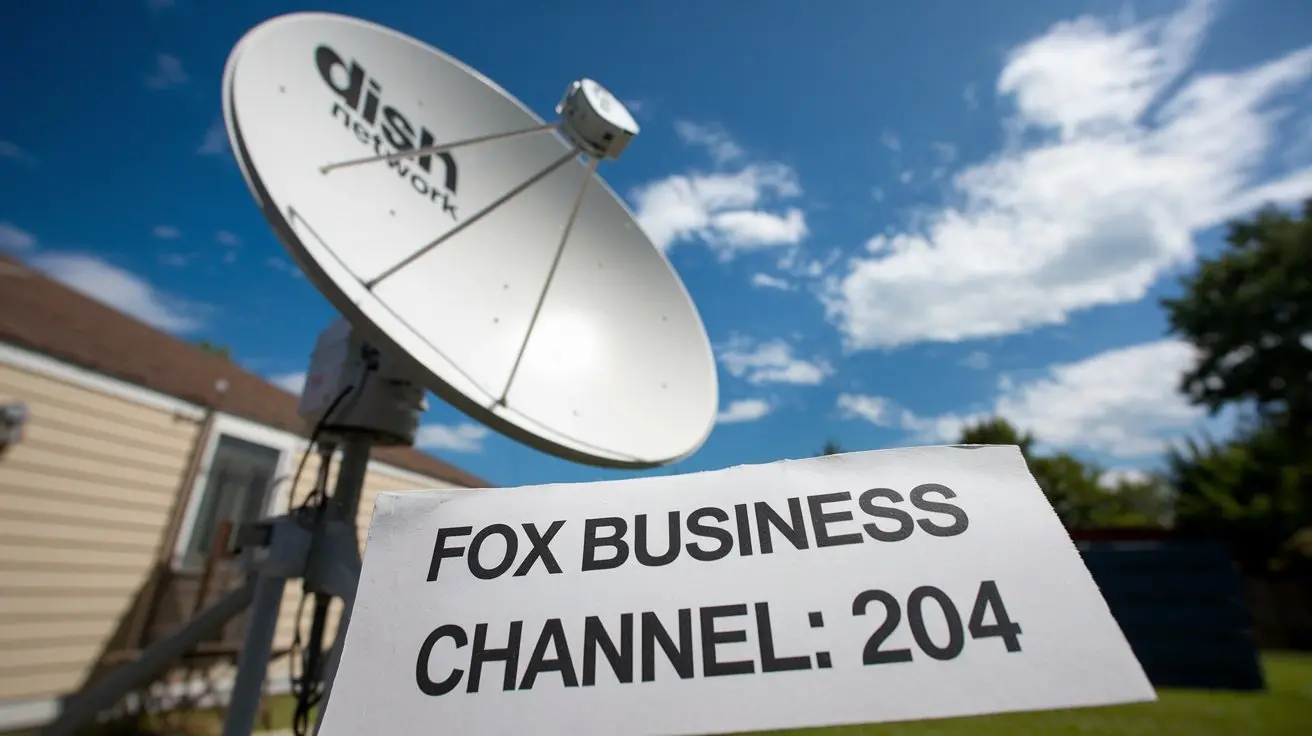
Ensure that you have a “Lock” for both Transponder Frequency and Module Frequency on all satellites in the status info on your receiver. This confirms that all is well in terms of the alignment of the furniture in the room. Get crisp picture quality with Dish TV which offers more than 200 channels to choose from. Don’t forget to turn all the adjustment bolts very tightly before leaving.
Ready to upgrade your TV experience? Call us now at (877) 471-4808 to find the perfect Dish Network plan for you! Don’t miss out on great entertainment—our team is here to help you choose the best package and get you started today.