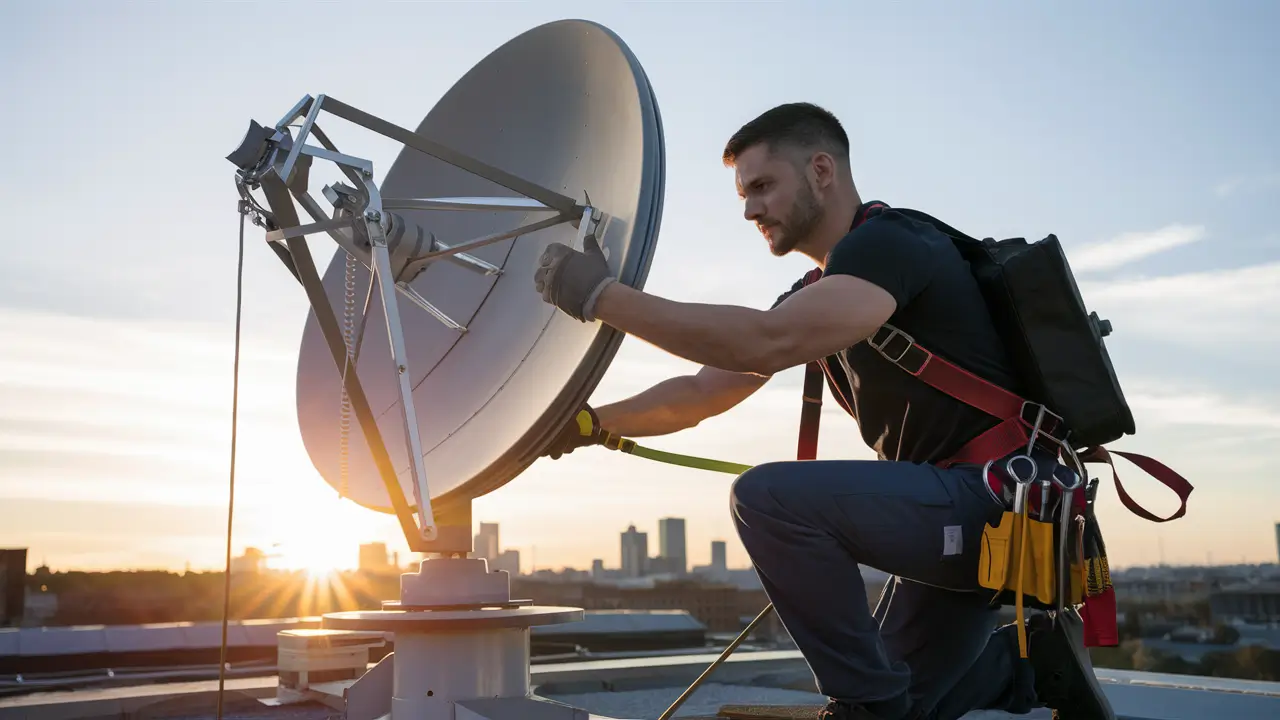
It is therefore easy to align your DirecTV satellite dish if you follow the following procedures. To receive desired picture quality and all the channels from DirecTV, it is important to ensure that your satellite dish and all its accessories are well aligned. This article outlines the process of how to align your DirecTV satellite dish on your own, and you will not need the services of the installer.
Things You'll Need
Before you start, make sure you have the following items:
- DirecTV satellite dish (Recommended size of dish is 18 x 20-inch round dish)
- Coaxial cable with a minimum length of 50 feet
- Satellite signal meter or satellite signal indicator
- Adjustable open-end wrench
- Compass
- Unobstructed view of the southern horizon
Step 1. Choose the Dish Location
Select a place for your dish where there are no obstructions in the southern direction towards the sky at all. This place should be devoid of trees or buildings that may obstruct the view of the satellite. Mount it on a wall or a pole of good sturdy if possible it would be best to mount it on a wall. Ensure that the selected area enables one to aim the dish in between 30-45 degrees of heights in the southern direction.
Step 2: Install Pole Mount This step is about mounting the pole on which the panels will be placed later on, it involves;
When mounting on a pole, ensure that you fix a pole mounted that will well fitted as the manufacturer’s instructions dictate. This pole should be sunk into concrete to ensure maximum stability of the pole to the ground. Screw on the arm bracket and the dish pole mount bracket. Make sure that the mount is positioned well with the ability to rotate the dish up.
Step 3: Assemble Dish
You don’t need any tools to install your DirecTV satellite dish – simply snap the reflector bracket into place and tighten it with the included bolts. Then, secure the LNB arm and the feed horn. Fit one end of the coaxial cable to the LNB arm port at the back of the dish. Check that all connections are properly tightened and fitted.
Step 4: Mount Dish
Finally, when installing the dish, ensure that it is correctly placed on the pole mount or the wall mount arm as assembled correctly. Bolts should not be fully tightened because there should be some room to make fine adjustments. Turn the face of the dish approximately south by aligning the compass with the dish. With regard to the orientation, set the first angle of orientation or tilt to about 40 degrees in the southerly direction.
Step 5: Fine Tune Direction The last step in The Strategy Circle is the further refinement of the direction statement: Fine Tune Direction
To actually point towards the center of the dish you will need to connect your satellite finder meter. With the dish power off connect the other end of the coaxial cable from the LNB arm to the ‘Satellite In’ port of the meter. Switch on the meter and channel power. Twirl the dish left or right while watching the meter signal strength indicator until you see the indicator reach its maximum capability. It should now be pointed at the satellite that is orbiting directly above the latitude.
Step 6: Adjust Elevation
If you are looking for the maximum signal which can be displayed by the meter, fine-tune the elevation up or down to get the maximum signal level. The recommended tilt for most places in the continental united states should be 30-45 degrees southward. Tighten bolts on the dish mount to secure elevation and avoid any more shifts.
Step 7: Engage and Interconnect Receiver
With dish properly positioned to get maximum signal reception, you are now prepared to switch on your DIRECTV receiver. Join the coaxial cable from the LNB arm to the satellite input socket at the back of the receiver. Consult instructions displayed on the screen to power on your DirecTV and start the scan process to acquire channels with programs to air.
The eighth step is to measure the signal strength at the highest point of the signals’ frequency range.
Pinpoint the final dish alignment adjustments based on signal strength tool available under the settings menu in the receiver. Use fine tuning to move the azimuth up or down slightly while observing signal strength. Tilt it up or down a little if necessary to achieve the highest possible signal quality.
Conclusion
It is necessary to align the satellite dish properly to get all the available high definition channels from DirecTV with the best picture quality. Ensure that the following steps are professionally conducted while applying compass, signal strength meter and right mounting equipment for the dish. It will take you a relatively longer time to get acquainted with the fine tuning adjustments. With a little bit of patience, you will be able to successfully aim your DirecTV dish in order to find and lock on to satellites that beam your favorite entertainment and programming straight from space.
Ready to upgrade your TV experience? Call us now at (877) 471-4808 to find the perfect Dish Network plan for you! Don’t miss out on great entertainment—our team is here to help you choose the best package and get you started today.


