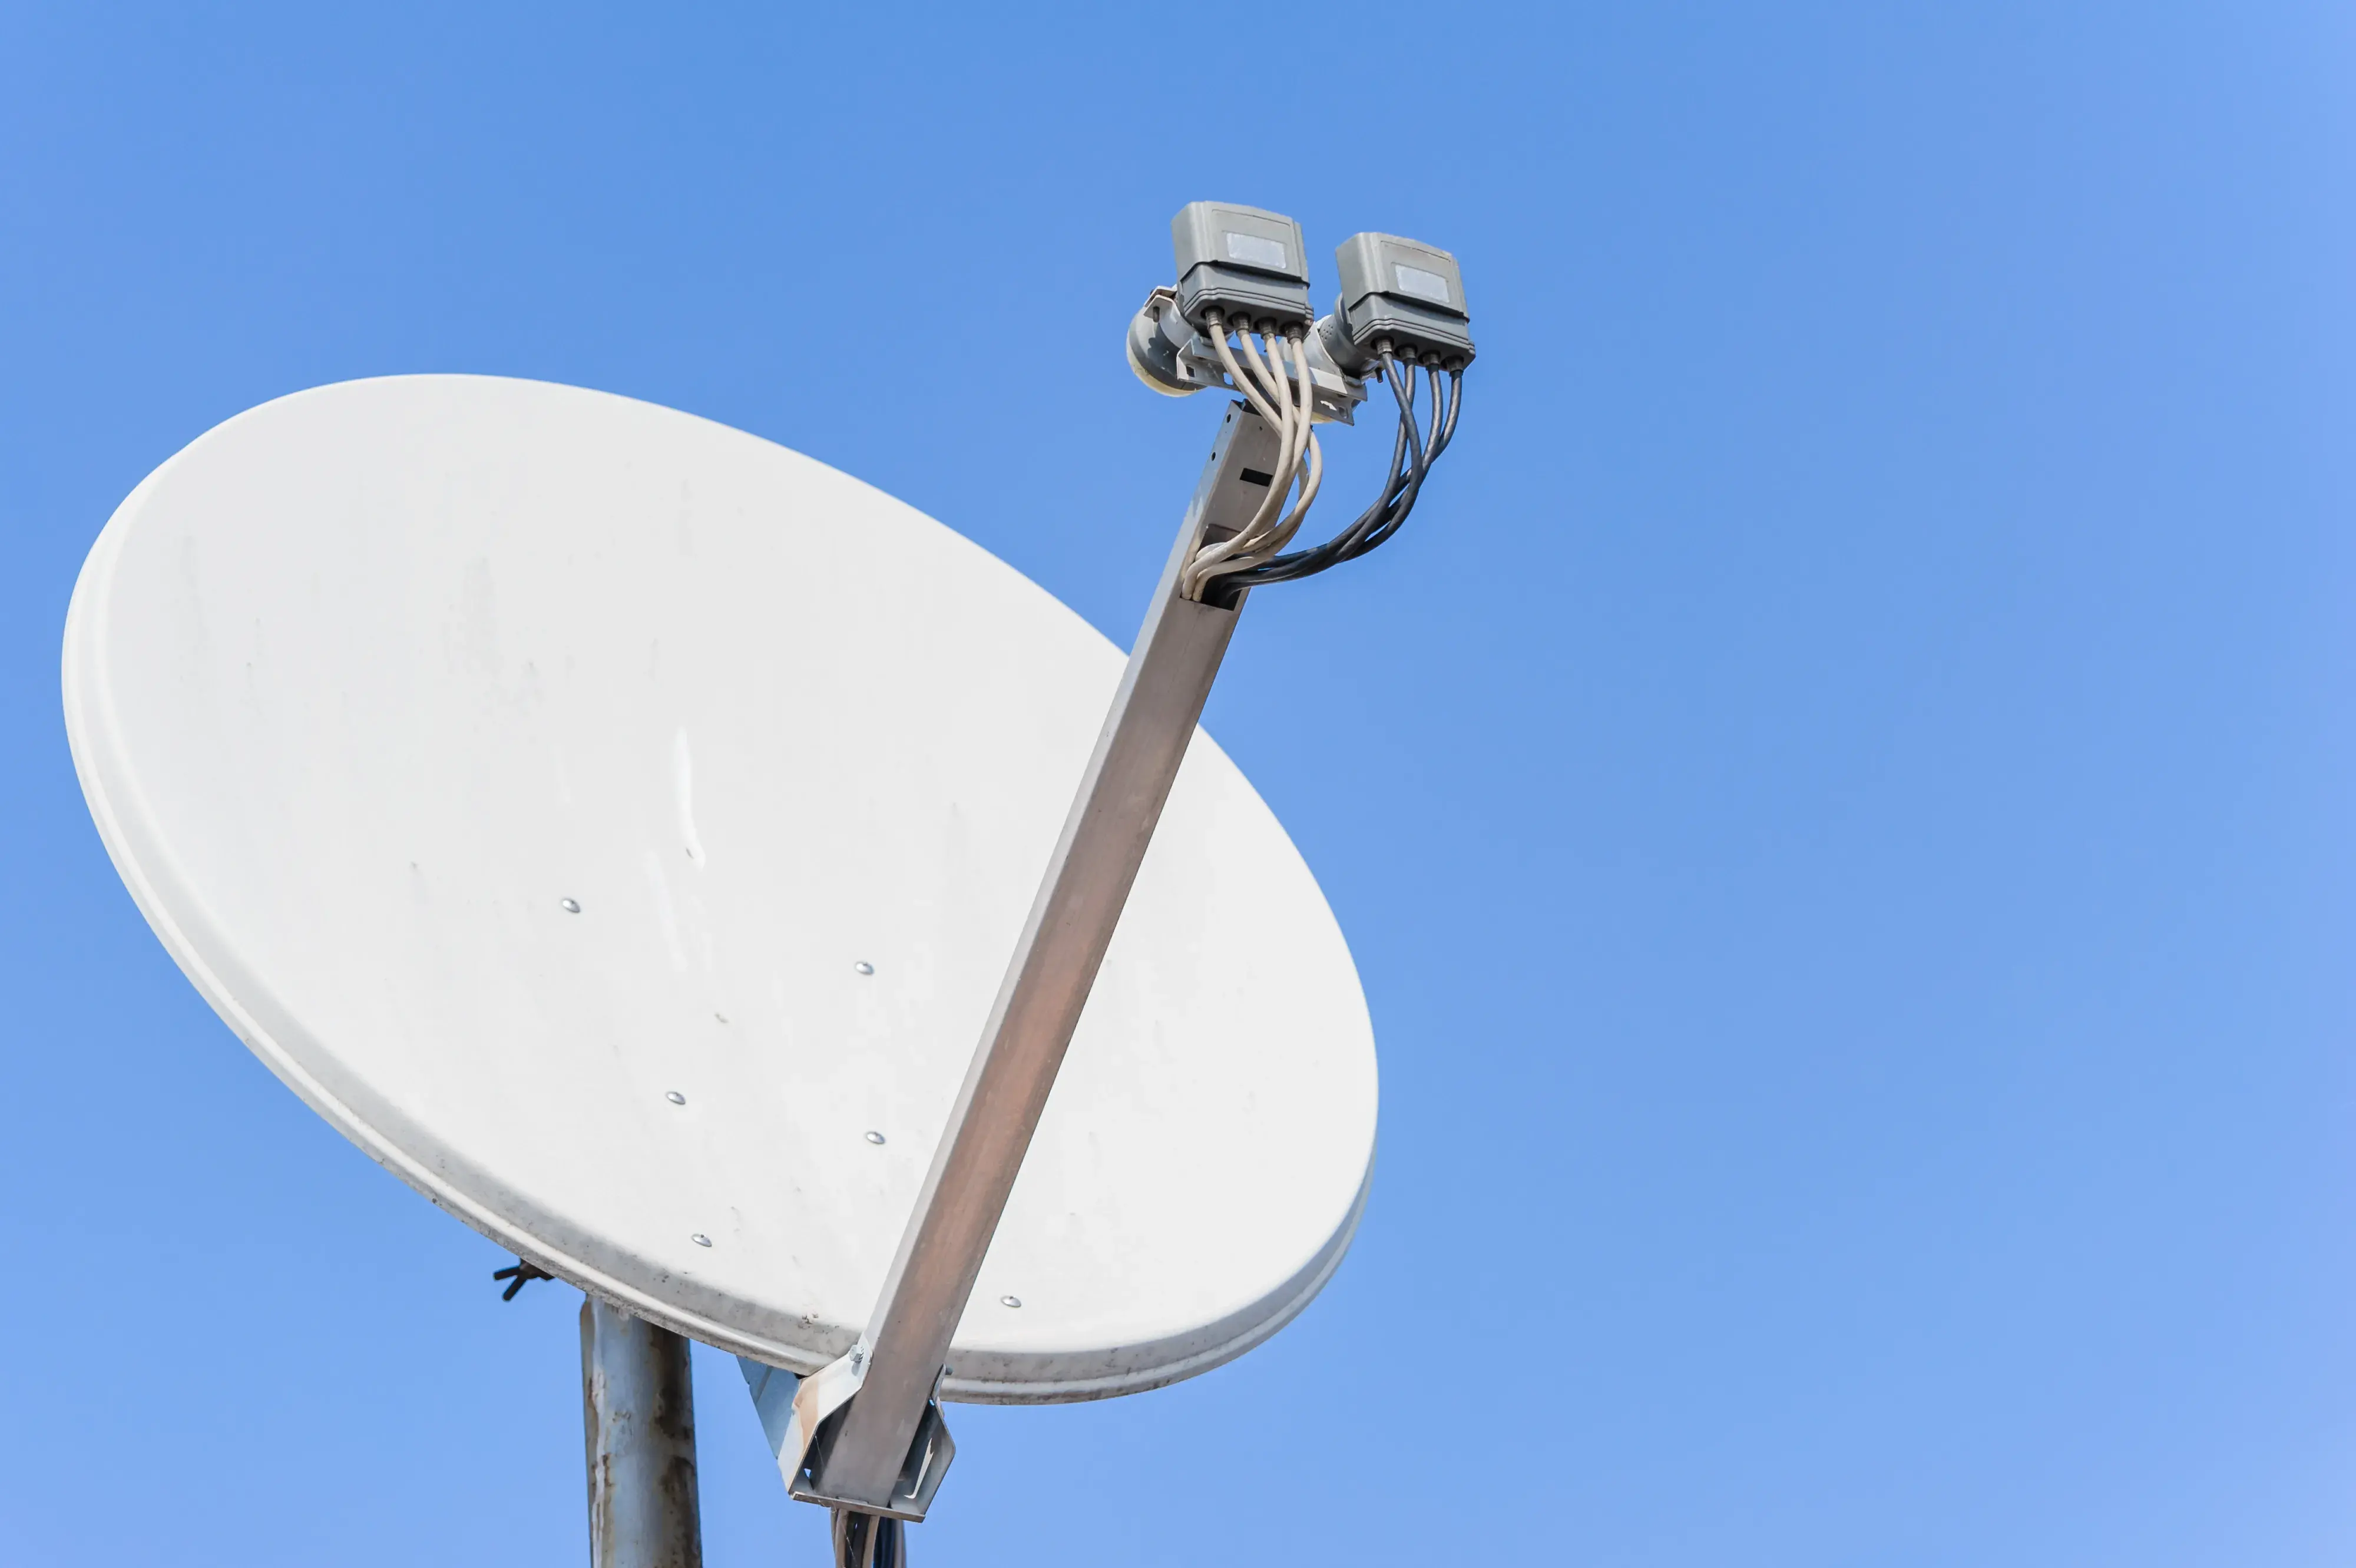
I will describe the process of installation as well as fine-tuning of Dish Network satellite dish as relatively easy provided one does the following. A little time and patience go a long way and before you know it, you should have clear satellite TV reception. Here is a step-by-step guide to adjusting a Dish Network satellite dish:
Choose A Location
The first step is to select the correct place for mounting your satellite dish. It will also be necessary to have an unobstructed view of the southern sky, which means there should not be trees or buildings blocking the sky. The best place is on the south side of the roof of your house or the south wall of the house if it is not possible to install it on the roof. Be sure to have coaxial cables to use inside your satellite receiver.
Install The Mount
In case the unit will be placed on the roof, you need to install a stable roof mount based on the guidelines described by the manufacturer. For a wall mount, select an outside area, that is not under the eave or overhang, and if possible, mount the wall on the studs. Ensure that all cable connections will be able to reach your receiver without any problems.
Assemble The Dish
Assemble your satellite dish by connecting the arm and reflector as per the provided instructions. Over 90% of Dish dishes are a small LNB arm and a round dish reflector, or the Dish dish. Make sure to spin the dish by hand and the dish should move freely from left to right when adjusting later.
Connect Cables
Connect coaxial cables from the LNB arm to the satellite receiver in the house. It is preferable to use high-quality RG6 coaxial cable to ensure that the signal is passed correctly. Ensure all connections are properly covered with the correct caps and sealing tape to prevent any form of moisture penetration.
Find The Azimuth Bearing
As a way to guarantee that you point the dish accurately, you need to find the magnetic compass bearing of the Dish satellite at your zip code. Position the dish either west or east depending on Dish’s 119w or 129w satellite.
Align Vertically And Skew
Slide the inclinometer to the end of the LNB arm to determine the correct vertical alignment angle known as the elevation. To adjust the point up or down, loosening adjustment bolts will allow you to fine-tune the desired angle. Then tilt (rotate sideways) the dish so that the LNB arm points directly at the Azimuth bearing.
Fine Tune Signal Strength
Switch on your satellite receiver along with your television to bring up the dish-pointing screen or signal strength meter. Swing the dish left or right (azimuth) and up or down (elevation) to find the best signal for each satellite at 119° and 129°W. Adjust regularly to fine-tune to the optimal signal or peak signal as it is sometimes called.
Lock Down Dish Position
The alignment is complete when there is a strong signal on both satellites with no signal dropouts at all. Screw all bolts and any adjustment screws as far as possible for the dish to remain locked in position and not be shifted by wind or weather conditions. Apply thread locker if available.
Install Extra Cables (optional)
If you want a second satellite receiver in another room or somewhere else now is when you would run any additional cable if needed. Connect cable(s) to multi-output LNB arm or use signal splitter if more outputs are required.
Seal Penetrations
Prevent water leaks and moisture intrusion by sealing all roof and wall openings. Use weatherproof silicone sealant around bolts, mount arms, cable holes, and any area of installation that breaks watertight. Examine it occasionally for any signs of cracking or leakage.
Set Up Programming
To get a Dish TV connection, you may call the activation line or visit the Dish website to apply for an account and choose your preferred programming package. Give them the receiver ID numbers so that they can transmit activation signals. Replace the smart card if used. Search for channels then relax and have the best view of satellite TV without any interference.
Tuning Dish Network dish position optimizes signal reception for clear satellite television transmission. It is pertinent to closely adhere to Dish’s recommended dish-pointing procedures to make the dish focal point located precisely in the satellite beam. A few minutes spent initially on getting the smallest details right in terms of positioning, skew, and azimuth can result in years of television viewing with excellent audio and video. Satellite array is extremely stable and even gusts of wind will not be able to push it off position.
Do not shy away from adjusting that Dish – with a perfectly tuned dish according to the signal strength meter, you can get to watch hundreds of channels of interruption-free programs. You just have to make sure that all connections are weatherproofed and that they shift after storms or other calamities. The following Dish realignment steps must be followed and you will be directing high-powered satellite signals that never stop entertaining.
Ready to upgrade your TV experience? Call us now at (877) 471-4808 to find the perfect Dish Network plan for you! Don’t miss out on great entertainment—our team is here to help you choose the best package and get you started today.


